Getting Started
Welcome to the ZeroBounce developer documentation page. We will go over the ins and outs of our Email Validation API, your account dashboard and whatever questions you may have.

Validation Process
YOU CAN VALIDATE YOUR EMAIL(S) VIA THE BROWSER UPLOADING FILES OR VIA THE API.
- Step 1: Register your new account with ZeroBounce.
- Step 2: Verify your email by clicking the link in the email we send you.
- Step 3: Sign in to your ZeroBounce account.
- Step 4: Access our Email Validation page
- Step 5: Try out our service for free by uploading a .CSV, .XLS, XLSX or .TXT file with up to 100 contacts.
- Step 6: Review your results and decide how many emails you need to validate.
- Step 7: Buy more credits here.
- Step 8: Upload your .CSV, .XLS, .XLSX or .TXT with the emails you would like to verify.
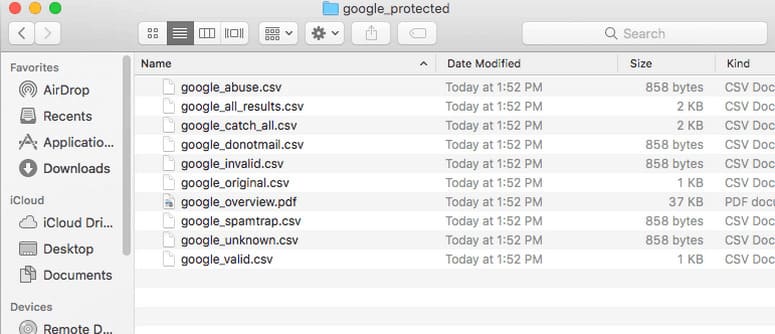
NOTE: Give the system approximately 45-60 minutes per 100,000 contacts. - Step 9: Download your new clean list by clicking on the purple arrow button on the right-side of the respective file.
NOTE: The download button will be missing or grayed-out if the file has not finished processing. 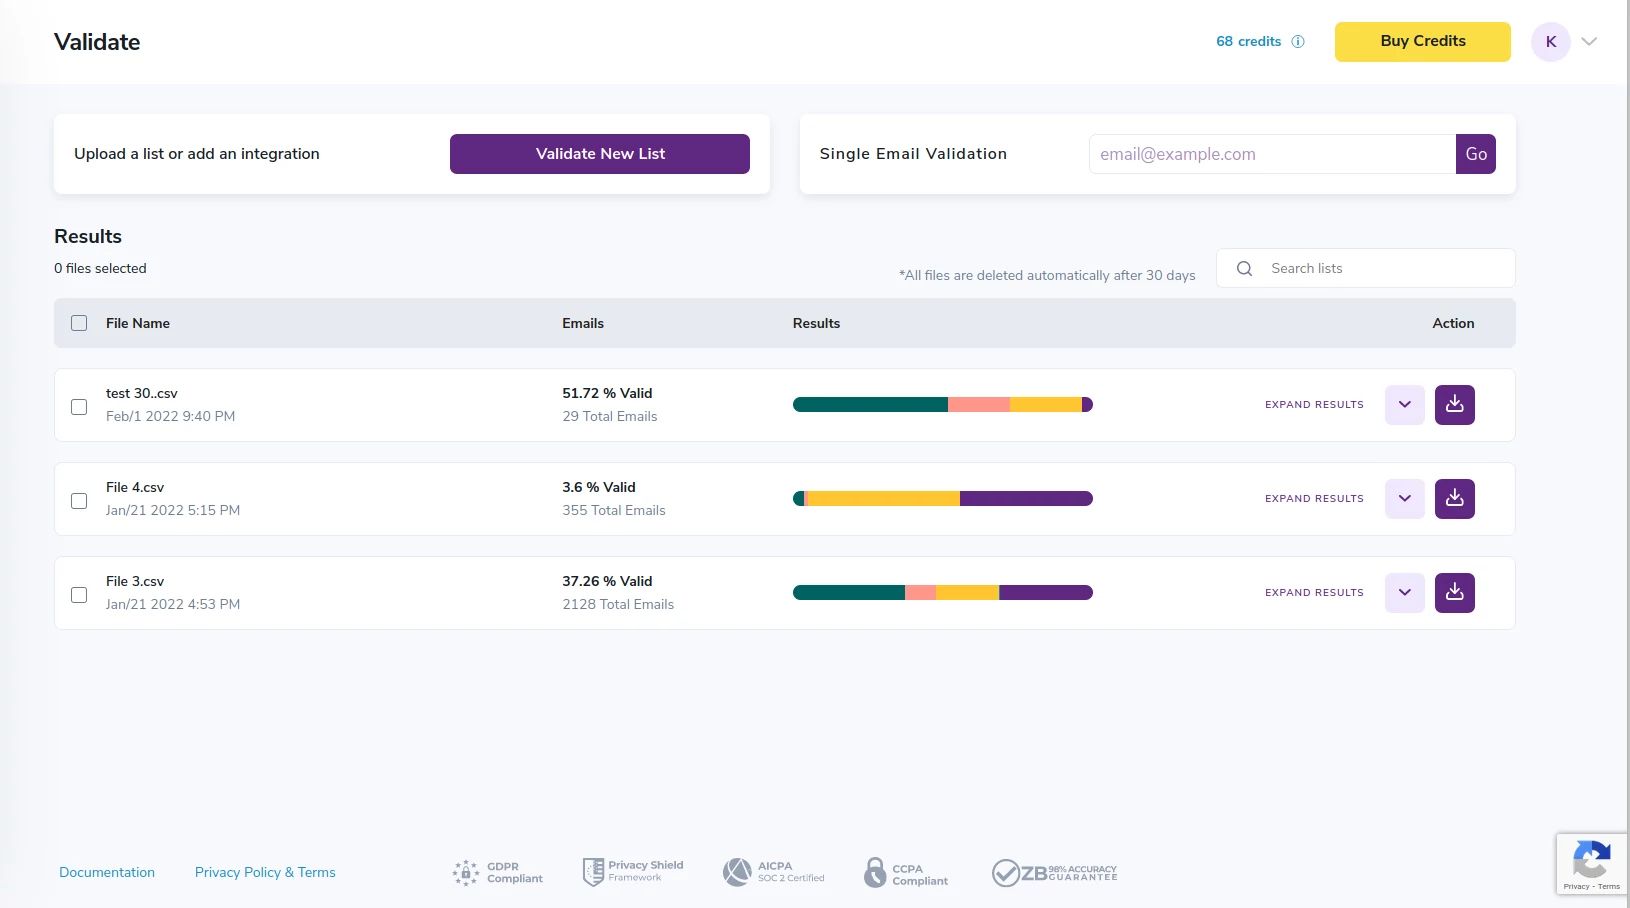
Results download page
- Step 10: Select the columns you want appended on the results. Then click “Download”
Select the data you need to download
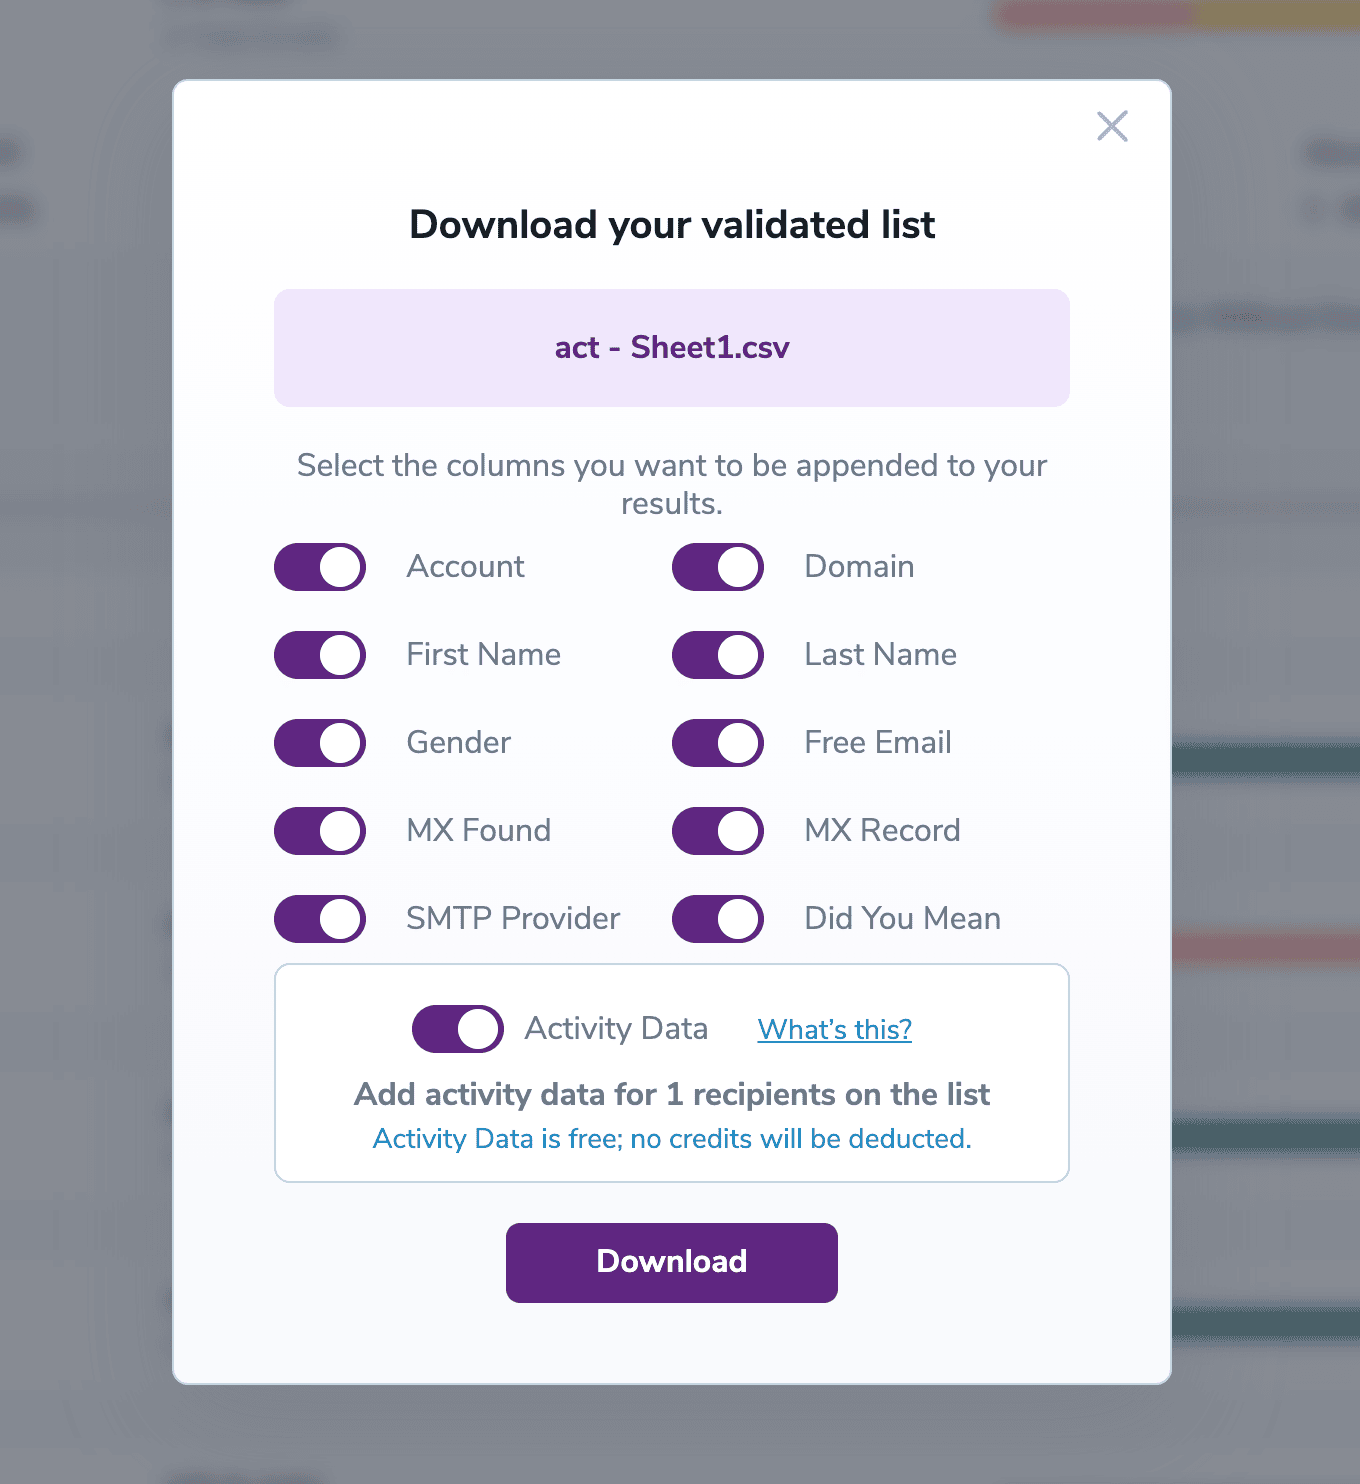
- Step 11: Once you download your file, you will receive an email with the unique key to unlock the encrypted .ZIP file.
Your downloaded file will be encrypted. After your download completes you will receive an email with the encryption key
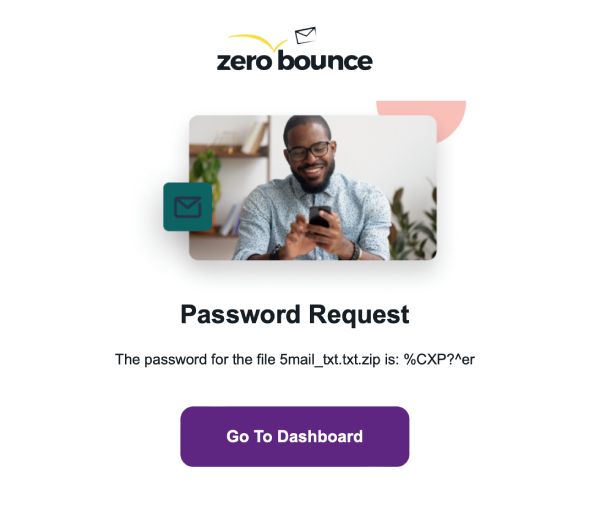
- Step 12: When you open the .zip file below, you will be prompted to enter the unique key above.
Find your downloaded file and open it. You will be prompted to enter the key provided to you by email
- Step 13: Once you enter the key, you will have access to the files with your validated email results.
The files will be accessible once you enter the key
Validation Process FAQs
- Q:Do I have to register on the website to use the service?A:No! Luckily, we have a single email verifier on the front page of our website. Check it out!
- Q:What is the minimum amount of records that I can validate?A:Well, more is better than less, but the minimum purchase that we allow is 2,000 emails.
- Q:For how long can I use the credits I purchase?A:Forever! ZeroBounce credits never expire. You can use them when and however you like.
- Q:If I didn't get my registration email, what should I do?A:If you haven't received your registration email yet, check your junk or spam folder. Be patient - sometimes it can take a few minutes for the email to reach you.
- Q:Can I use my credits in order to verify in real-time with your API?A:This may seem like a leading question, but YES! You can absolutely use our API for your website forms or other creative ways to filter your email lists from the source. You can find instructions on how to do this here.
For more information on how to improve your email campaigns, check out our Complete Guide to Improve Inbox and Deliverability
Purchasing Credits
- Q:How can I buy email verification and scoring credits?A:You can buy credits here: https://www.zerobounce.net/members/pricing
- Q:How much does your email validationⓘ service cost?A:You can find our pricing plan here. This page offers you a clean and simple calculator for your convenience. The more email addresses you validate, the less you will pay.
- Q:Do my credits ever expire?A:No. Never. Whether you purchased them or received them as a bonus, you can use your credits anytime you like, to either validate or score your email list.
- Q:What if I have very large email lists?A:If you need to validate very large email lists (5M+), please get in touch. We have many clients who process over 5M+ daily. Please contact us so we can assist you and make sure you're getting the most out of our email cleaning tool.
- Q:Is there a minimum order size?A:Yes, the minimum order is 2,000 email validation credits.
- Q:Where can I find how many credits I have left?A:You can view your credit balance anytime. Once you sign in to your account, you can find your balance in blue at the top-right side of the page.
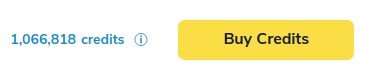
Credit balance display. You will need to complete the registration process and sign in before you can access the link above.
Auto-Pay
Auto-Pay is a feature that allows you to replenish your account automatically when your credit balance gets low. This feature ensures that you don't run out of credits when using our API to validate emails.
Whether you use our real-time or bulk email validationⓘ API, or enjoy the bulk email scoringⓘ API, Auto-Pay streamlines your process and saves you time.
Also, Auto-Pay comes in handy if you need to clean email lists regularly and want to make sure you always have enough credits in your account. Many of our customers enjoy it.
Next, you can find the AutoPay settings in the Billing section of your profile, accessed from the top-right menu. Click the "Set Up" text to expand the AutoPay settings. Once the settings are expanded, you can input the number of credits to purchase in the first field - and the credit threshold in the second field. When credits in your account fall below this threshold, you will automatically purchase the number of credits from the first field.
Next, choose your email verification credit threshold and try to avoid setting it at a low value. This helps you avoid any issues that might occur when we process your credit card payments.
Finally, be sure to click Save and enable the toggle switch (purple is ON). Once you do that, Auto-Pay will be active, so you don’t have to worry about purchasing more credits manually.
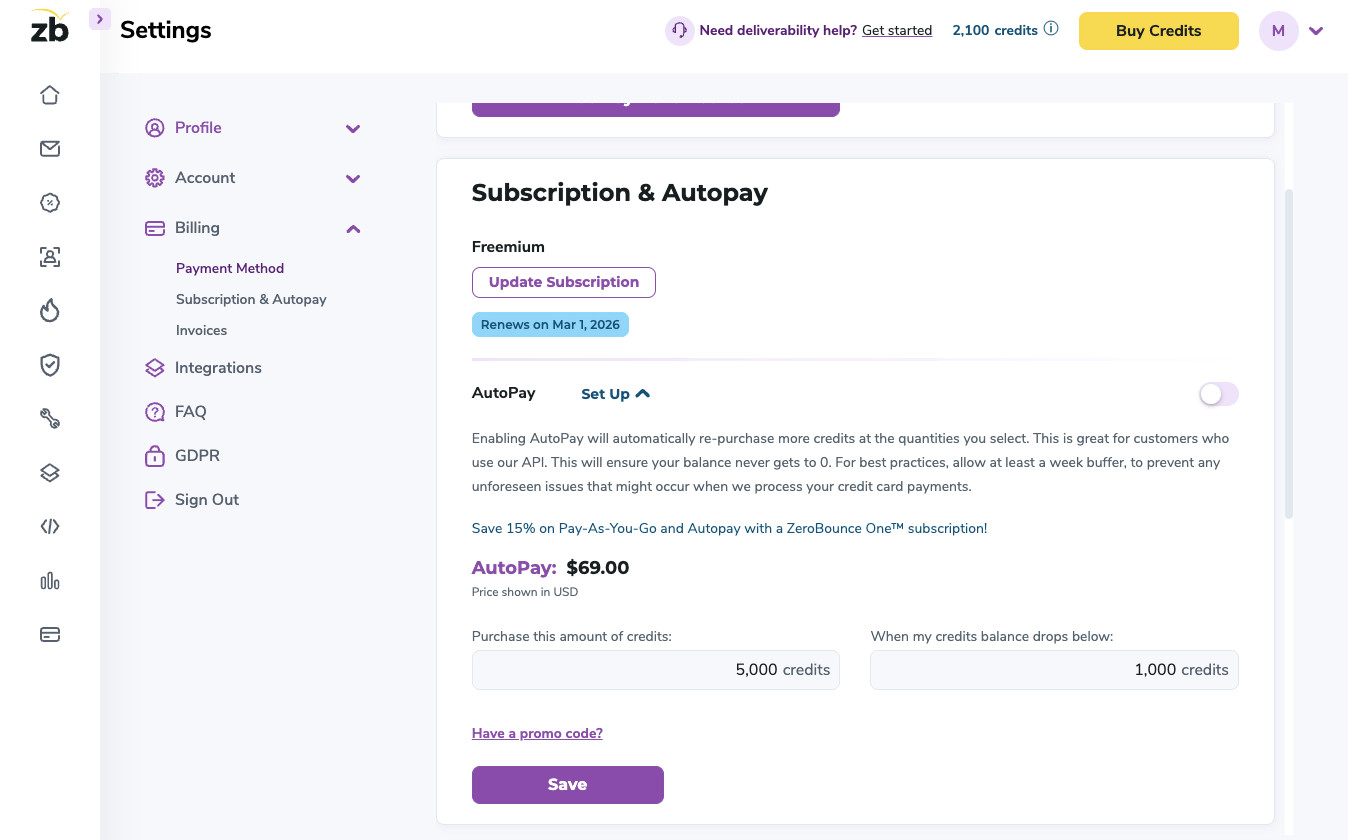
Auto-Pay Screen
You can deactivate AutoPay at any time.
Need help? Get in touch with our Customer Support team – we’re here for you 24/7.
We Protect your data
Email validationⓘ and data protection go hand in hand at ZeroBounce. It’s how we built our email verification platform from day one, and we will always stand by our standards.
ZeroBounce is using one of the best content delivery network systems in the world that is backed by Cloudflare. This leading-edge system provides clients with an Advanced DDOS and Advanced Firewall protection that gives another layer of defense to prevent cyberattacks and data breaches.
Apart from that, all files uploaded and downloaded on zerobounce.net are encrypted with military-grade encryption ciphers. This means your email lists, email validationⓘ results and all other data are protected at the highest levels.
What’s more, customer data is never stored in a database. When you delete your data, everything about your data is deleted and completely removed from our system; all aspects of the data are erased.
Your data isn't handled by any third-party companies or stored on third-party servers. We own our data center and we don't use Amazon, Azure, or other third-party providers that would add an extra layer of risk to your data.
Once you finish validating your email list, you can delete your results, and all other data, at any time. If you choose not to delete that data, ZeroBounce will automatically delete it within 30 days. We will notify you by email, in advance, to let you know when your data will be erased from our platform.
Improve Your Deliverability
For many email marketers and business owners, email deliverabilityⓘ is a challenge. Making sure your email arrives in your customers’ inboxes requires careful planning and following email marketing best practices.
Is your email list clean and valid and is your bounce rate never higher than 2%?
Are you writing engaging content?
Do you send from an email address people can reply to?
Is your mail server configured correctly?
Are you following a steady sending rhythm?
These are just a few of the aspects that play a role in your email inbox placement. At ZeroBounce, we developed several tools to help you accomplish great deliverability. Furthermore, we wrote a comprehensive article on how to improve your deliverability.
You can access this guide here, for free /email-deliverability
Then, return to our email validation service and start using the different tools to see how effective they are in helping you reach the inbox. Once you have a clean email list, use our email scoring service to further validate your catch-all results.
Then, move on to our deliverability toolkit. The mail server tester, the inbox placement tester, the blacklist monitoring tool – they all work together to help you increase your chances of reaching your customers and subscribers.
Improving deliverability is the first step to boosting ROI. Read our guide today to get started.
Terms of Freemium
The ZeroBounce Freemium Account provides up to 100 allotted free email validationⓘ credits per month, per customer. You will receive 100 additional free credits at the start of each month. Unused credits never expire and credits that result from freemium do not rollover, but get replinished every month.
Email validationⓘ is offered on a one (1) credit per email address basis.
A.I. Email Scoringⓘ is offered on a one (1) credit per email address basis.
Upon successfully purchasing email validation credits with Pay-As-You-Go ZeroBounce ONE™, or Autopay the account will lose its Freemium status and will no longer receive free monthly credits.
Freemium accounts are valid through December 31, 2022, and may be extended at ZeroBounce's discretion.
Offer limited to a maximum of one (1) free account per person or business.
ZeroBounce reserves the right to terminate any account if it determines it's in violation of the one account rule.
Do you have any questions about creating a ZeroBounce Freemium account?
Please contact our team – we are available 24/7 to guide you on making the most of our email verification and deliverability platform.
Our customer support team members can assist you in using the Freemium account and also, in finding the best paid package for your email validationⓘ needs.