Warmup documentation

Warmup is a tool designed to help your emails reach the Inbox and avoid the Spam folder.
Complementing the Email Deliverabilityⓘ Toolkit, Warmup helps you build and maintain a strong sender reputation and ensure optimal email deliverabilityⓘ. You can leverage the Warmup service by subscribing to the Email Deliverabilityⓘ Toolkit at the ‘Team’ tier or higher.
How does Warmup work?
Warmup is like a friendly coach for your new or existing email address or domain. The email warmupⓘ tool gradually interacts with your outgoing emails by opening, clicking, favoriting, replying, etc. Warmup emulates authentic engagement through an automated process so that it appears legitimate to email service providers.
As you continue to build trust with providers through positive engagement, your emails are less likely to land in Spam and more likely to reach your recipients’ inboxes.
Benefits of using Warmup
- Improved email deliverability - By gradually establishing a positive reputation with email providers, your emails are less likely to be flagged as spam and more likely to reach recipients’ inboxes.
- Higher open rates - Improved email deliverability and sender reputations improve your inbox placement and visibility, increasing the probability that recipients will see and open your emails.
- Enhanced engagement - As you gradually introduce your email address and domain to wider audiences over time, you will gain reliable engagement metrics to help you improve over time, ensuring that your emails are relevant and well-received.
- Optimized email campaigns - Establishing a positive reputation early on sets the stage for successful email campaigns, maximizing the effectiveness of your marketing efforts.
How to use Warmup
This documentation is divided into two easy-to-follow parts:
Part I - How to set up and configure Warmup
You can use Warmup using one of two methods:
- Starting the AI Assistant Wizard
- Manually configuring the Warmup account
How to use the AI Assistant Wizard
By using the Warmup AI Assistant Wizard, we’ll walk you through the necessary steps to warm up your account for optimal email deliverabilityⓘ. You’ll receive a series of questions designed to help the Warmup AI Assistant recommend the best configuration for your Warmup account.
1. From your ZeroBounce dashboard, click on Tools. Then, click on Warmup.
2. Click on “+ New Warmup Account”.

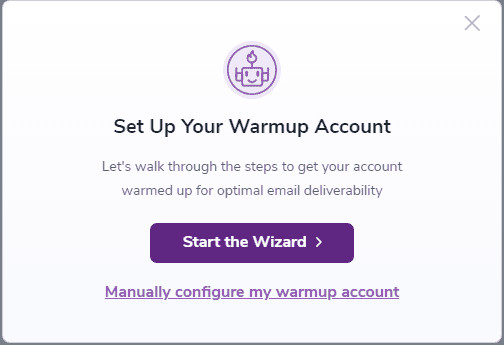
3. From Set Up Your Warmup Account, choose Start the Wizard.
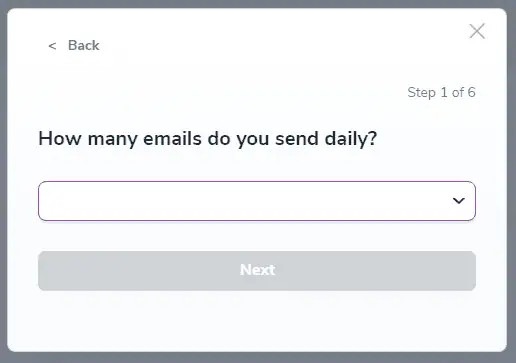
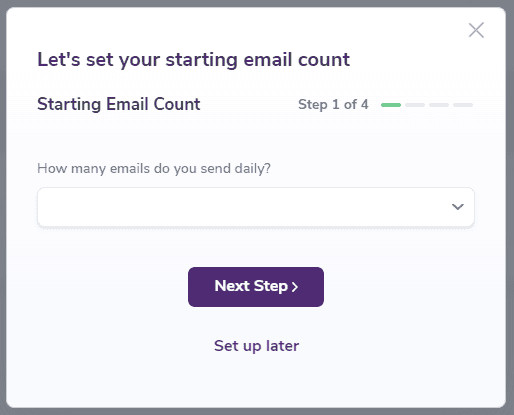
4. Set up your starting email count by selecting how many emails you send on a daily basis. Then, click Next.
The Wizard will ask you to estimate the number of emails you send daily, which is critical to ensure accuracy. Based on this information, the system will start the Warmup process by sending emails equivalent to approximately 0.1%* of your total daily email volume.
Why 0.1%? Major email service providers (ESPs) consider 0.1% as an acceptable threshold for negative engagement (such as emails being marked as spam). By starting with this small percentage, Warmup helps offset potential negative engagement with positive interactions, gradually improving your email reputation before scaling up further.
* The volume may differ based on your subscription, engagement rules, and our analysis of email reputationⓘ.
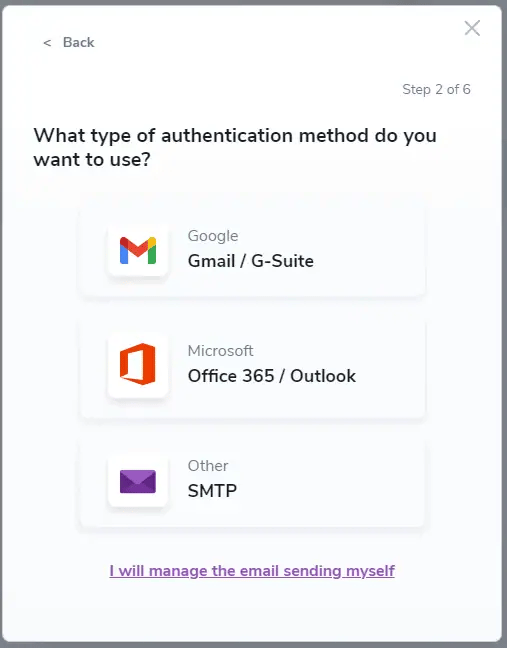
5. Choose the type of authentication method that you want to use.
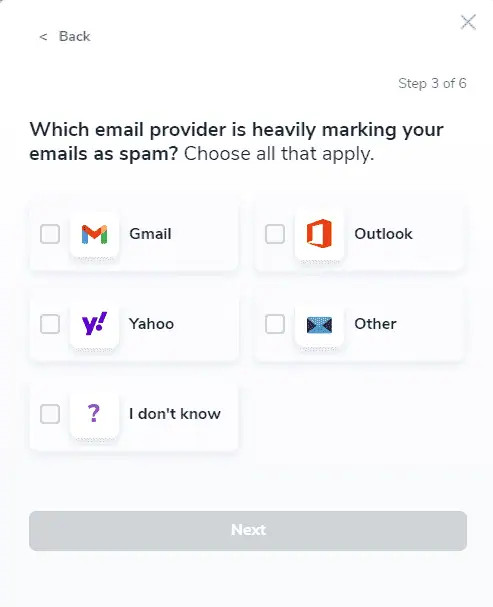
6. Choose all email providers that are heavily marking your emails as spam and click on Next.
7. On the next step, choose how long your domain has been actively sending emails and click on Next.

8. In the next step, select the option that best reflects your current email deliverability and if there are any noticeable issues with the inbox placement. After selecting the best option, click on Next.

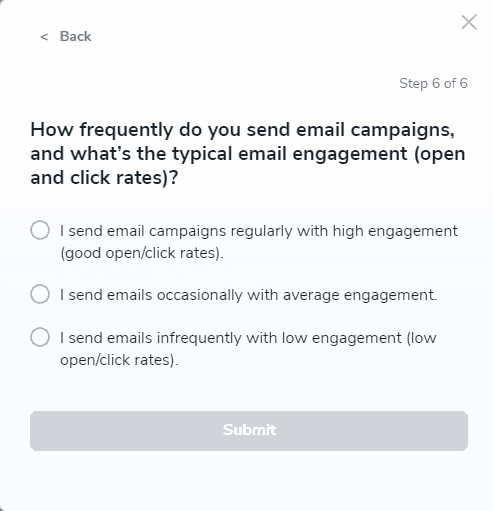
9. On the final step slide, you’ll be asked to select the option that best reflects the typical email engagement (open and click rates) and how frequently you send email campaigns. After selecting the best option, click on Submit.
10. Based on your choices from the wizard flow, the Warmup AI Assistant will generate a Summary Report that will highlight the best configuration approach for your Warmup account setup. You can inspect the chosen settings by the Warmup AI Assistant, and you may continue the setup with this configuration by selecting the Continue with these settings option. Alternatively, you can continue by manually configuring the Warmup account by selecting the Manually configure my warmup account option.
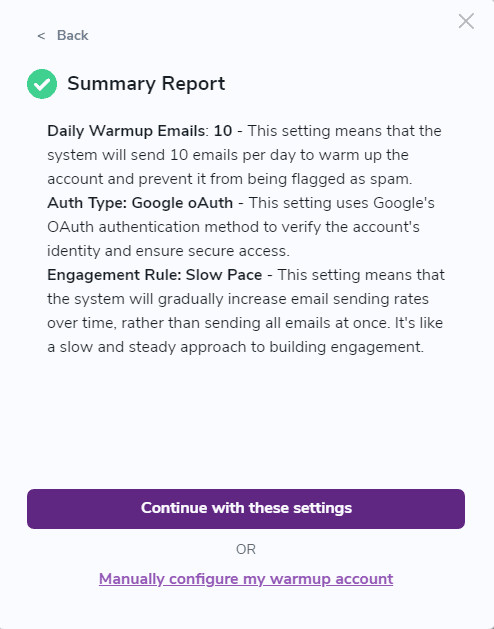
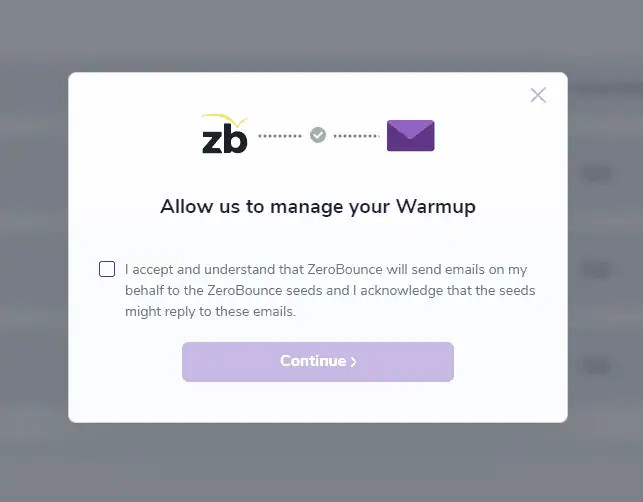
If you choose to continue the setup with the recommended settings by the Warmup AI Assistant, depending on the recommended authentication type, you’ll be prompted to continue with either Google OAuth, Outlook OAuth, SMTP, or the self-managed approach. We will use previously selected data from the Warmup AI Assistant Wizard to facilitate the next steps in setting up the Warmup account. Keep in mind that your consent is necessary, and the wizard will continue by checking the box on the consent form that acknowledges that ZeroBounce is authorized to send emails on your behalf to our seed list.
After the consent has been recorded, the final steps of the Warmup account setup will be reached.
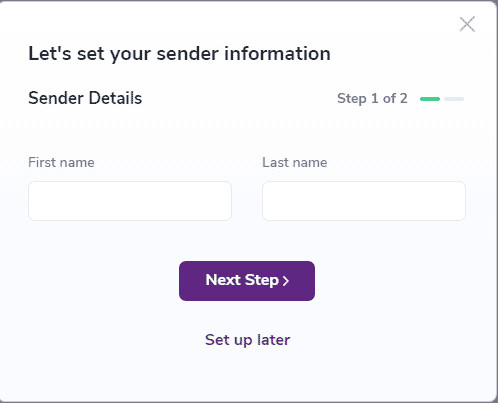
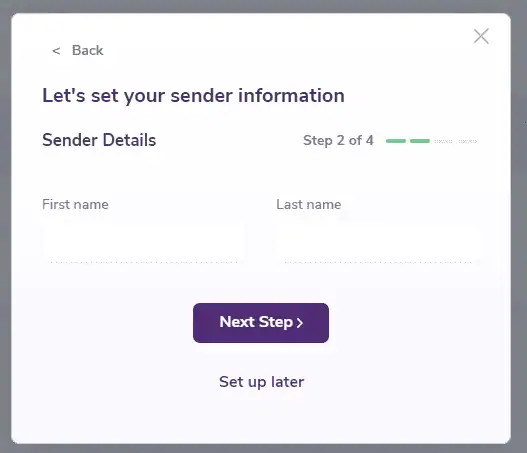
1. Sender information (First and last name) will be required. After filling in the required information, click on Next Step >.
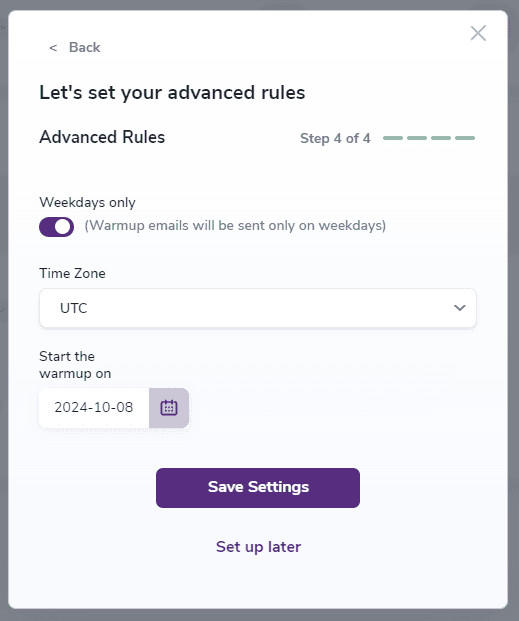
2. In the final step, you will need to set up your Advanced rules.
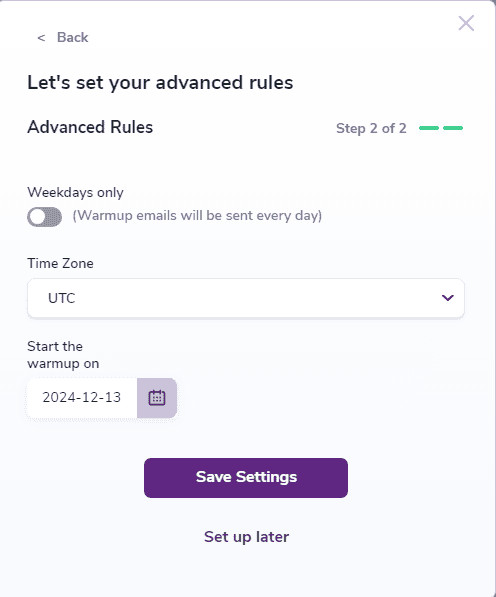
- Weekdays only - Toggle this to send emails only on weekdays. If untoggled, emails will be sent every day.
- Time zone - Choose the time zone for your business. This will help Warmup create realistic engagement patterns.
- Start the Warmup on - Choose the date on which Warmup should begin
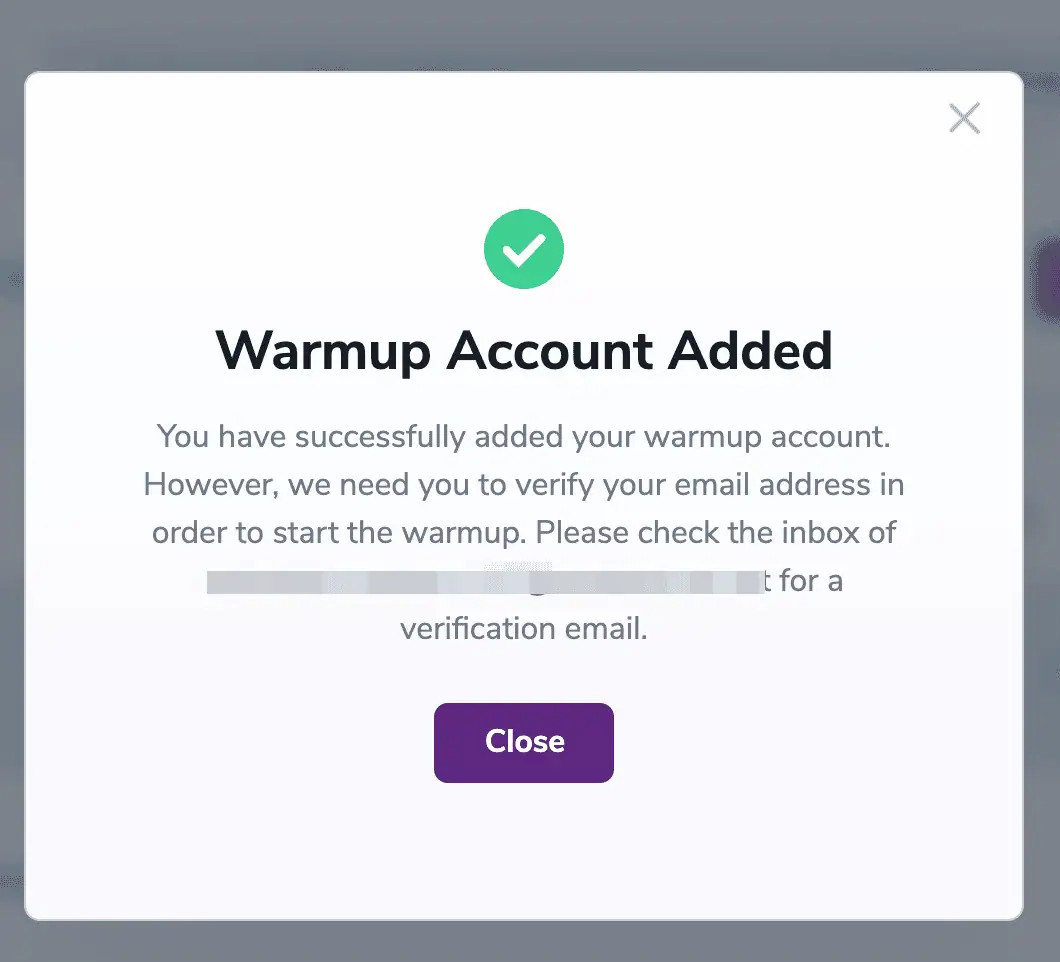
3. Click on Save Settings, and the Warmup account will be successfully added!
Manually configuring the Warmup account
You can use Warmup using one of two methods:
- ZeroBounce managed - After connecting your account and creating your Warmup listing, ZeroBounce manages the Warmup process, from sending emails to processing them with automated engagement.
- Self managed - This method allows you to send emails yourself to our seed email addresses. We recommend this only for experienced users.
ZeroBounce managed account is available exclusively for paid email accounts. Use of free email services is not permitted.
Manually configuring the Warmup account
1. From your ZeroBounce dashboard, click on Tools. Then, click on Warmup.
2. Click on “+ New Warmup Account”.
3. Click on “Manually configure my Warmup account”.
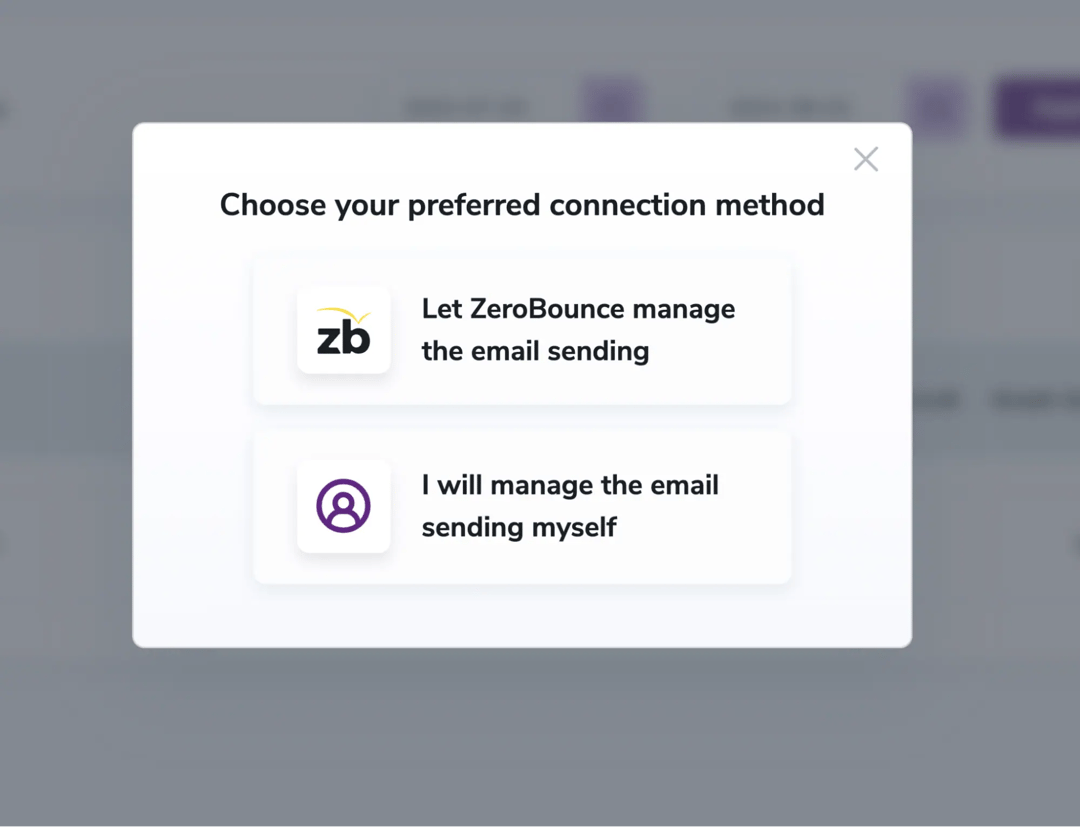
4. Choose “Let ZeroBounce manage the email sending”.
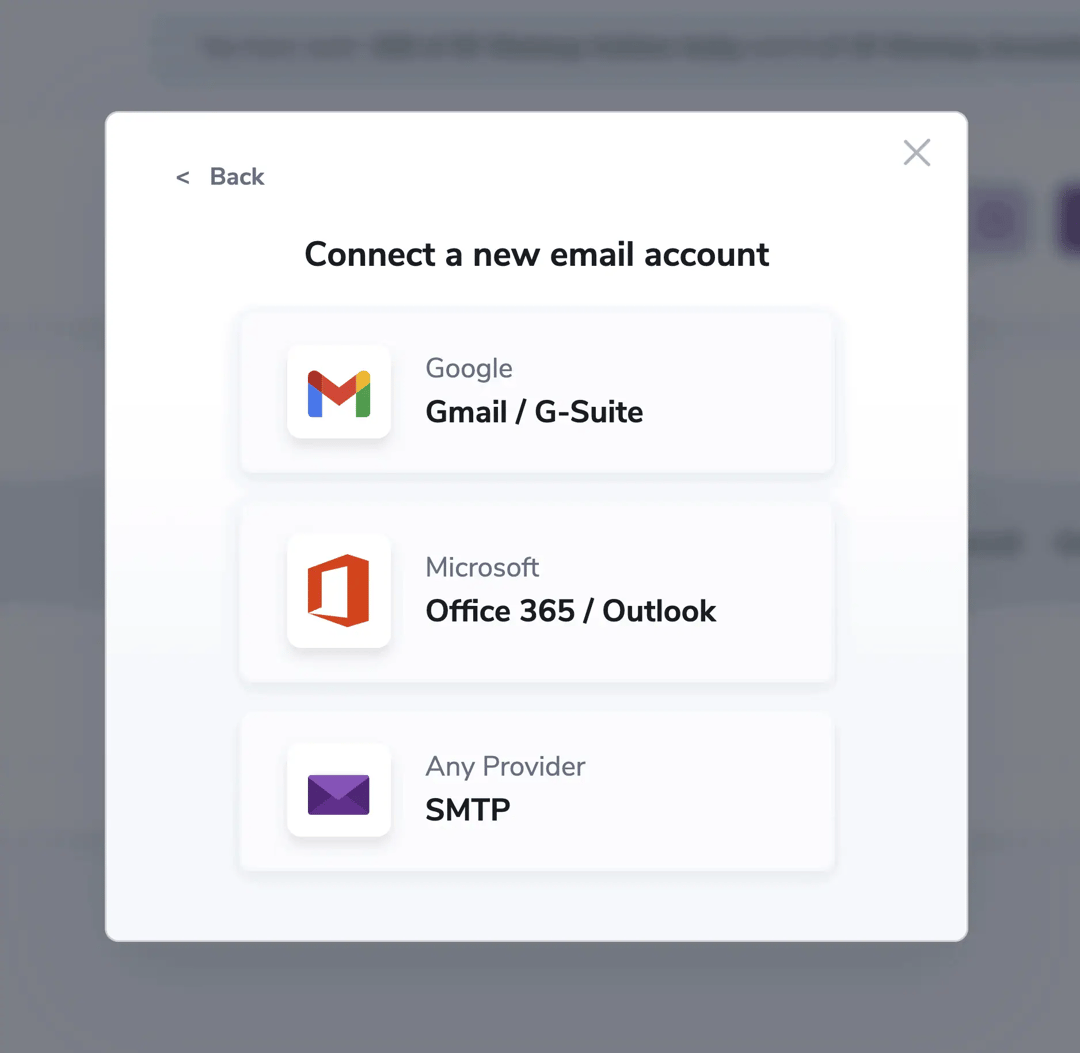
5. Choose one of the available connection options: Gmail/G-Suite, Microsoft 365/Outlook, or SMTP.
How to use Gmail/G-Suite with Warmup
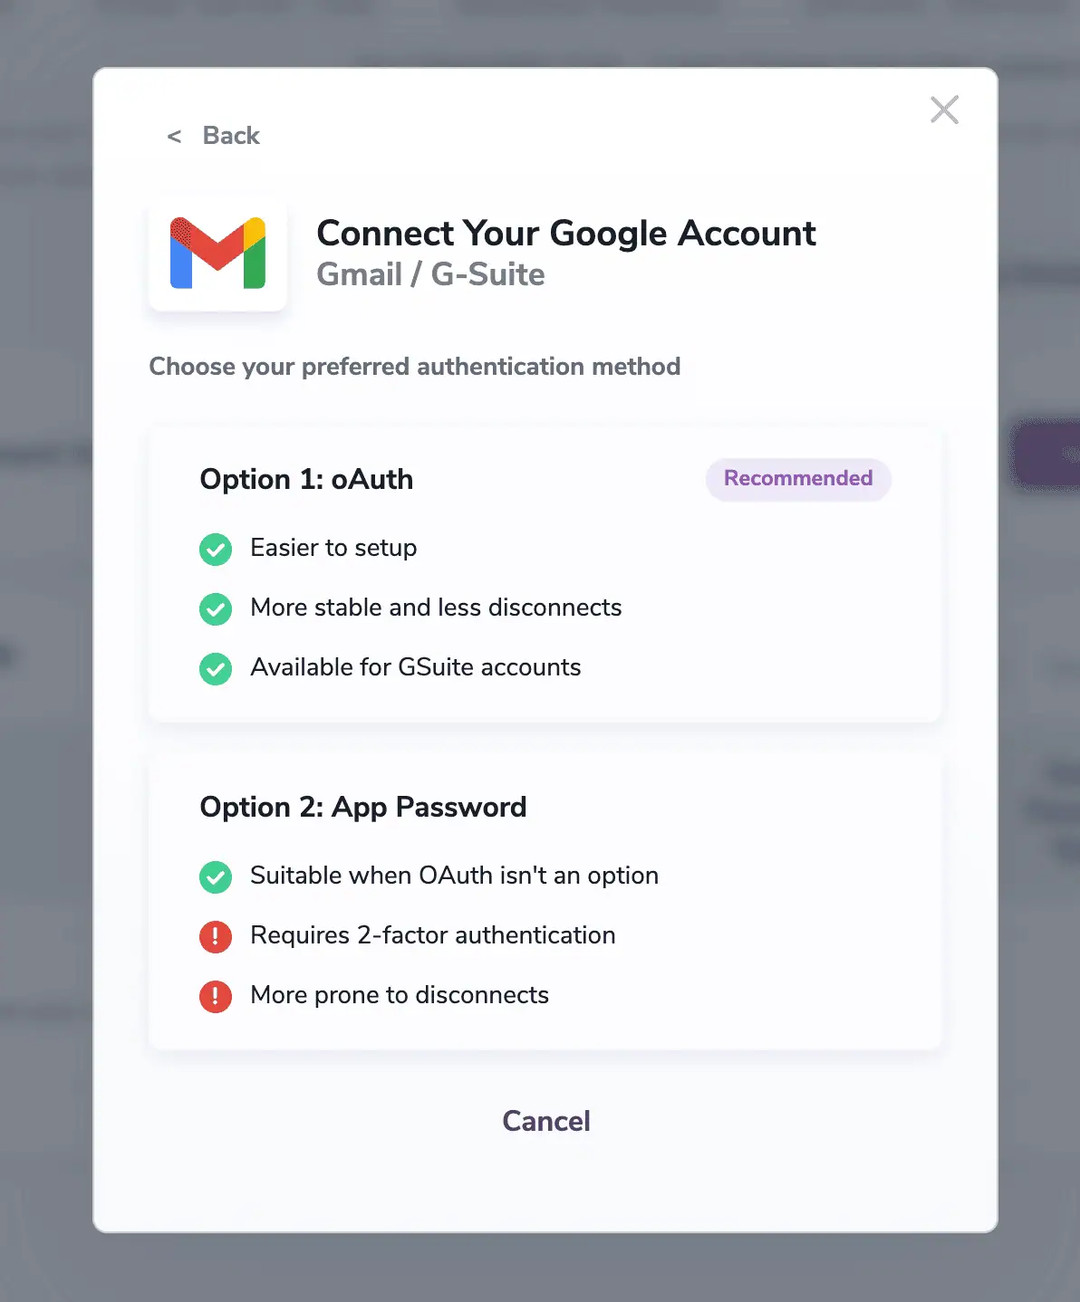
1. Choose oAuth or App Password for your preferred authentication method.
Section 1a - Using oAuth authentication
1a. Login to your desired account and be redirected to the next step.
2a. Check the box on the consent form that acknowledges that ZeroBounce is authorized to send emails on your behalf to our seed list. Click continue.

3a. Continue on to configure your starting email count in Step 5.
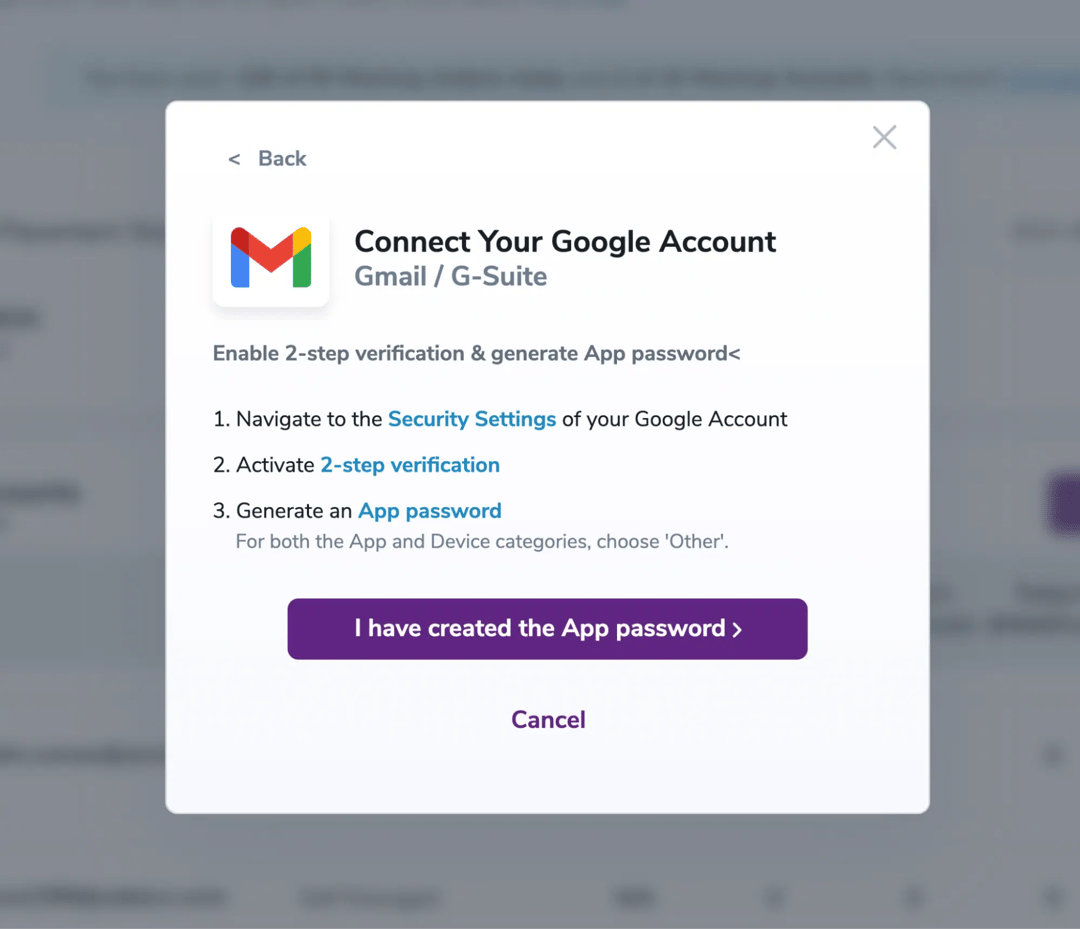
Section 1b - Using a Google App Password
1b. Follow the on-screen prompt to generate an App Password. Then, click “I have created the App Password” to continue.
2b. Enter your email and App Password.
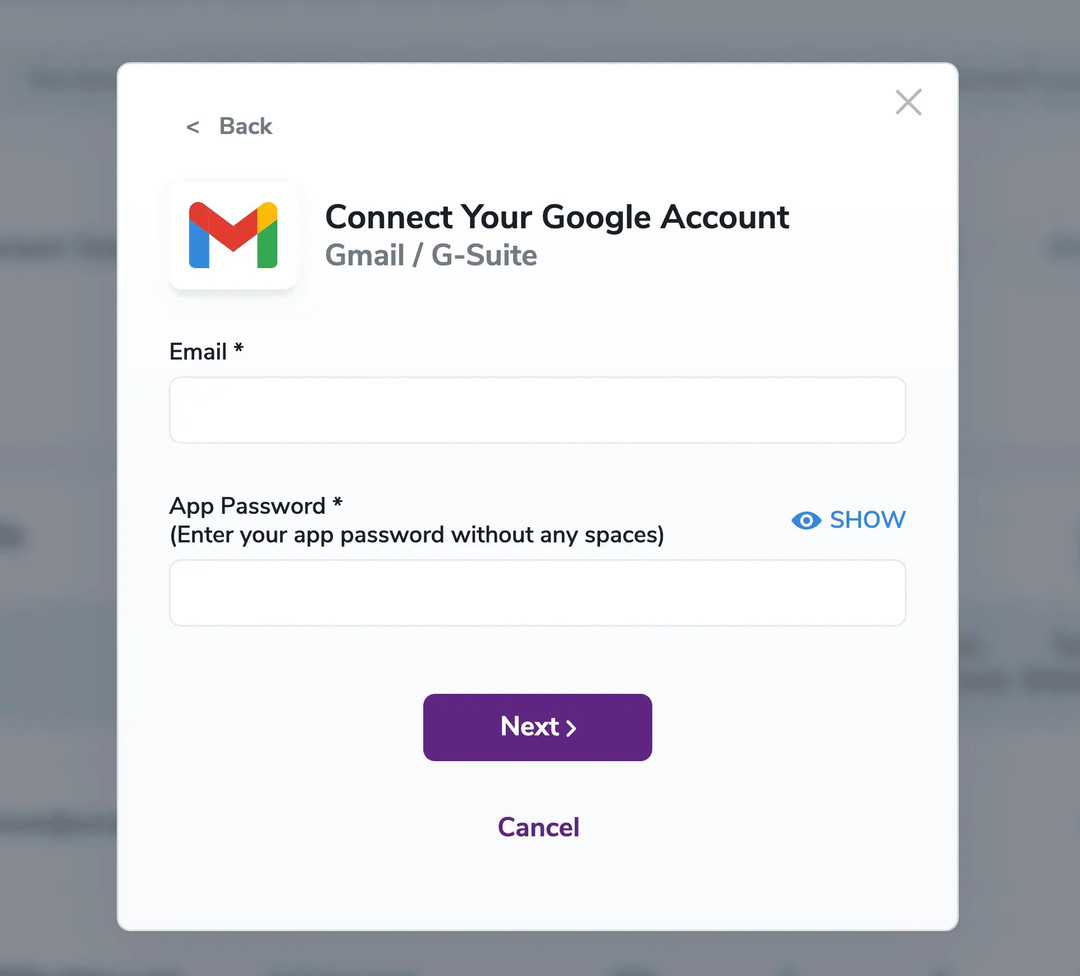
3b. Check the box on the consent form that acknowledges that ZeroBounce is authorized to send emails on your behalf to our seed list. Click Continue.
4b. Continue to configure your starting email count in Step 5.
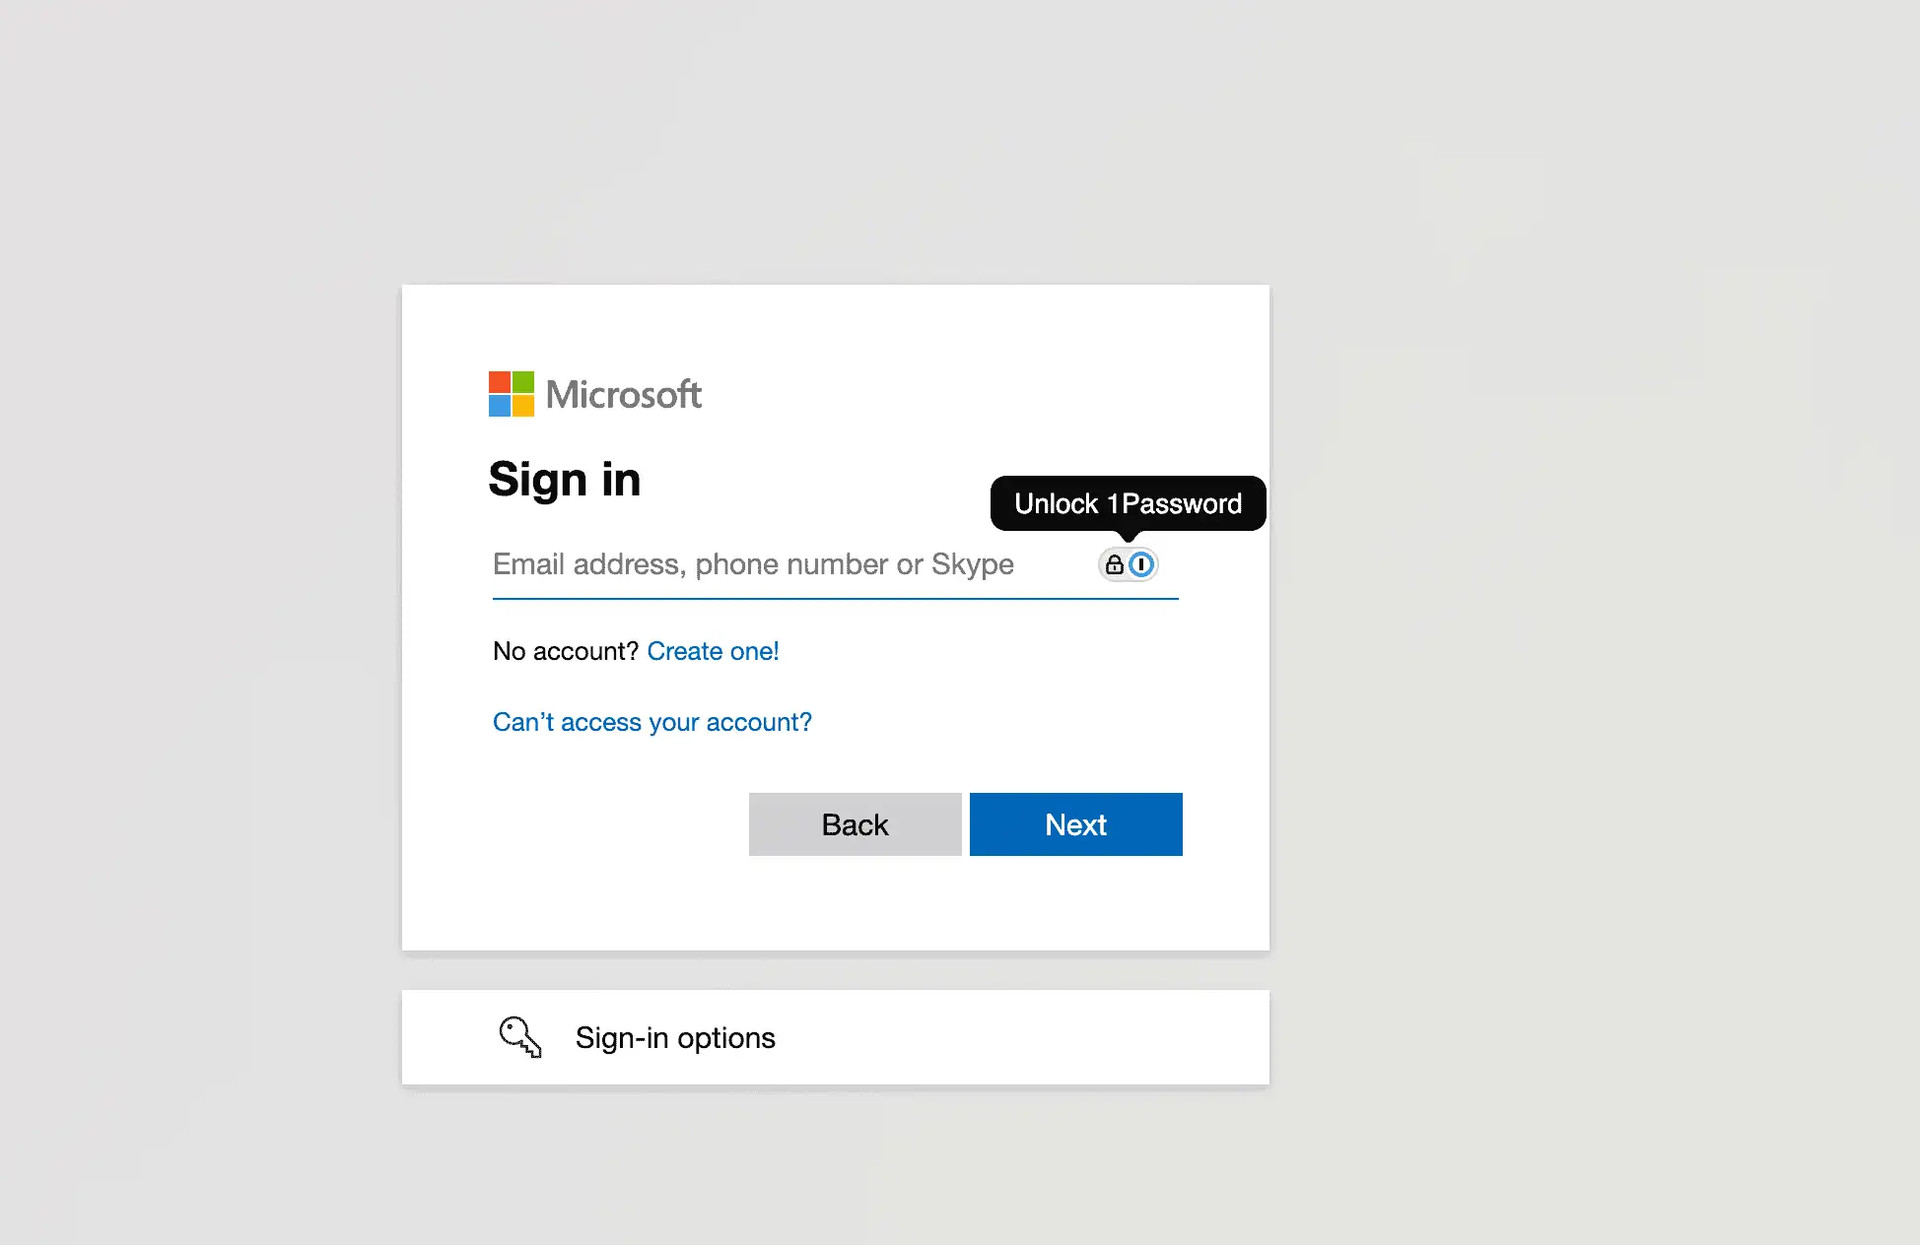
How to use Microsoft Office 365/Outlook with Warmup
1. Log in to your Microsoft account and click ‘Next.’
2. Please check the box on the consent form acknowledging that ZeroBounce is authorized to send emails on your behalf to our seed list. Then click continue.
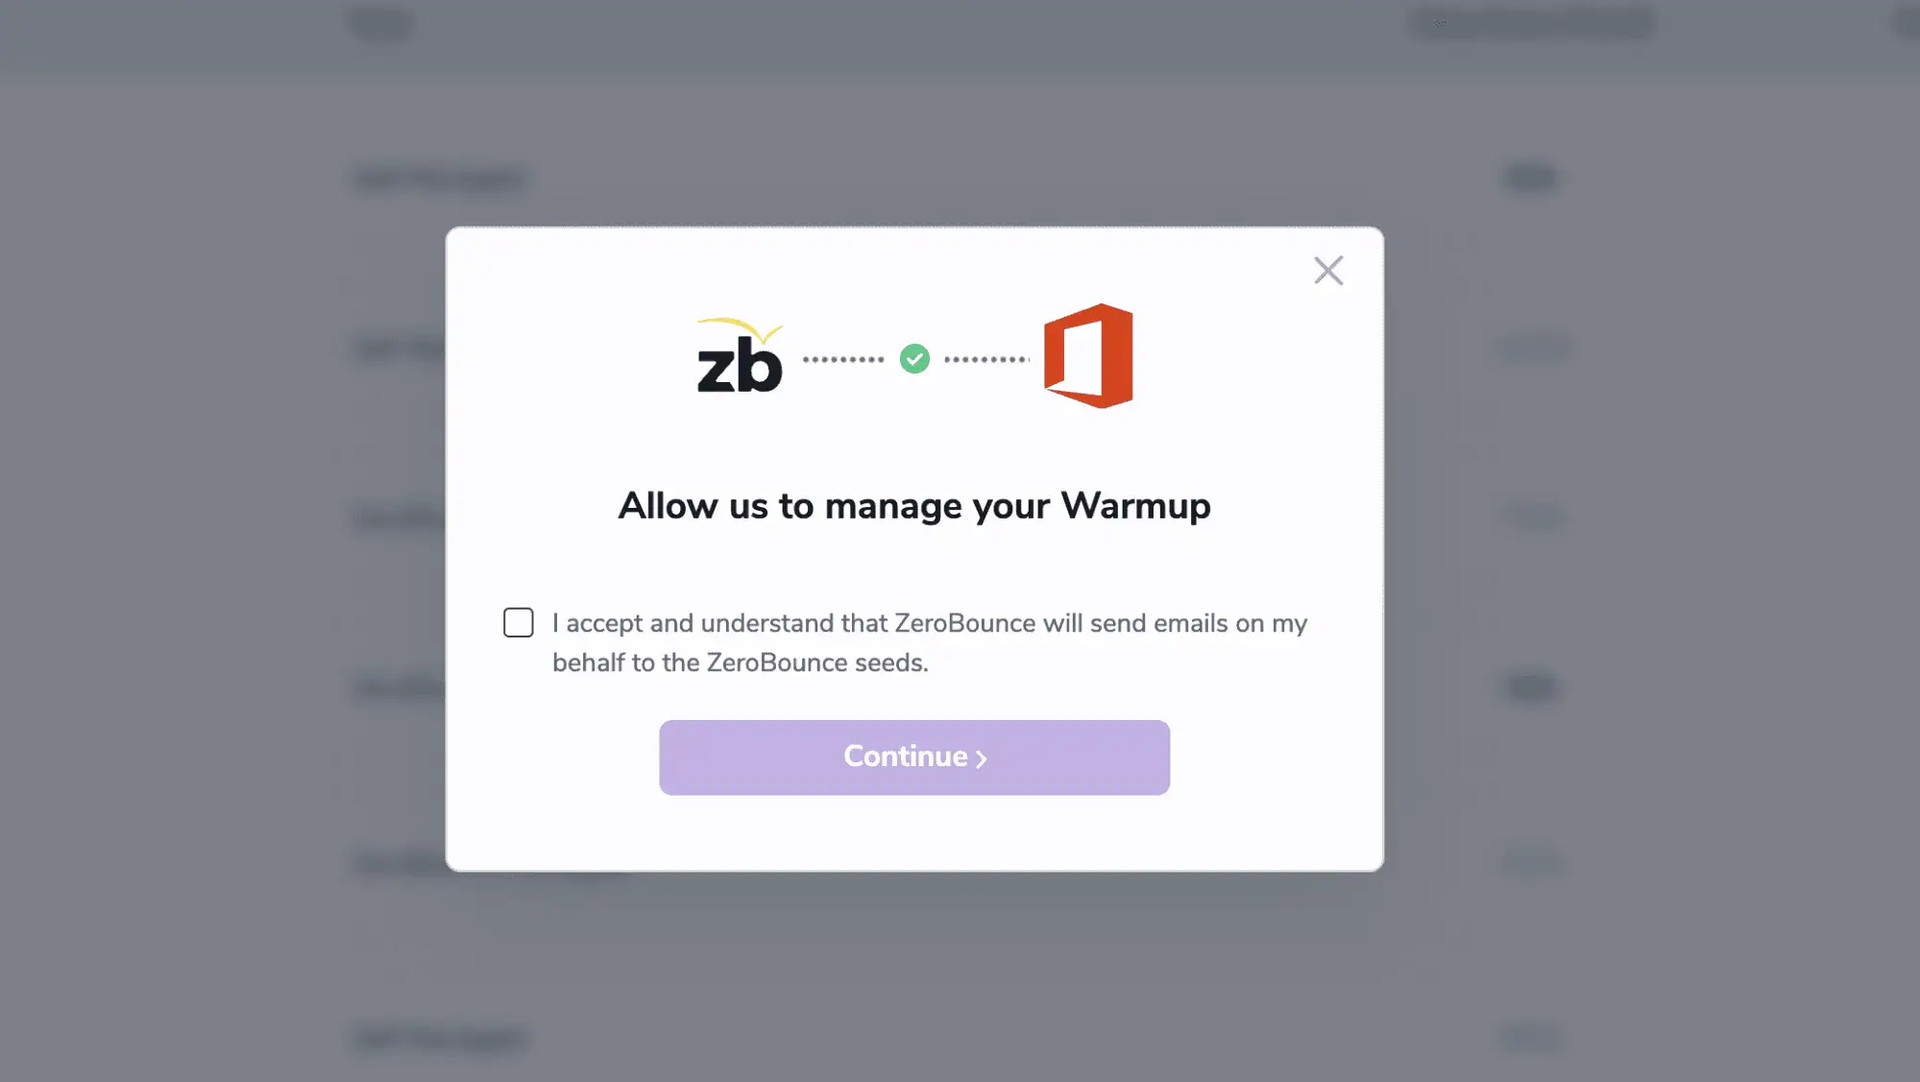
3. Continue to configure your starting email count in Step 5.
How to use SMTP with Warmup
- Enter your SMTP email and click ‘Next.’
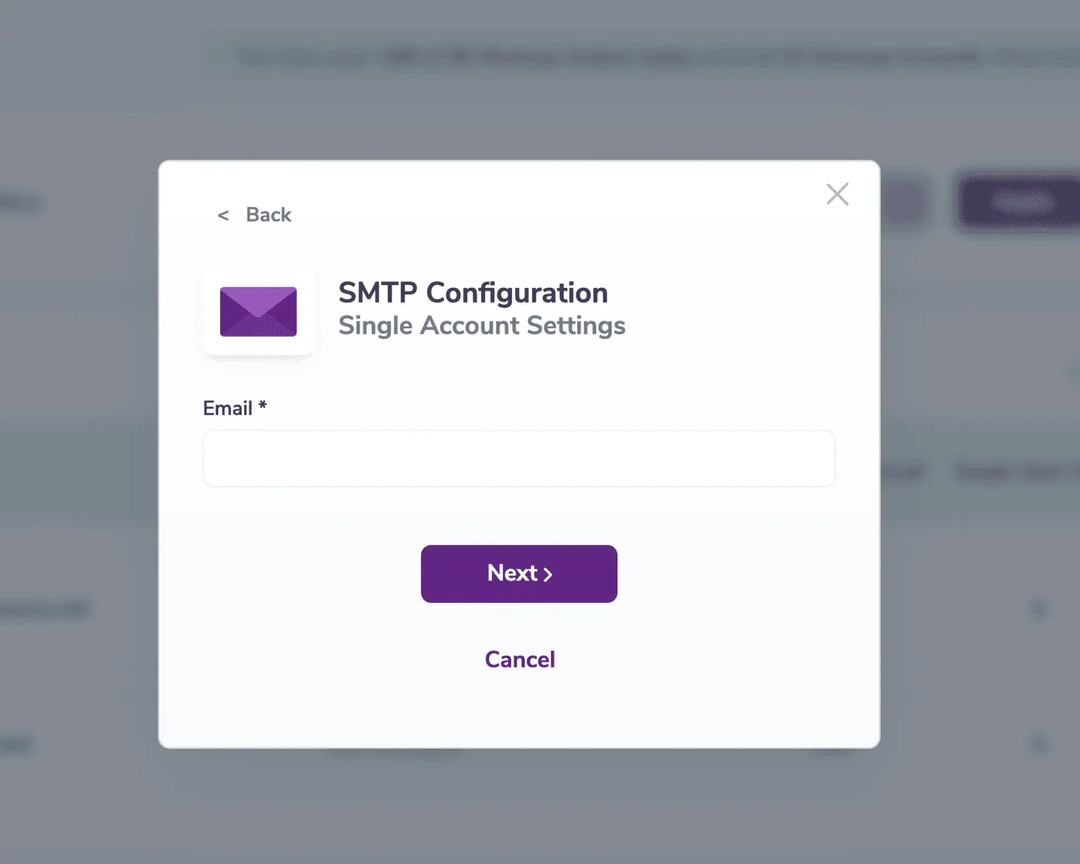
- Enter your password, SMTP Host, and SMTP Port number in the corresponding fields. Click ‘Continue’.

- Please check the box on the consent form acknowledging that ZeroBounce is authorized to send emails on your behalf to our seed list. Then click continue.
- Continue to configure your starting email count in Step 5.
- Set up your starting email count
The system will ask you to provide an estimate of the number of emails you send daily, which is critical to ensure accuracy. Based on this information, the system will start by sending emails equivalent to approximately 0.1%* of your total daily email volume. Why 0.1%? Major email service providers (ESPs) consider 0.1% as an acceptable threshold for negative engagement (such as emails being marked as spam). By starting with this small percentage, Warmup helps offset potential negative engagement with positive interactions, gradually improving your email reputation before scaling up further.
* The volume may differ based on your subscription, engagement rules and our analysis of email reputationⓘ.
- Enter the required Sender Details (First and Last Name), and click ‘Next Step’.
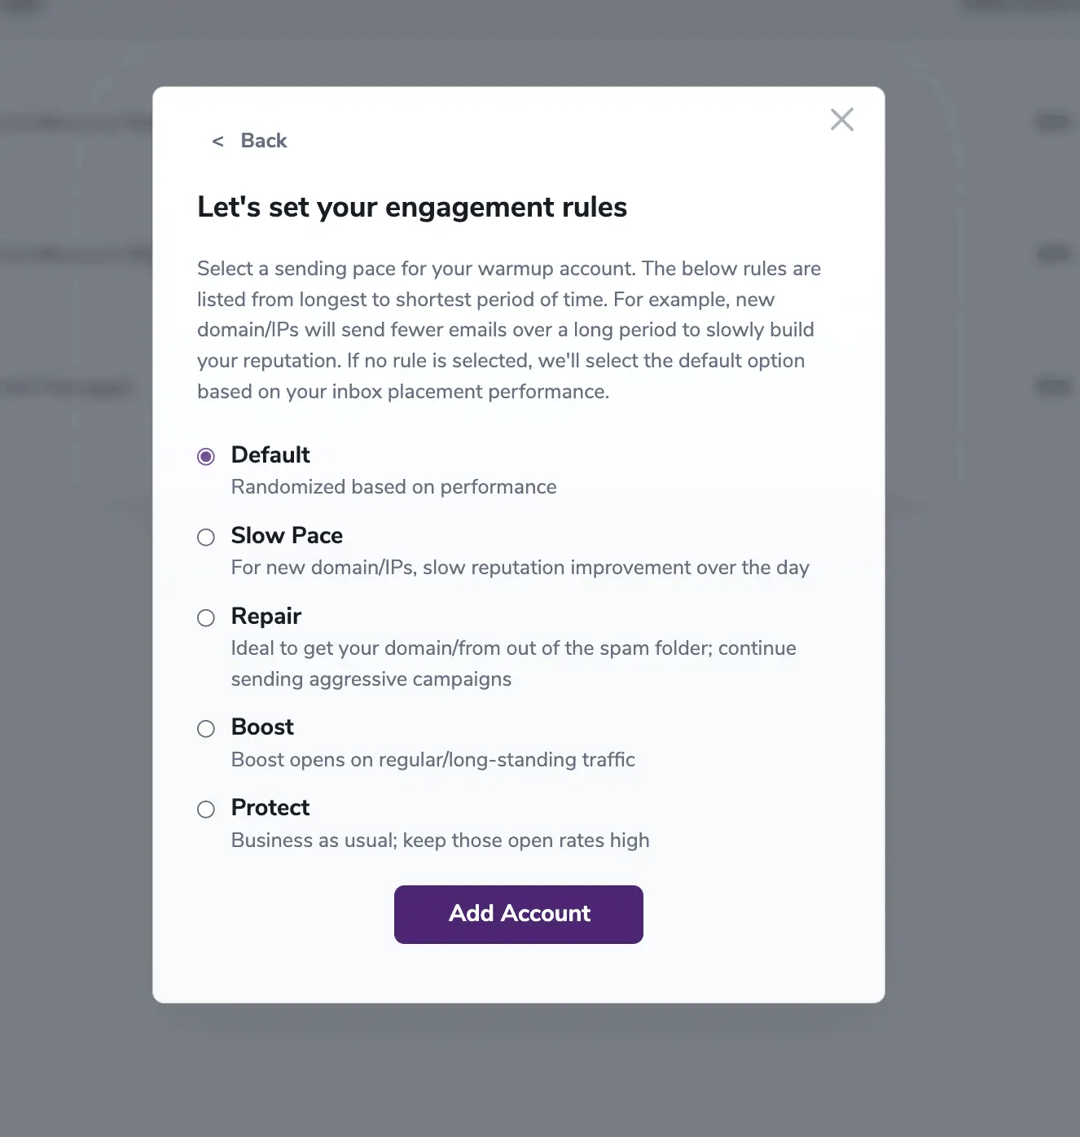
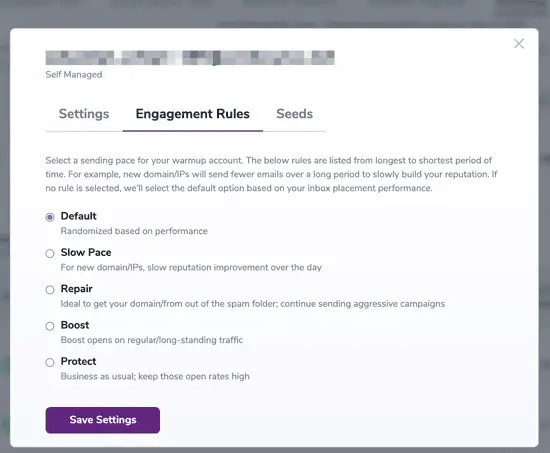
- Select your preferred engagement rules. Use the descriptions below to choose the most appropriate Warmup option:
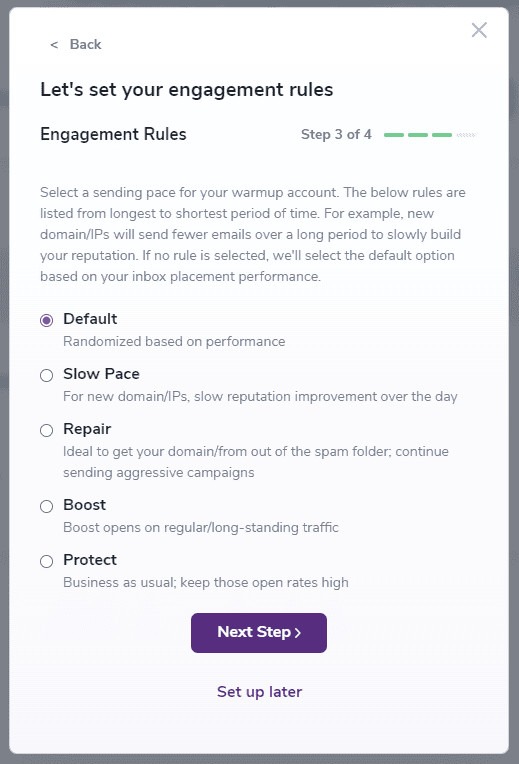
- DefaultThis rule implements a standard warm-up process for your email sender domain and IPs. It gradually increases interaction volume with received emails based on predefined intervals, ensuring a smooth transition into full-scale email engagements while maintaining your sender reputation.
- Slow PaceTailored for new domains or IPs, this rule adopts a cautious approach to building reputation through interaction with received emails. It incrementally increases interaction volume throughout the day, allowing email providers to recognize and trust your engagement patterns gradually.
- RepairIf your domain or IP has encountered deliverability issues such as emails landing in spam folders, this rule will help aggressively restore reputation and deliverability through targeted interaction with received emails. It focuses on improving sender credibility and regaining inbox placement.
- BoostTailored for established senders, this rule strategically amplifies interaction volume during peak engagement periods. By optimizing interaction with received emails, it aims to maximize engagement metrics and enhance overall performance.
- ProtectDesigned for businesses with consistent email performance, this rule maintains a steady pace of interaction with received emails. It ensures high interaction rates and reliable inbox placement without compromising deliverability or sender reputation.
It’s important to regularly adjust the engagement rules using our settings feature to align with your evolving preferences and requirements.
- Set up your ‘Advanced Rules’.
- Weekdays only - Toggle this to send emails only on weekdays. If untoggled, emails will be sent every day.
- Time zone - Choose the time zone for your business. This will help Warmup create realistic engagement patterns.
- Start the Warmup on - Choose the date on which Warmup should begin.
It’s important to regularly adjust the engagement rules using our settings feature to align with your evolving preferences and requirements.
- Click ‘Save Settings.’
How to use the self-managed method
1. From your ZeroBounce dashboard, click on Tools. Then, click on Warmup.
2. Click on “+ New Warmup Account”.
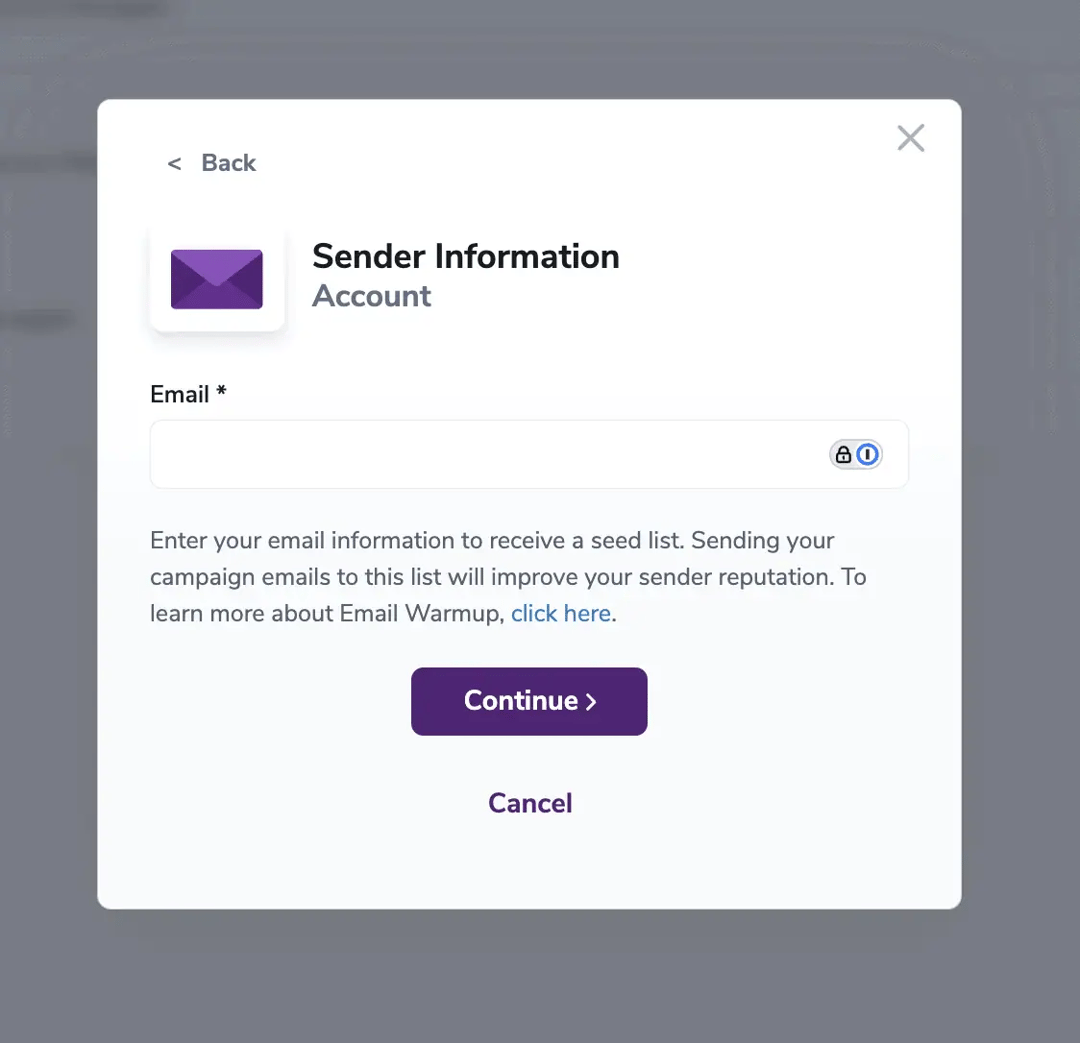
- Click “I will manage the email sending myself”.
- Add your sender information/email in the provided field.
- Select your preferred engagement rules. Use the descriptions below to choose the most appropriate Warmup option:
- DefaultThis rule implements a standard warm-up process for your email sender domain and IPs. It gradually increases interaction volume with received emails based on predefined intervals, ensuring a smooth transition into full-scale email engagements while maintaining your sender reputation.
- Slow PaceTailored for new domains or IPs, this rule adopts a cautious approach to building reputation through interaction with received emails. It incrementally increases interaction volume throughout the day, allowing email providers to recognize and trust your engagement patterns gradually.
- RepairIf your domain or IP has encountered deliverability issues such as emails landing in spam folders, this rule will help aggressively restore reputation and deliverability through targeted interaction with received emails. It focuses on improving sender credibility and regaining inbox placement.
- BoostTailored for established senders, this rule strategically amplifies interaction volume during peak engagement periods. By optimizing interaction with received emails, it aims to maximize engagement metrics and enhance overall performance.
- ProtectDesigned for businesses with consistent email performance, this rule maintains a steady pace of interaction with received emails. It ensures high interaction rates and reliable inbox placement without compromising deliverability or sender reputation.
It’s important to regularly adjust the engagement rules using our settings feature to align with your evolving preferences and requirements.
- Verify your email address.
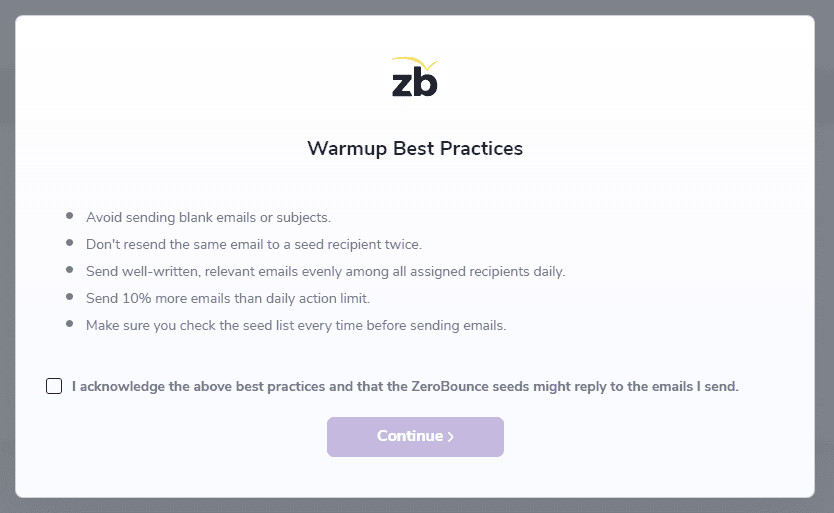
- Please check the box on the consent form that acknowledges the mentioned best practices and that the ZeroBounce seeds might reply to the emails you send. Click continue.
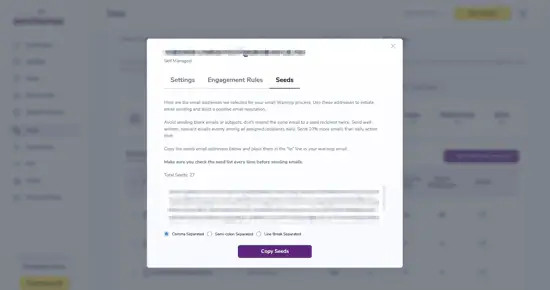
- Copy the provided list of seed email addresses.
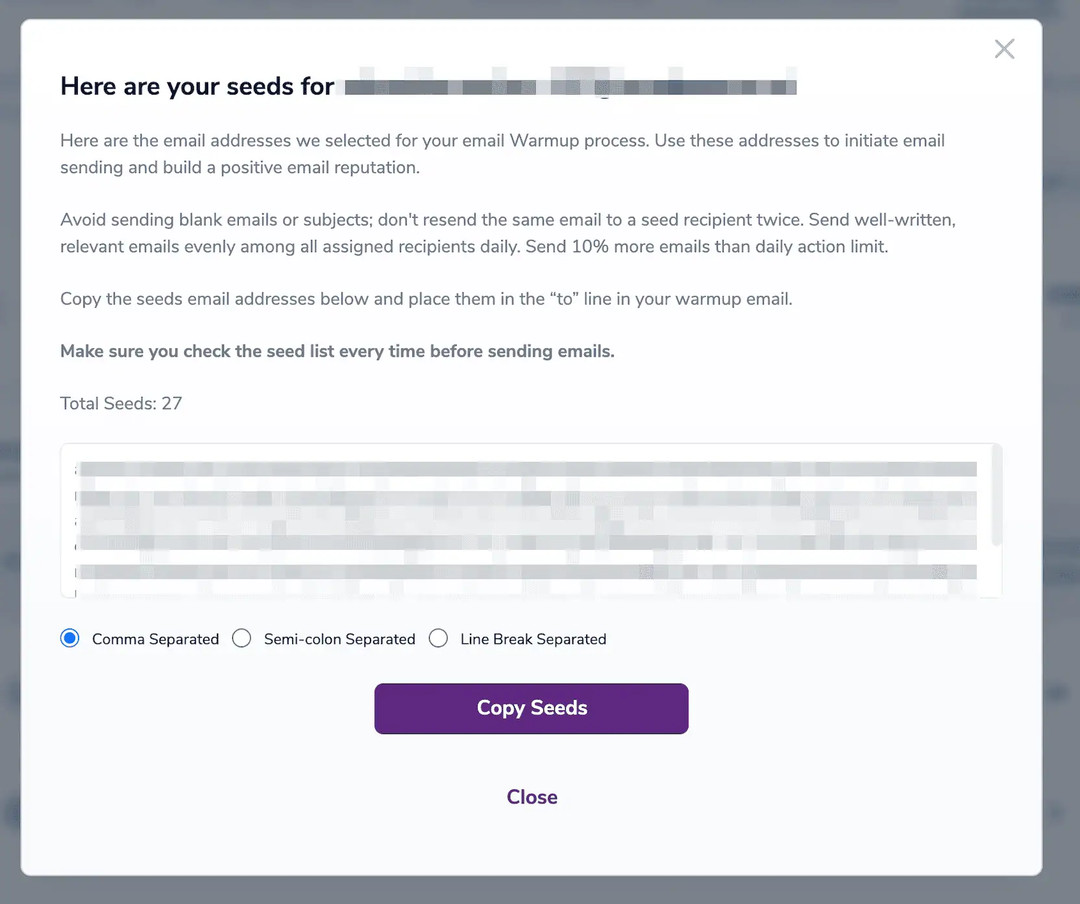
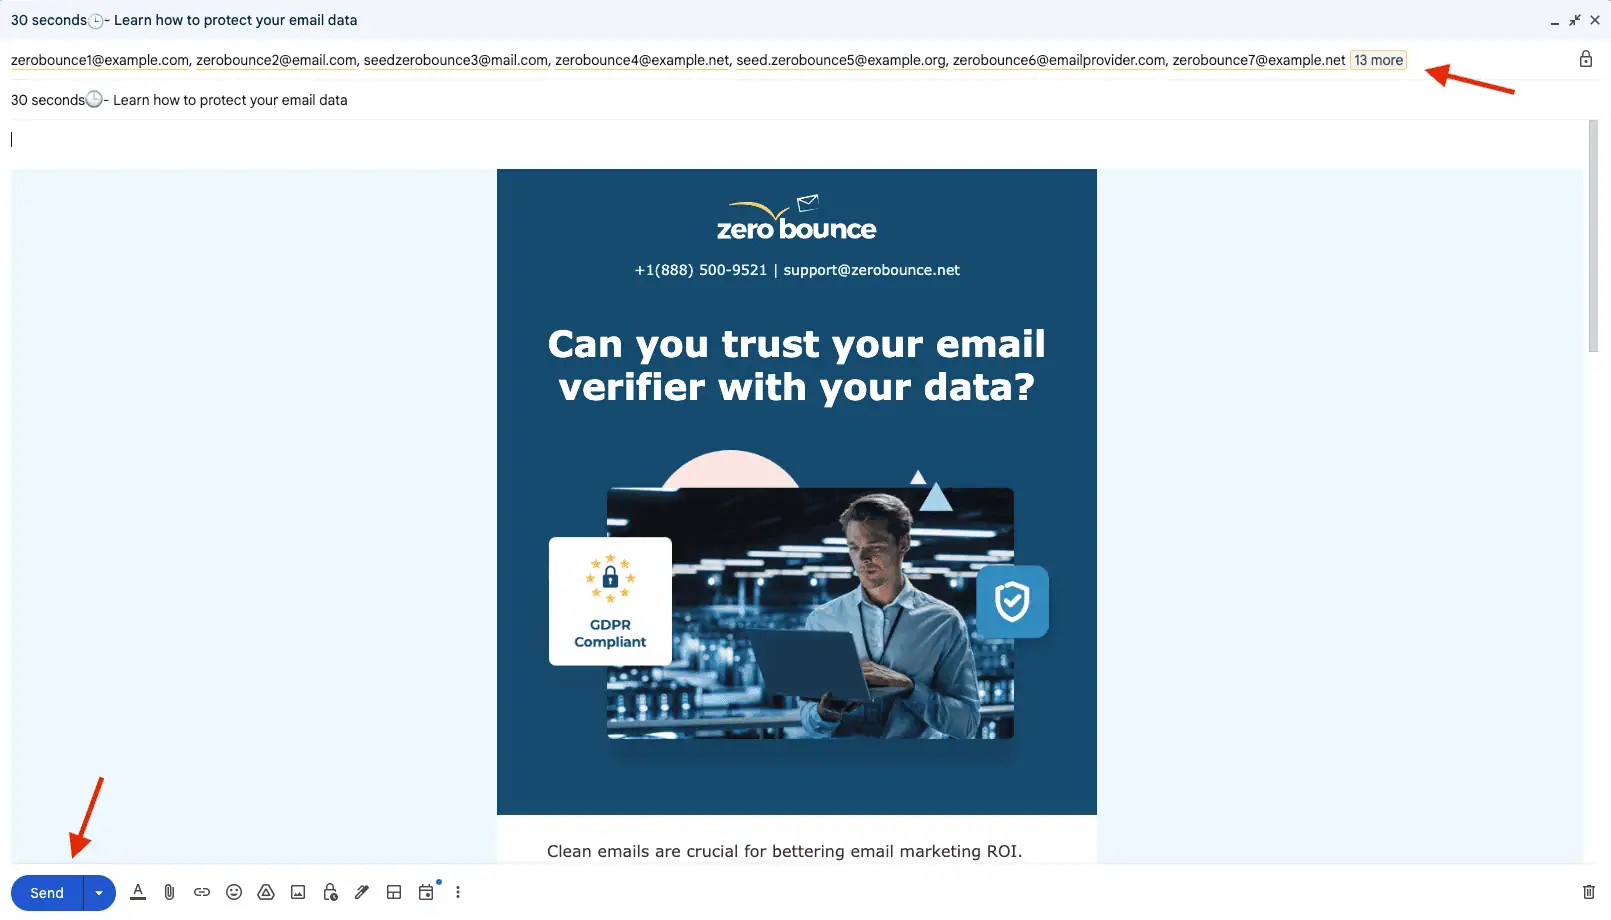
- Send your campaign or newsletter to these email addresses. After creating the campaign in your email delivery system, paste these addresses into the “To” field.
You should start by estimating the number of emails you send daily, as this is crucial for ensuring accuracy. Based on this estimate, you should initially send emails equivalent to approximately 0.1%* of your total daily volume. Why 0.1%? Major email service providers (ESPs) consider 0.1% as an acceptable threshold for negative engagement (such as emails being marked as spam). By starting with this small percentage, you can offset potential negative engagement with positive interactions, gradually improving your email reputation before increasing your email volume further.
Make sure you don’t send more emails than 1 per seed daily.
Warmup Permissions
When using ZeroBounce Managed, you grant us access to your mailboxes to send emails on your behalf. We strictly use these permissions for sending emails only — your emails are never read or accessed for any other purpose. Below is a breakdown of the permissions we request:
- Google OAuth - We only request the necessary permissions to send emails: the permission to “Send emails on your behalf”
- Google App Password - We request the app-specific password to securely establish SMTP connections
- Outlook OAuth - We request the following permissions: “Send emails as you” and “Read your profile”
- SMTP Credentials - We request your SMTP credentials to set up and maintain SMTP connections
Part II - Warmup dashboard, functionality and features
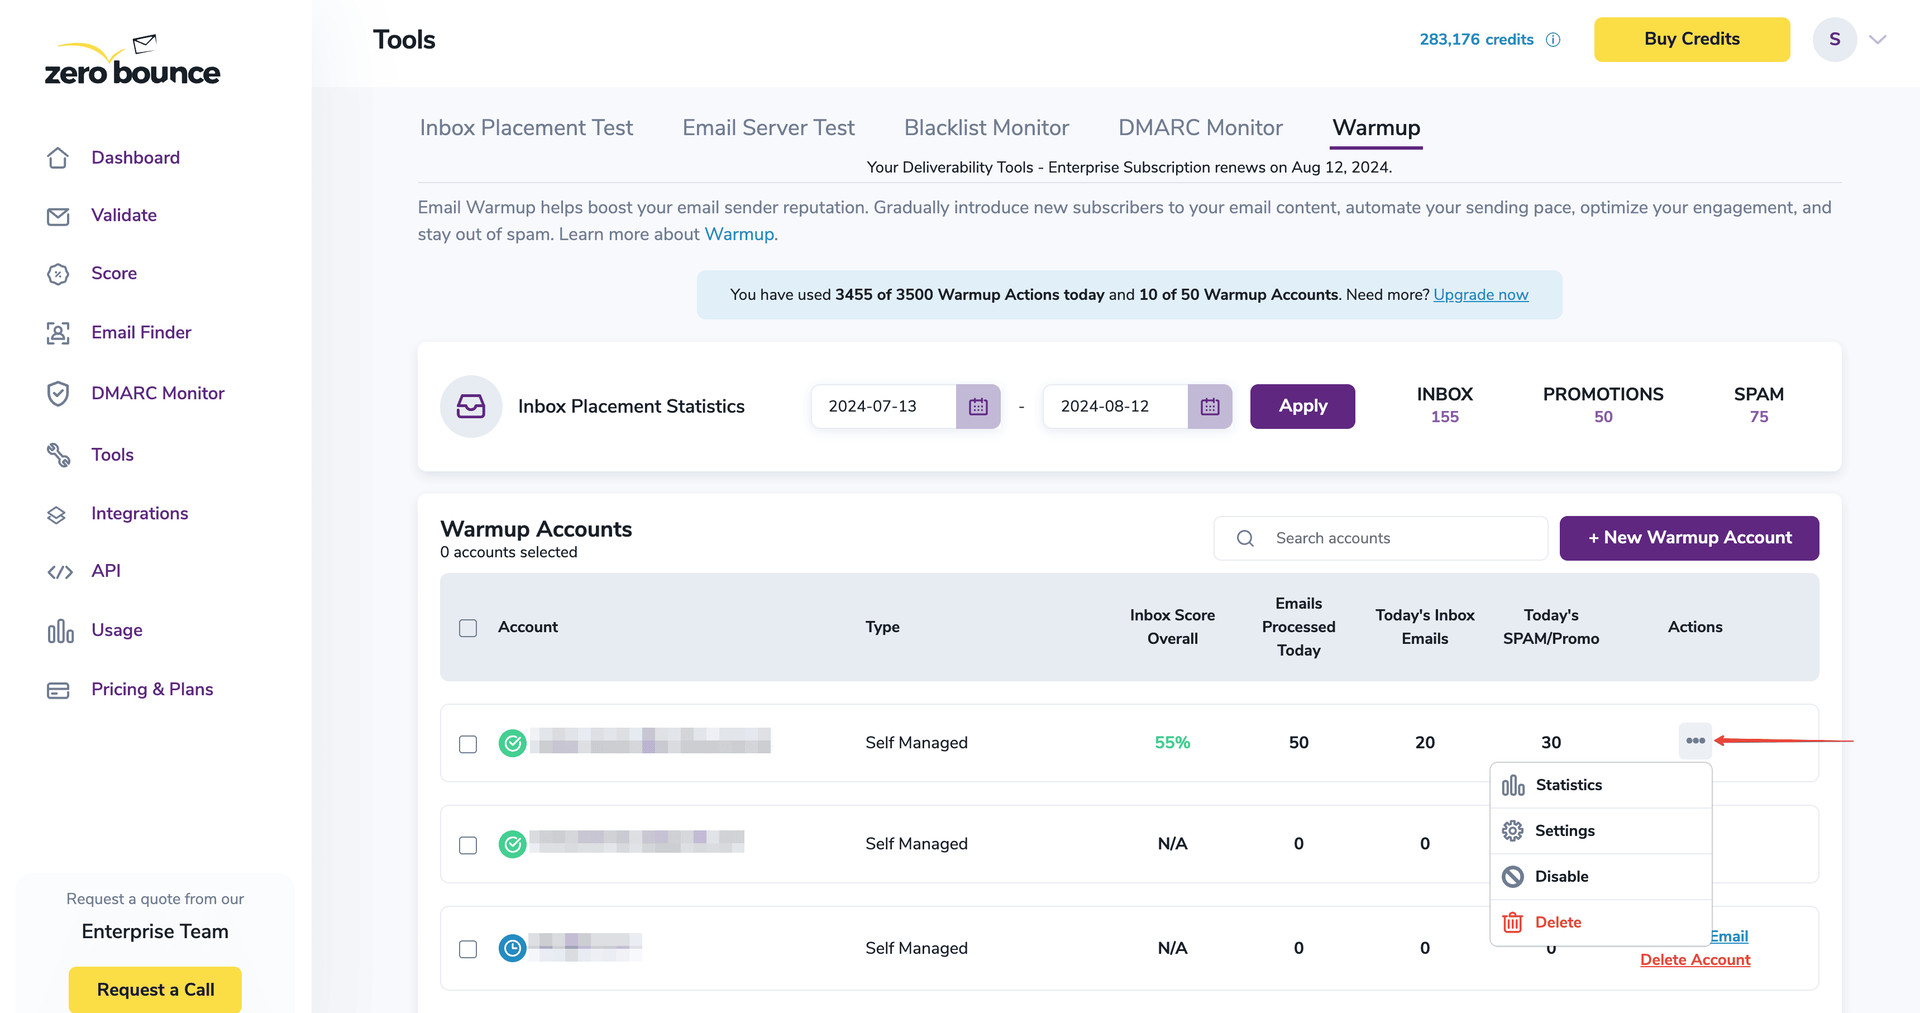
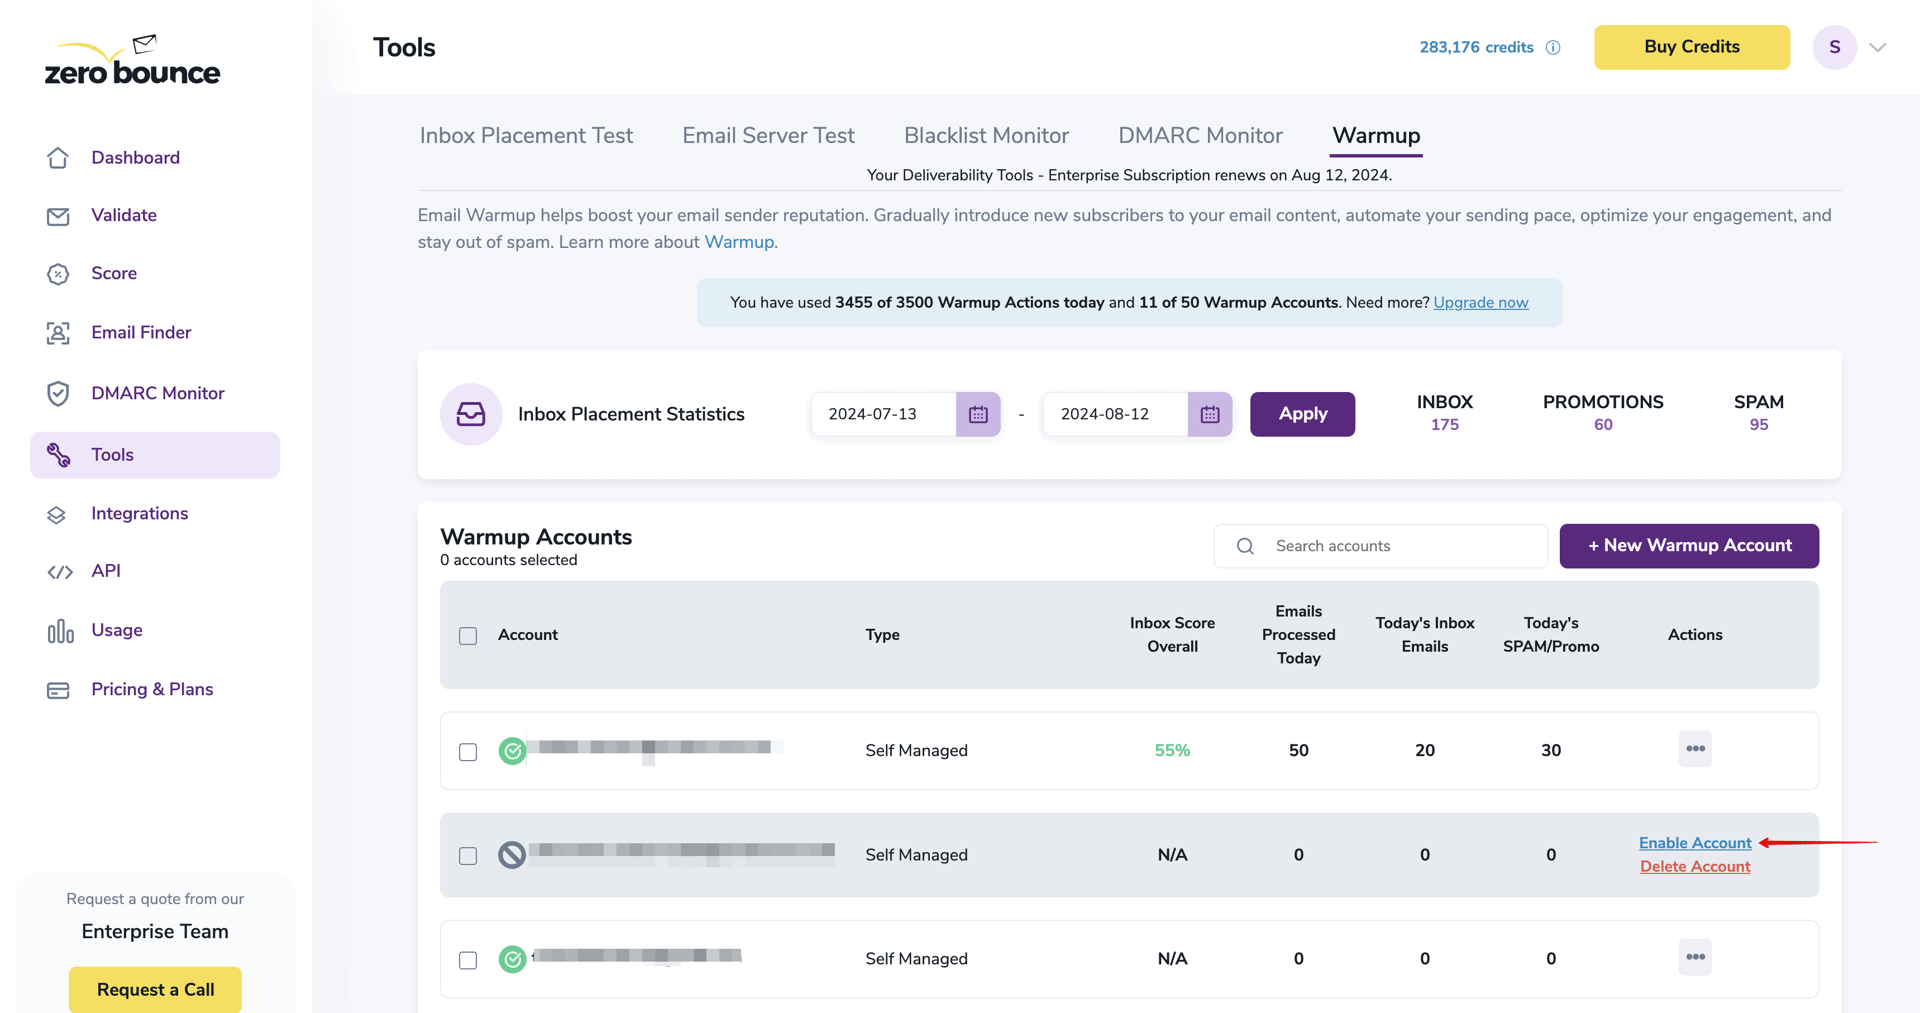
Warmup dashboard overview
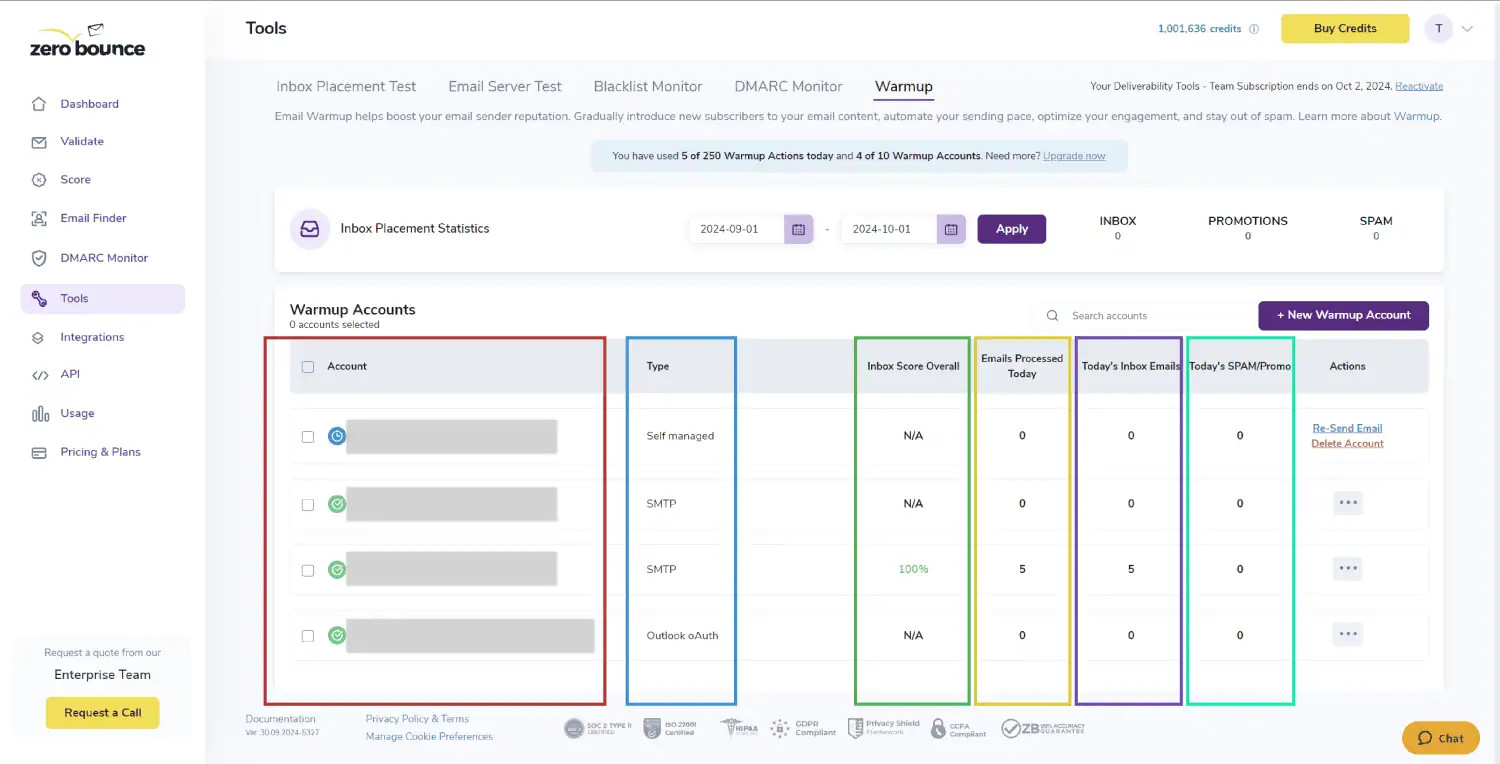
In your Warmup dashboard, you’ll find the following features and reporting metrics:
- Account - The monitored account.
- Type - Domain type.
- Inbox Score Overall - The score indicating the difference between the most recent email batch successfully delivered to the inbox and the initial batch sent.
- Emails Processed Today - The total number of emails sent and processed throughout the day.
- Today’s Inbox Emails - The number of emails processed today that successfully reached our inbox.
- Today’s Spam/Promo - The number of emails processed today that ended up in our Spam/Promotions folders.
Navigating the Statistics modal
To access your Warmup statistics:
- Identify your Warmup account from the main dashboard.
- On the far right, click the “...” button. Then, click ‘Statistics.’
The Statistics modal provides a comprehensive overview of all data collected since the initiation of your Warmup journey. You can customize how these statistics are displayed by using the dropdown menu pictured below.
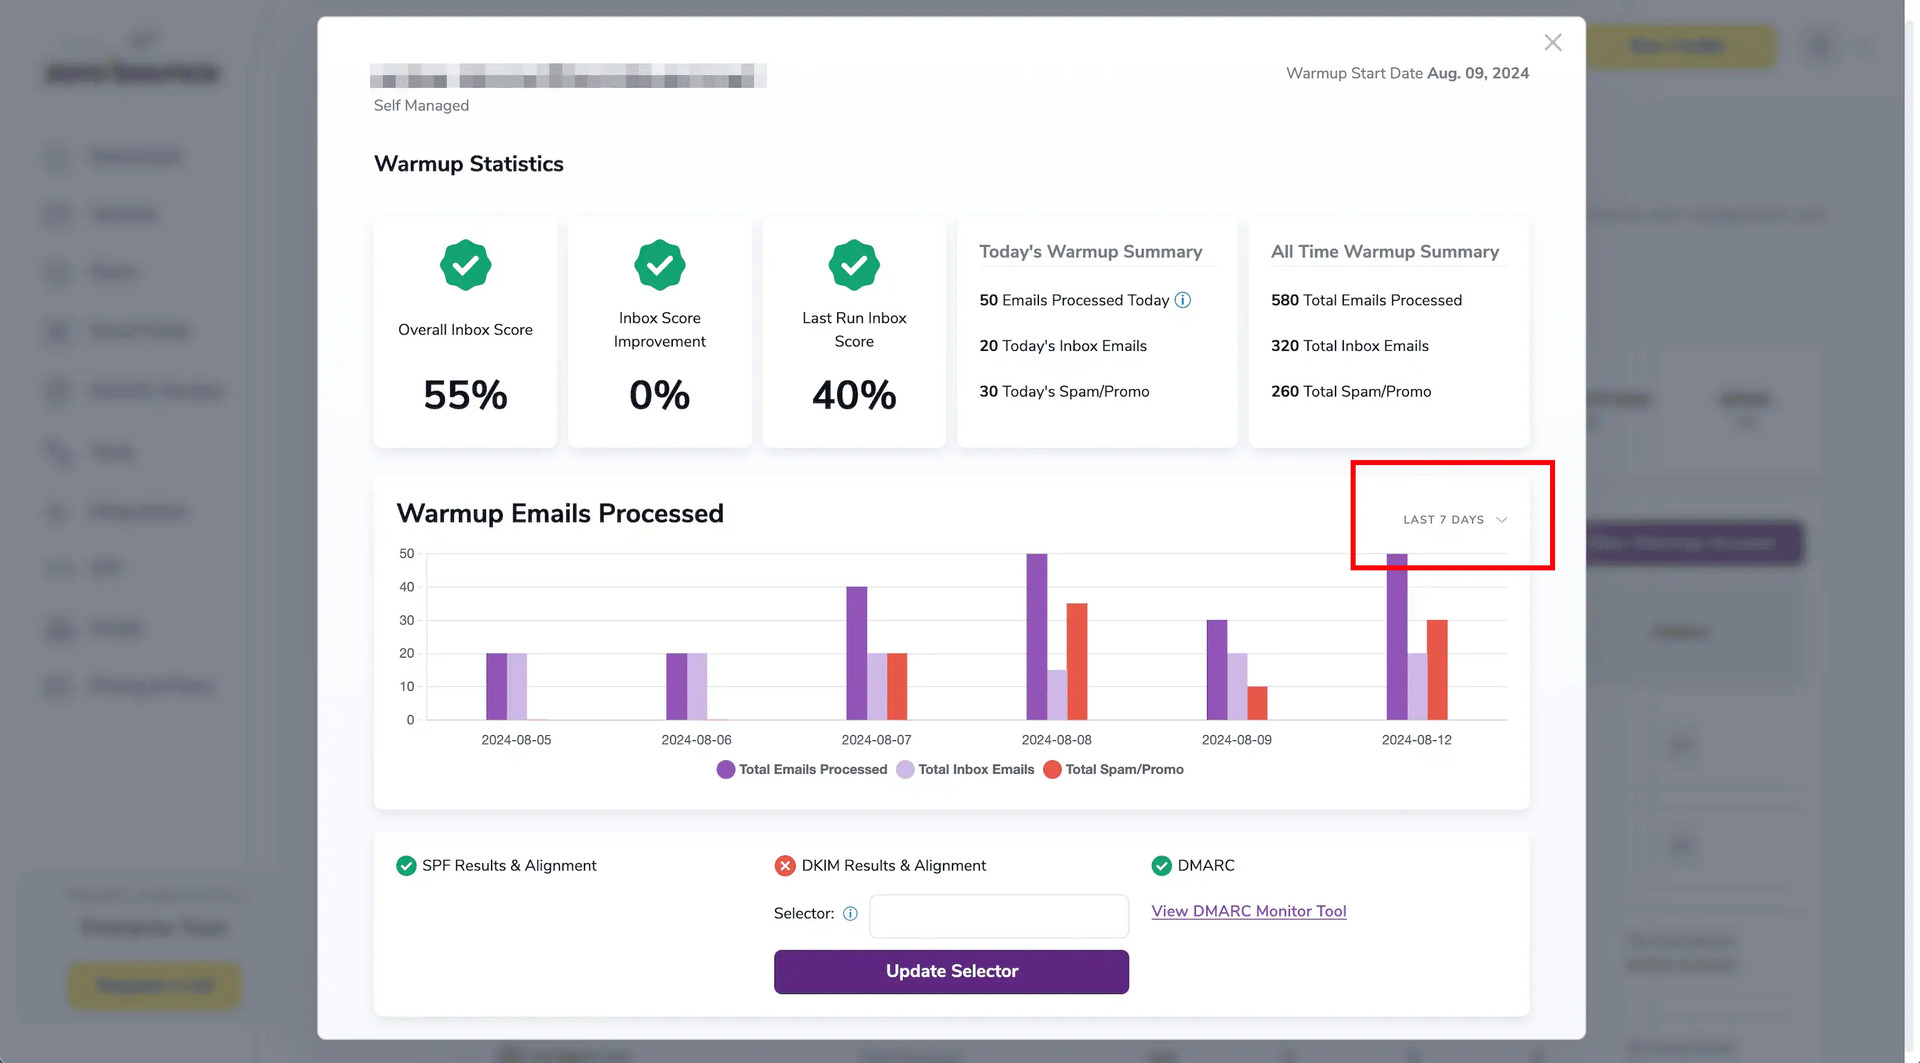
Here’s a brief rundown of each Warmup statistic available:
- Overall Inbox Score - The overall percentage of emails that reach the inbox since the initiation of the Warmup service.
- Inbox Score Improvement - A percentage that indicates the overall increase of emails that have reached the inbox since beginning the Warmup service.
- Last Run Inbox Score - The percentage of emails that reached the inbox during the last batch of emails sent.
- Today’s Warmup Summary - This details the number of emails sent along with their corresponding final destination.
- All-Time Warmup Summary - Complete historical details on the number of emails sent with Warmup and their corresponding folder placement.
- Warmup Emails Processed - This graph illustrates the number of emails processed daily by Warmup and compares those delivered to the inbox to those delivered to the spam or promotions folders.
- SPF Results & Alignment - This indicates whether the emails you send are aligned with your current Sender Policy Framework (SPF) configuration.
- DKIM Results & Alignment - This indicates whether the emails you send are aligned with your DomainKeys Identified Mail (DKIM) configuration.
- DMARC - Indicates whether your sent emails comply with the Domain-based Messaging, Authentication, and Conformance (DMARC) policy.
You can also use the Selector feature to update the selector used for your DMARC policy established with DMARC Monitorⓘ.
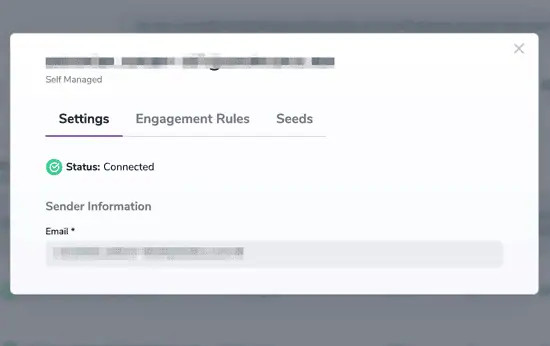
Navigating the Settings modal
- Identify your Warmup account from the main dashboard.
- On the far right, click the “...” button. Then, click ‘Settings’.
Here’s a brief rundown of what you can modify in the Settings modal:
- Sender information - You can locate the email address/account being used for this Warmup listing.
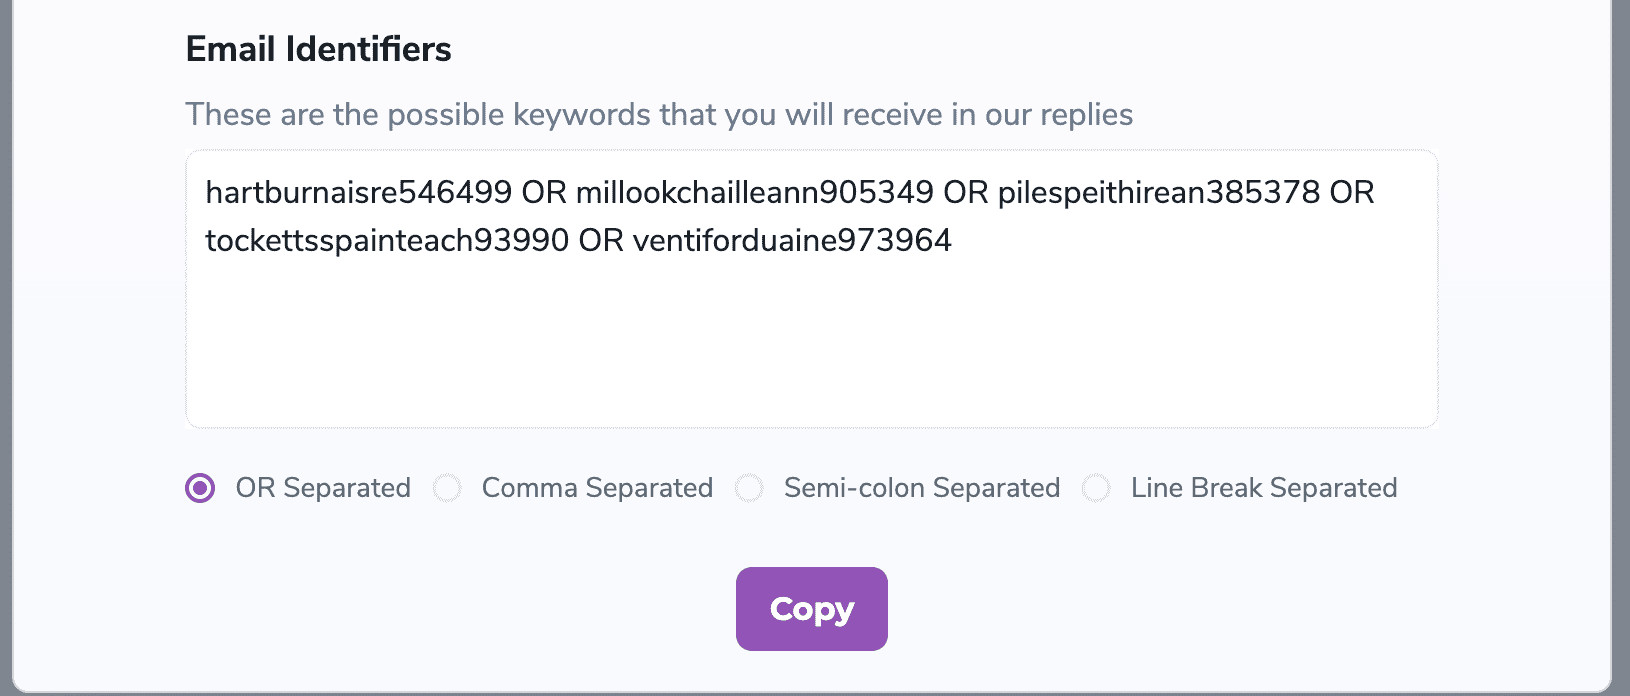
- Email Identifiers - You can filter the Warmup emails sent by ZeroBounce from all other emails by adding customer keywords here. Enter any keyword using alphanumeric characters.
Ensure that you separate them with the separator selected below the field (e.g., OR Separated: keyword1 OR keyword2 OR keyword3).
- Engagement rules - This allows you to review and update your current engagement rules for the Warmup process. It’s recommended to review this regularly throughout your Warmup journey.
- Seeds - You can locate and copy your seed email addresses here at any time.
How to disable, enable, or delete a Warmup account
How to disable a Warmup account
If you want to disable or temporarily suspend the Warmup process for an account, follow these steps:
- Locate a Warmup listing from your dashboard that’s currently enabled.
- On the far right, click on the “...” button. Then, click ‘Disable’.
How to enable a Warmup account
If you want to re-enable a previously disabled Warmup account, follow these steps:
- Locate a Warmup listing from your dashboard that’s currently disabled.
- On the far right, click the button that reads ‘Enable Account.’
How to delete a Warmup account
If you want to delete a Warmup account, follow these steps:
- Locate a Warmup listing from your dashboard.
- On the far right, click the button that reads ‘Delete Account’.
Deleting a Warmup account will also delete all related history for that account permanently.
Our customer support team is available 24/7. If you experience any issues with Warmup setup or have questions regarding how to use Warmup effectively, please contact the ZeroBounce team at any time.