TEAM ACCOUNTS
MANAGE USERS
By setting up a team account, you can invite multiple users to our email validationⓘ platform. You will be able to assign a role to each user that grants different access levels to the system.
Currently there are four roles,Owner, Admin, Dev, and User that can be assigned to team members.
Each team account can only have one owner. The credit balance from the team owner will be the main source shared by all team members invited.
The table below shows the permissions matrix of the team account roles and actions.
Team Accounts Permissions
- ActionOwnerAdminDevUser
- Validate (upload files)YesYesYesYes
- Validate (download files)Yes. All team member's uploaded files.Yes. All team member's uploaded files.Yes. All team member's uploaded files.Yes. Only user's uploaded files.
- Single Email ValidatorYesYesYesYes
- Score (upload files)YesYesYesYes
- Score (download files)Yes. All team member files.Yes. All team member files.Yes. All team member files.Yes. Only user uploaded files.
- Email FinderⓘYes, All Team member's Email Finderⓘ SearchesYes, All Team member's Email Finderⓘ SearchesYes, All Team member's Email Finderⓘ SearchesYes, Only User Email Finderⓘ Searches
- Domain SearchYes, All Team member's Domain SearchesYes, All Team member's Domain SearchesYes, All Team member's Domain SearchesYes, Only User Domain Searches
- DMARC monitorsYesYesYesYes (All team monitors, read-only)
- Warmup AccountsYes, All Team member's Warmup AccountsYes, All Team member's Warmup AccountsYes, All Team member's Warmup AccountsYes (All team Warmup Accounts, read-only)
- Inbox TestYes, All Team member's TestYes, All Team member's TestYes, All Team member's TestYes, Only User Test
- Email Server TestⓘYes, All Team member's TestYes, All Team member's TestYes, All Team member's TestYes, Only User Test
- Blacklist monitorsYesYesYesYes (Only own monitors)
- ZB IntegrationsYesYesYesYes
- API - Keys & WhitelistingYesYesYesAssigned keys only.
- API - UsageYesYesYesAssigned keys only.
- UsageYesYesYesYes (Only own usage)
- Pay as You GoYesYesNoNo
- SubscriptionYesYesNoNo
- AutoPayYesYesNoNo
- Manage UsersYesYesNoNo
- IP-Based Conditional Access OptionYesYesYes (read-only)Yes (read-only)
- Password Expiry IntervalYesYesYes (read-only)Yes (read-only)
- Verify+ from ZeroBounceⓘYesYesYes (read-only)Yes (read-only)
- Email Validationⓘ RulesYesYesYesAll Team rules (read-only)
- Account Options – Transfer CreditsYesYesNoNo
- Account Options – Delete Your AccountYesNoNoNo
- Billing and InvoicesYesYesNoNo
- GDPR InformationYesYesNoNo
Manage Users under the Account Options is where you can create a team account and manage your team members.
CREATE TEAM ACCOUNT
To create a team account, click Create Team Account button.
The system will then convert your ZeroBounce account to a team account, and you will be assigned as the team owner.
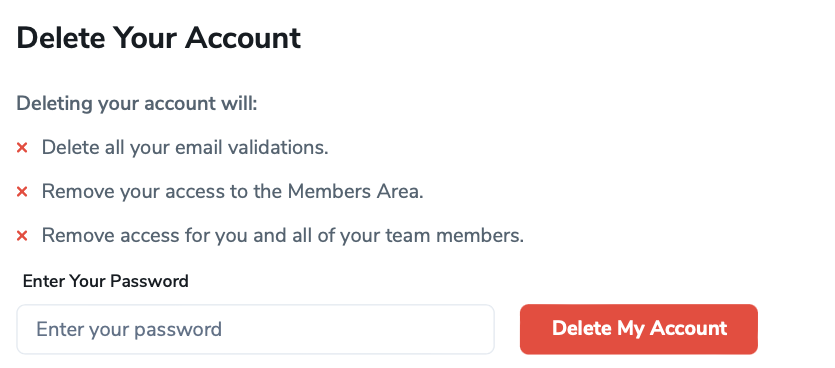
DELETE TEAM ACCOUNT
The delete your ZeroBounce account section with its password field and delete account button Deleting your account is permanent and will remove access to ZeroBounce for you and all of your team members.
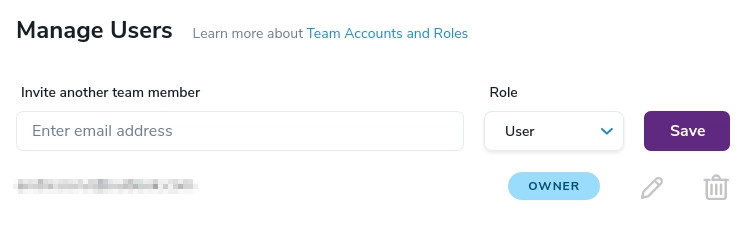
ADD TEAM MEMBER
To add a new team member to your team, enter the new team member's email address, select their role, and click Save to complete the process.
Please note that if the email address you entered has already been registered with ZeroBounce and you would still like to invite this user to the team, you will need to ask the owner of that email address to sign in to ZeroBounce, then select either Change Your Email under Profile or Delete Your Account under Account options to make that email address eligible before resending the invitation.
After your changes have been saved, a team account invitation email will be sent to the email address you entered.

All new team members will need to click Accept Invitation from the Team Account Invitation email, then complete the steps on the Join Account page to join the team.
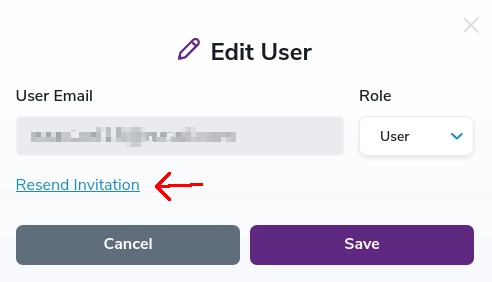
RESEND INVITATION EMAIL
If the invited team member has not confirmed their account, you can resend the invitation email by clicking the pencil button and then clicking the "Resend invitation" link.

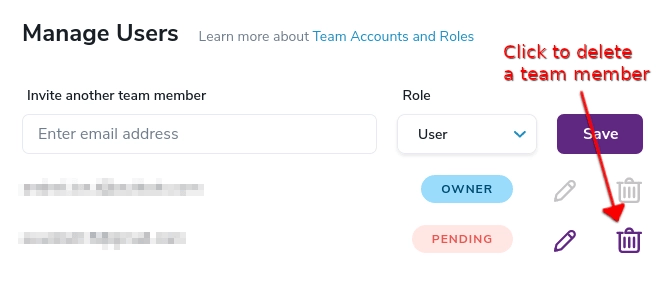
DELETE TEAM MEMBER
To delete a team member from your team, click the trash can icon on the right side of that team member's email address. Deleting a team member not only removes the person from the team, but also removes the person's access to ZeroBounce.
EDIT TEAM MEMBER
To edit a team member, click the pencil icon. If the new member has not been confirmed, you can change the member's email address. However, you'l need to resend the invitation email to the updated address. If the member has been confirmed, only the member's role can be updated. After entering your changes, click the Save button.
To edit a team member, click the pencil icon.
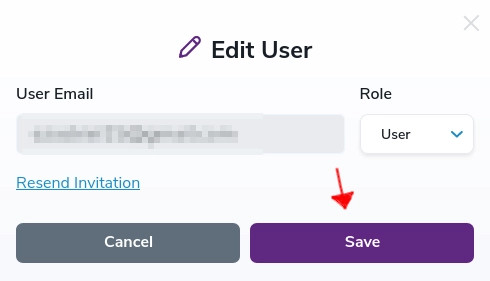
After entering your changes, click the Save button.