The AWeber integration service at ZeroBounce allows users to import email addresses from their lists in AWeber and utilize our services to validate those emails.
When importing a list from AWeber to ZeroBounce using the integration service, only the email address information in the AWeber list will be imported. Also, the subscriber’s status in your AWeber list needs to be “subscribed”.
To use this integration service, you need to have a valid AWeber account first. You will be prompted to enter your AWeber Login Name and Password when you use the service. We integrated our platform with AWeber using OAuth 1.0a for authorization. OAuth is a secure process that allows our application to access AWeber without passing user credentials. As your security is our priority at ZeroBounce, we do not store your AWeber Login Name and Password; the access token issued by AWeber will be destroyed after you close the browser or log off from our website.
The following is an example on how to use the AWeber integration service.
- Step 1:Go to https://www.zerobounce.net/members/signin and sign in with your ZeroBounce account. After that go on the menu on left and click Integrations.
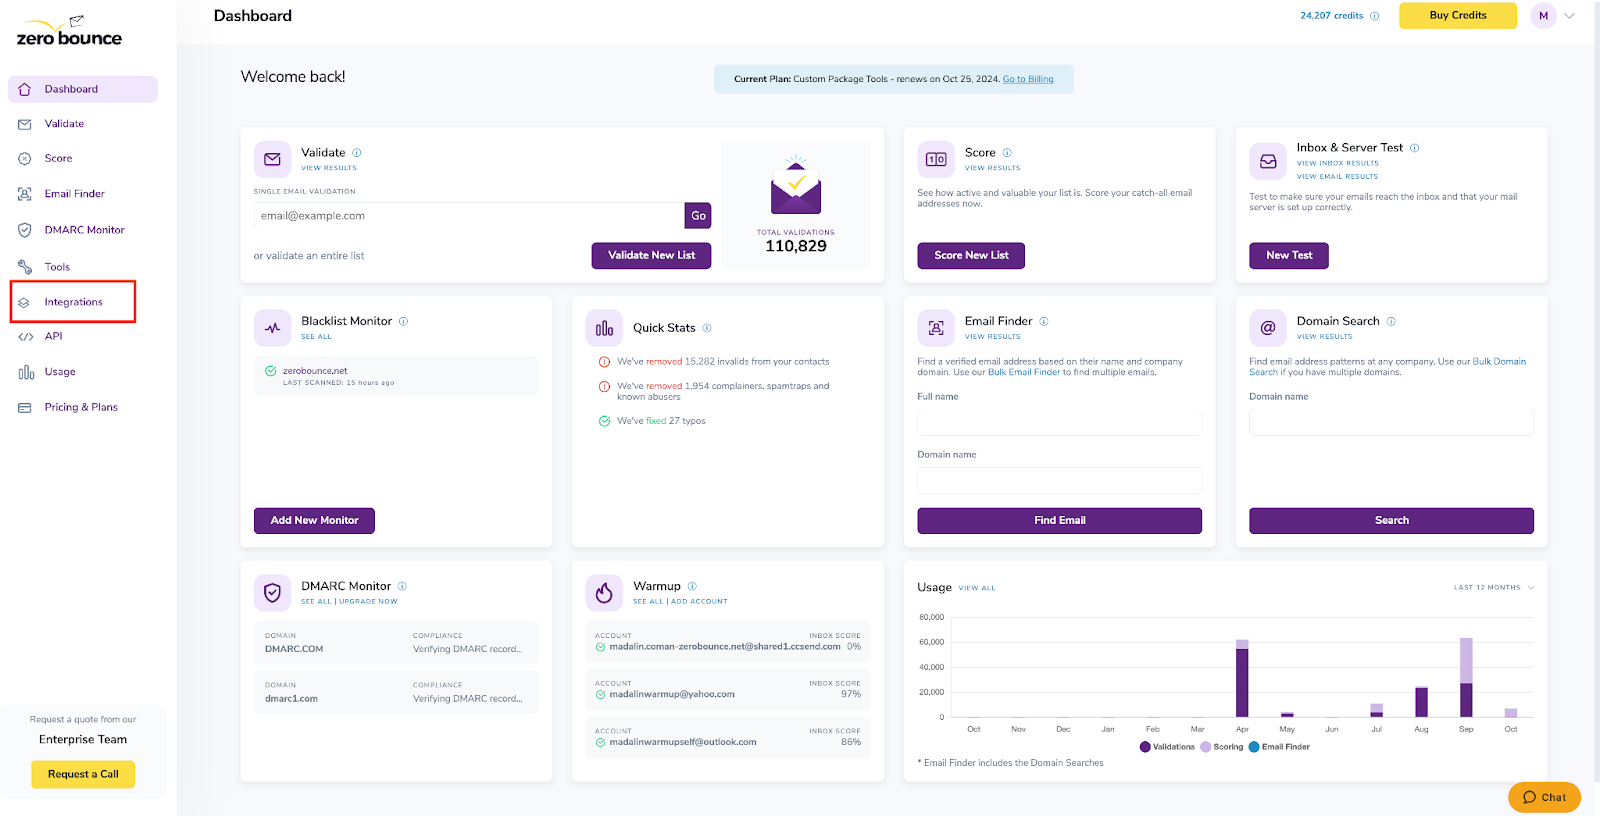
ZeroBounce Dashboard
- Step 2:On the Integrations page select AWeber from the Integration List. It is on our Official panel.

ZeroBounce Integrations Dashboard
- Step 3:Click Connect to redirect to AWeber's authentication site.
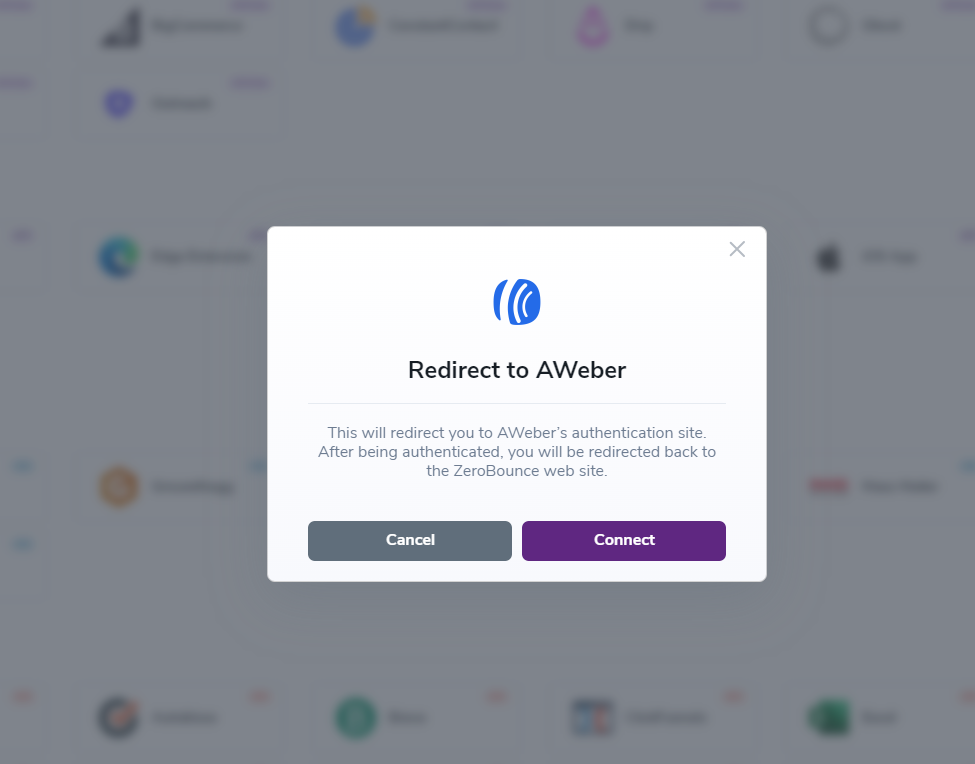
Redirect pop-up modal
- Step 4:On the AWeber Sign In page you will enter your AWeber email address and password to login.
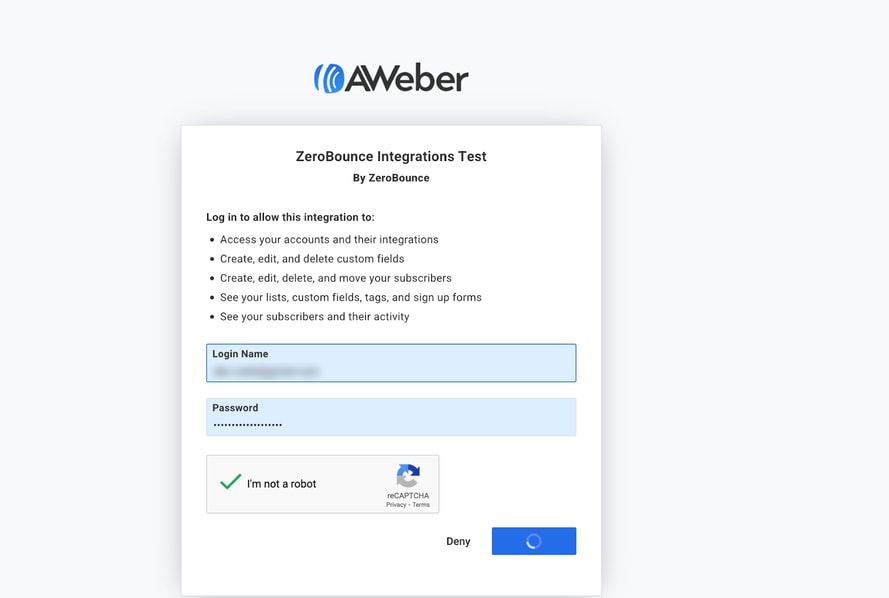
AWeber login page
- Step 5:Once you have authorized access ZeroBounce will gather all of your email addresses for the account you selected during the authorization process. Choose one or more lists to validate/score. Click the validate or score button to start the process. Depending on how many emails you have to process it could take a few minutes to pull the lists and add them to our processing queue.Note: The results of the validation and scoring are automatically exported to the integration they originated from.
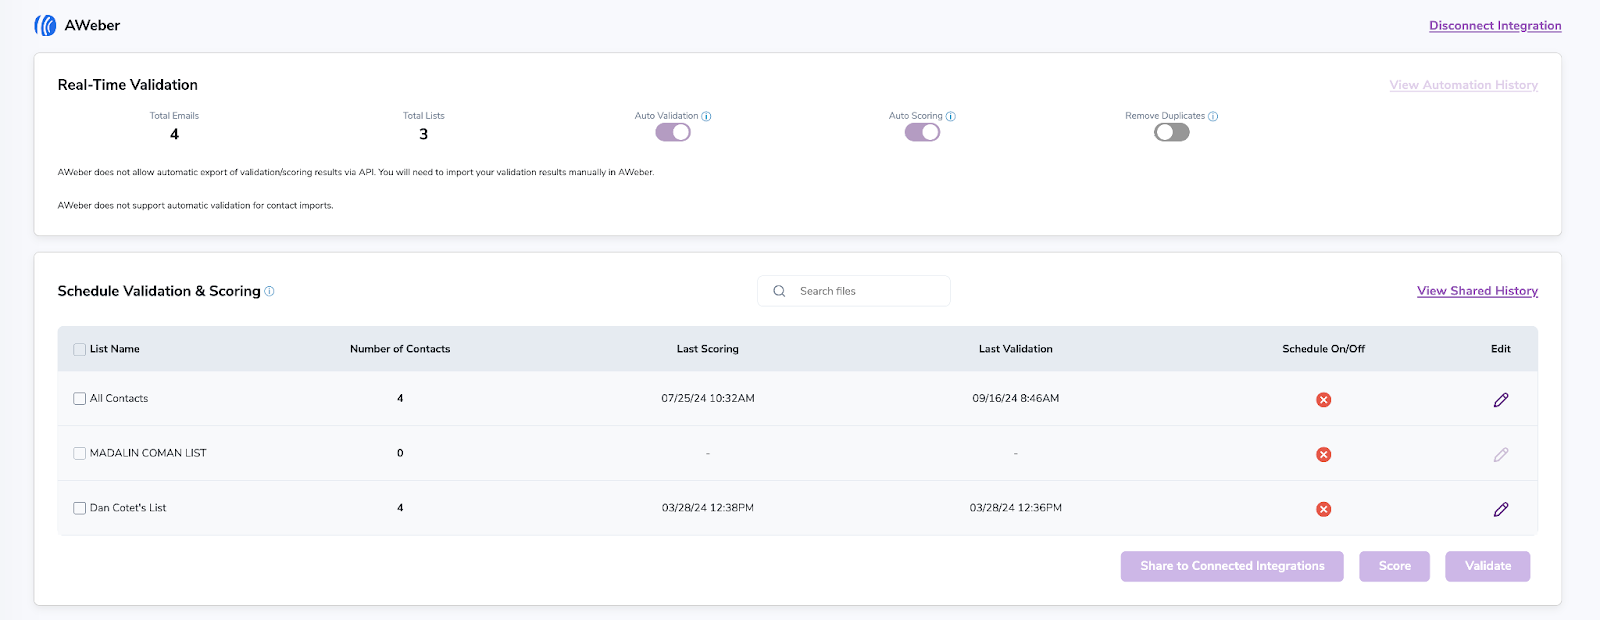
After successful integration, you will be able to view your lists in your ZeroBounce Dashboard.
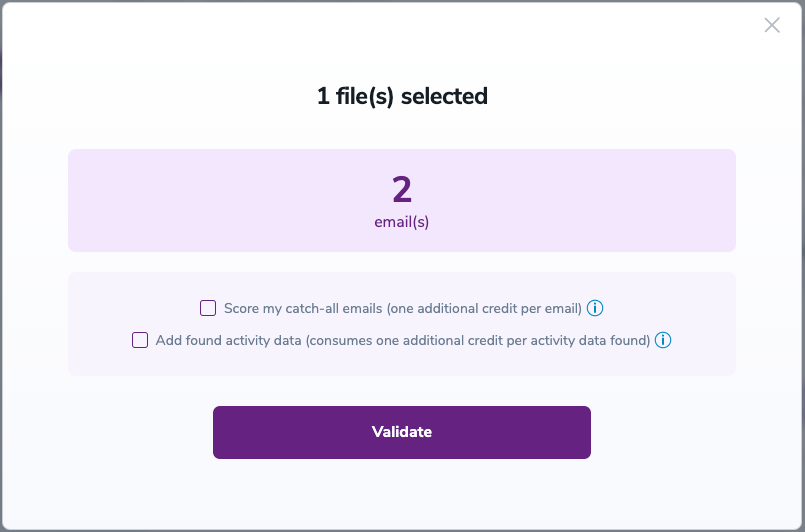
Validation Pop-up
On validate you will be presented with a popup with two options that can assist your validation process:- Scoring - an optional service that helps identify catch-all addresses that are likely to be valid by detecting recent email activity.
- ZeroBounce Activity Data - uses interaction data to identify emails that have been opened, clicked, forwarded, or unsubscribed. The matching process is performed in-house through ZeroBounce's infrastructure, and your data is not transferred or shared with any third parties.
- Step 6:You will be taken to the Email Validation Results page which will show the list you selected in queue.

Email Validation results page
- Step 7:Once your list has completed processing you should receive an email notification and you will see that the Download button will appear.Note: The results of the validation and scoring are automatically exported to the integration they originated from.

Status: Completed
NOTE:
There is also the possibility to share your contacts between integrations, schedule scoring and validation or monitor your contacts to validate any new contact automatically. To learn more about this, check out this dedicated page: Integrations Contacts Monitoring, Scheduling and Sharing.