Email Validation Integration For Customer.io
Prerequisites setup
You must have a valid Customer.io account with appropriate access to your Contacts and Lists.
If you do not have an account, then you can create one at https://customer.io/.
Ensure the contacts from your Customer.io account are included in a list.
Step 1: Configure Customer.io
For the integration to work, you need first to log in to the Customer.io Console
Access Account Settings
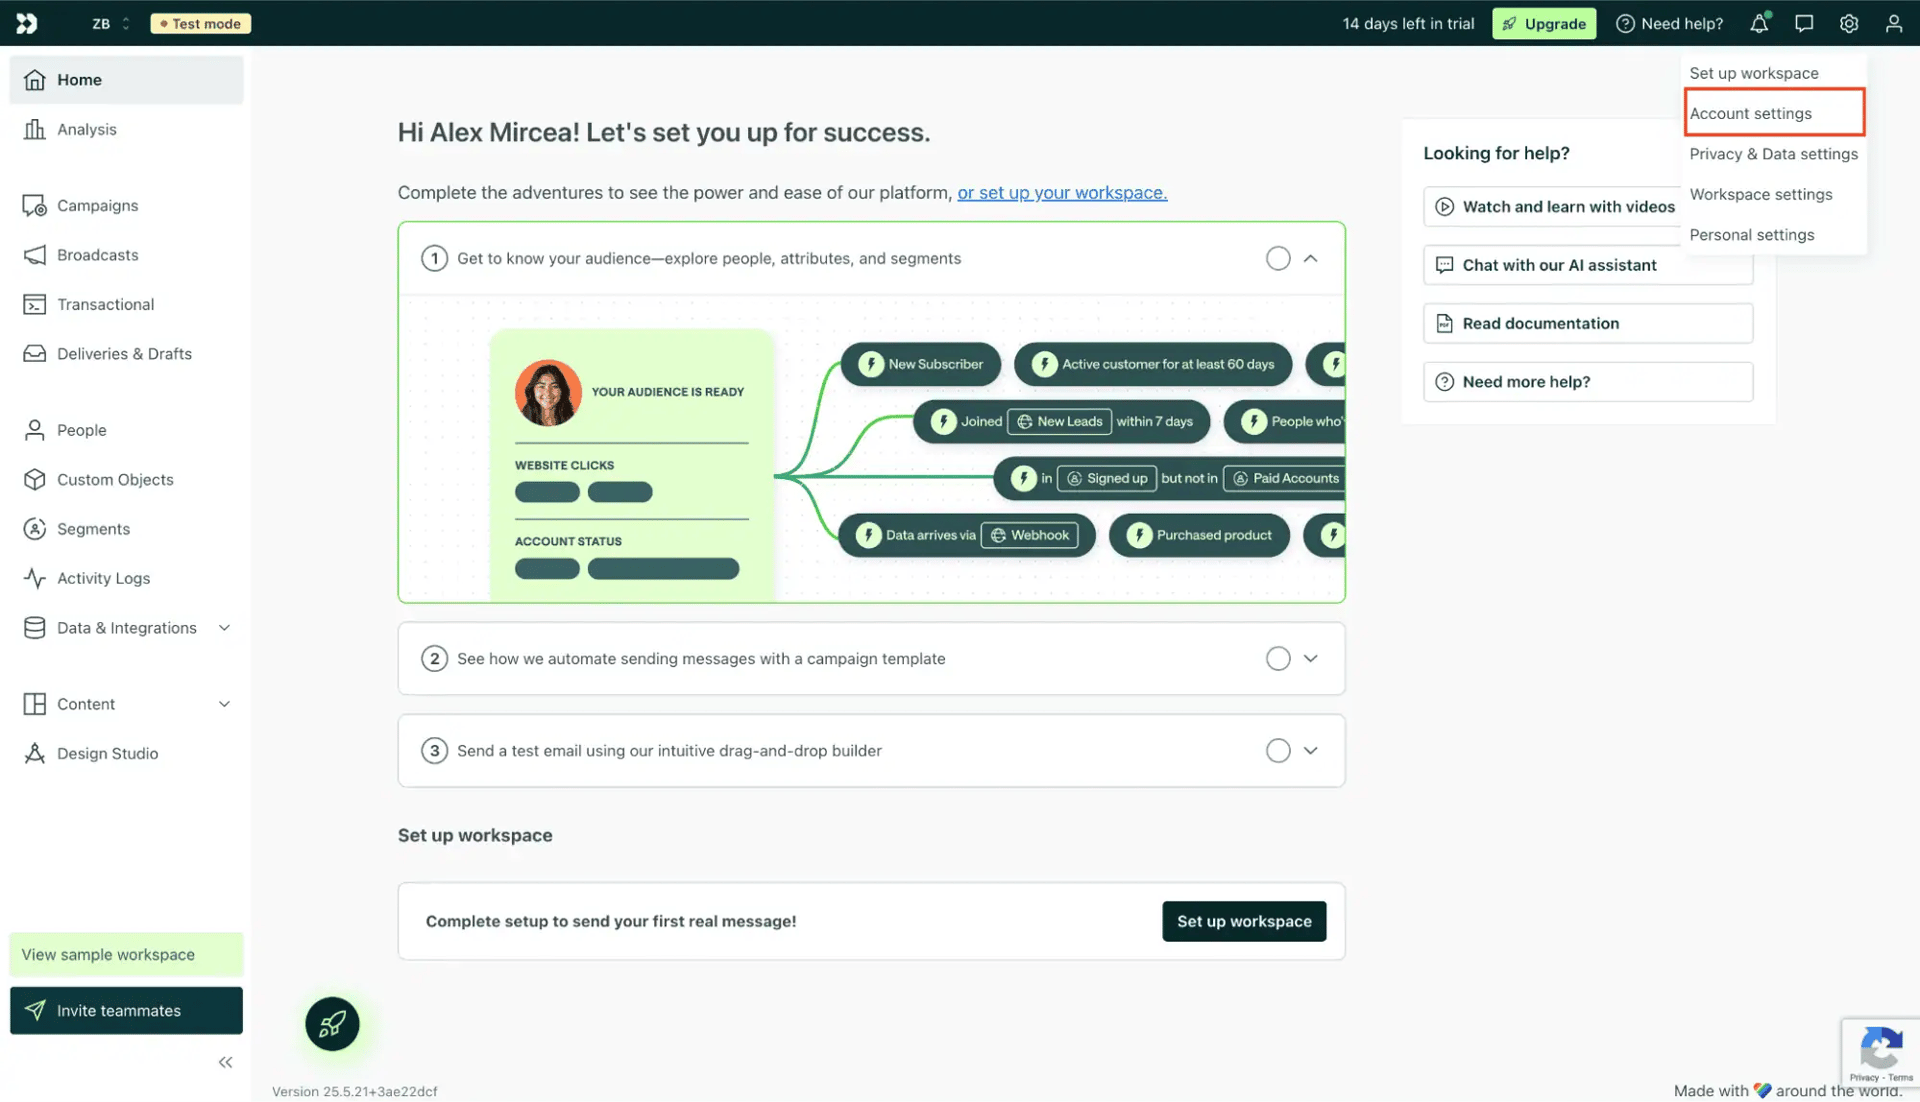
From your main dashboard, click the Settings icon in the top-right corner and select Account settings.
This is where you can manage your account configuration and API access.
Navigating to Account Settings
In the Account Settings page, go to API Credentials.
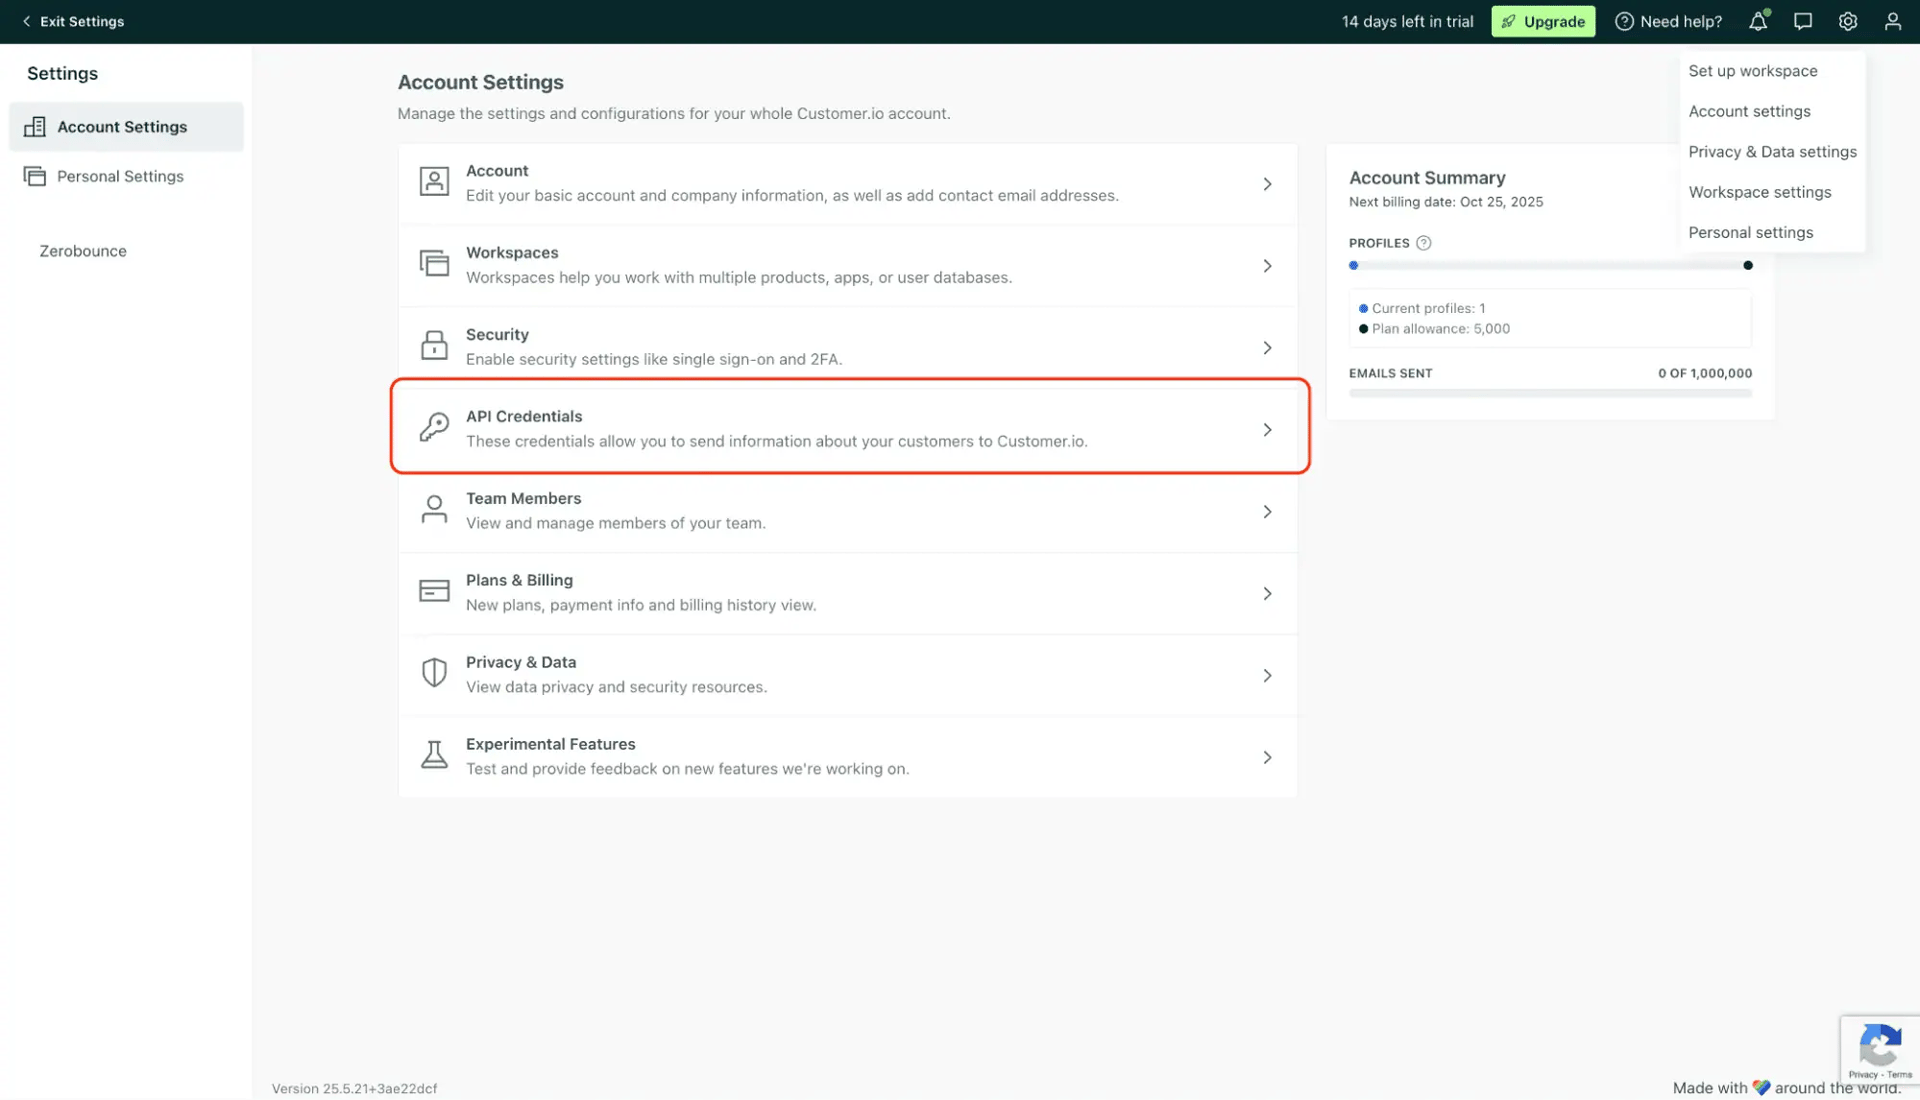
API Credentials section
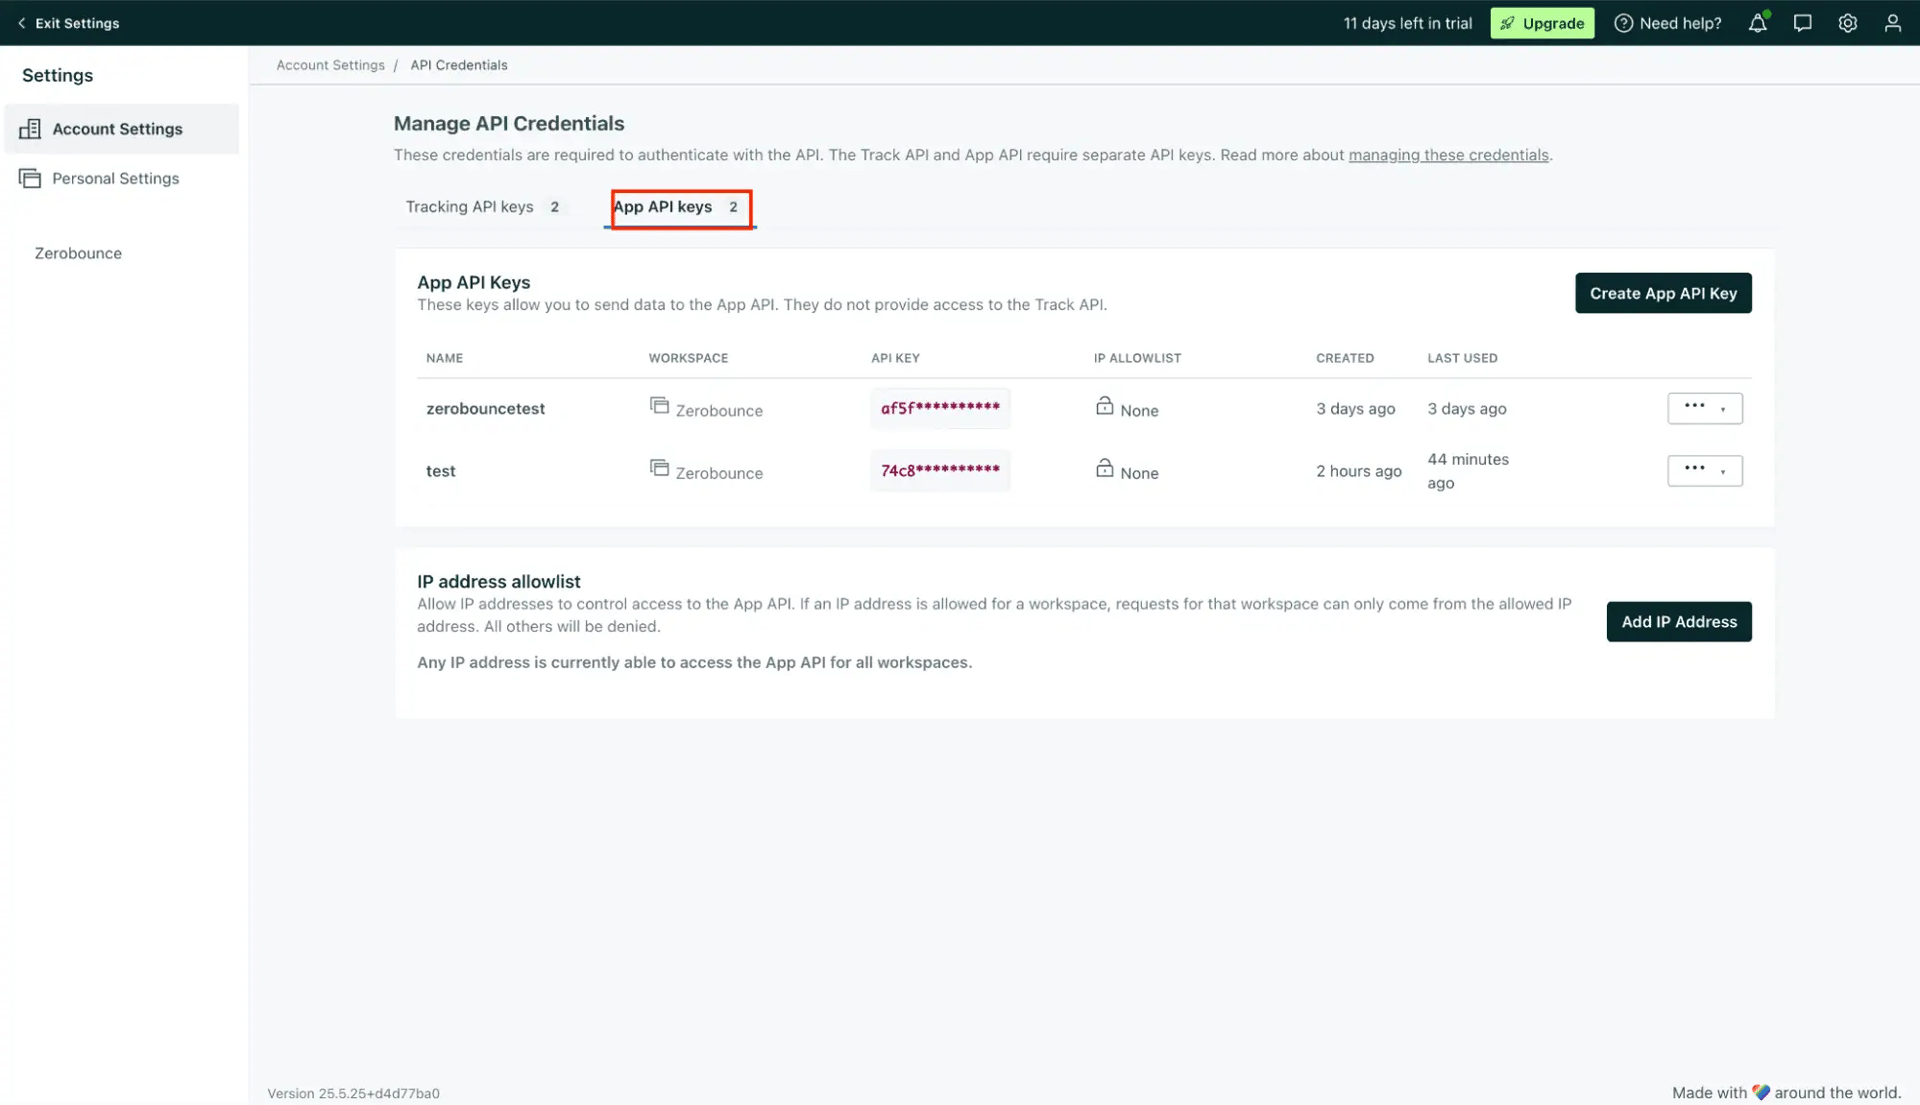
API Key creation
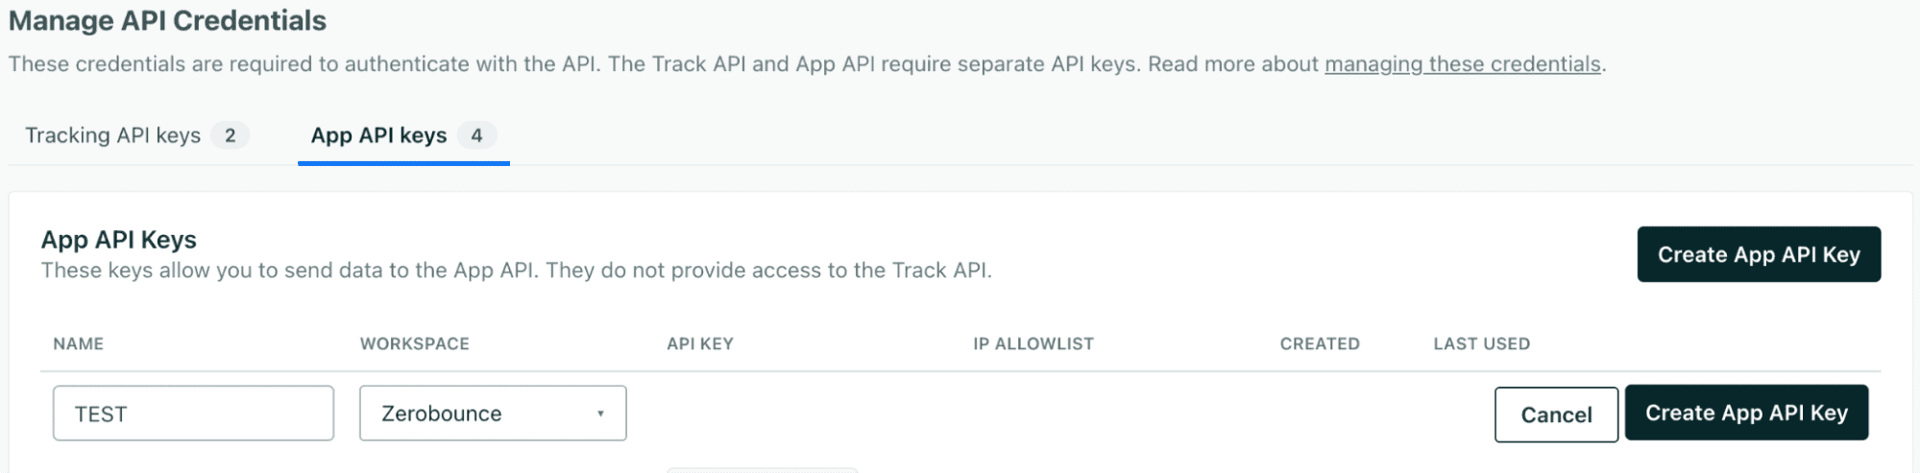
Create App API Key
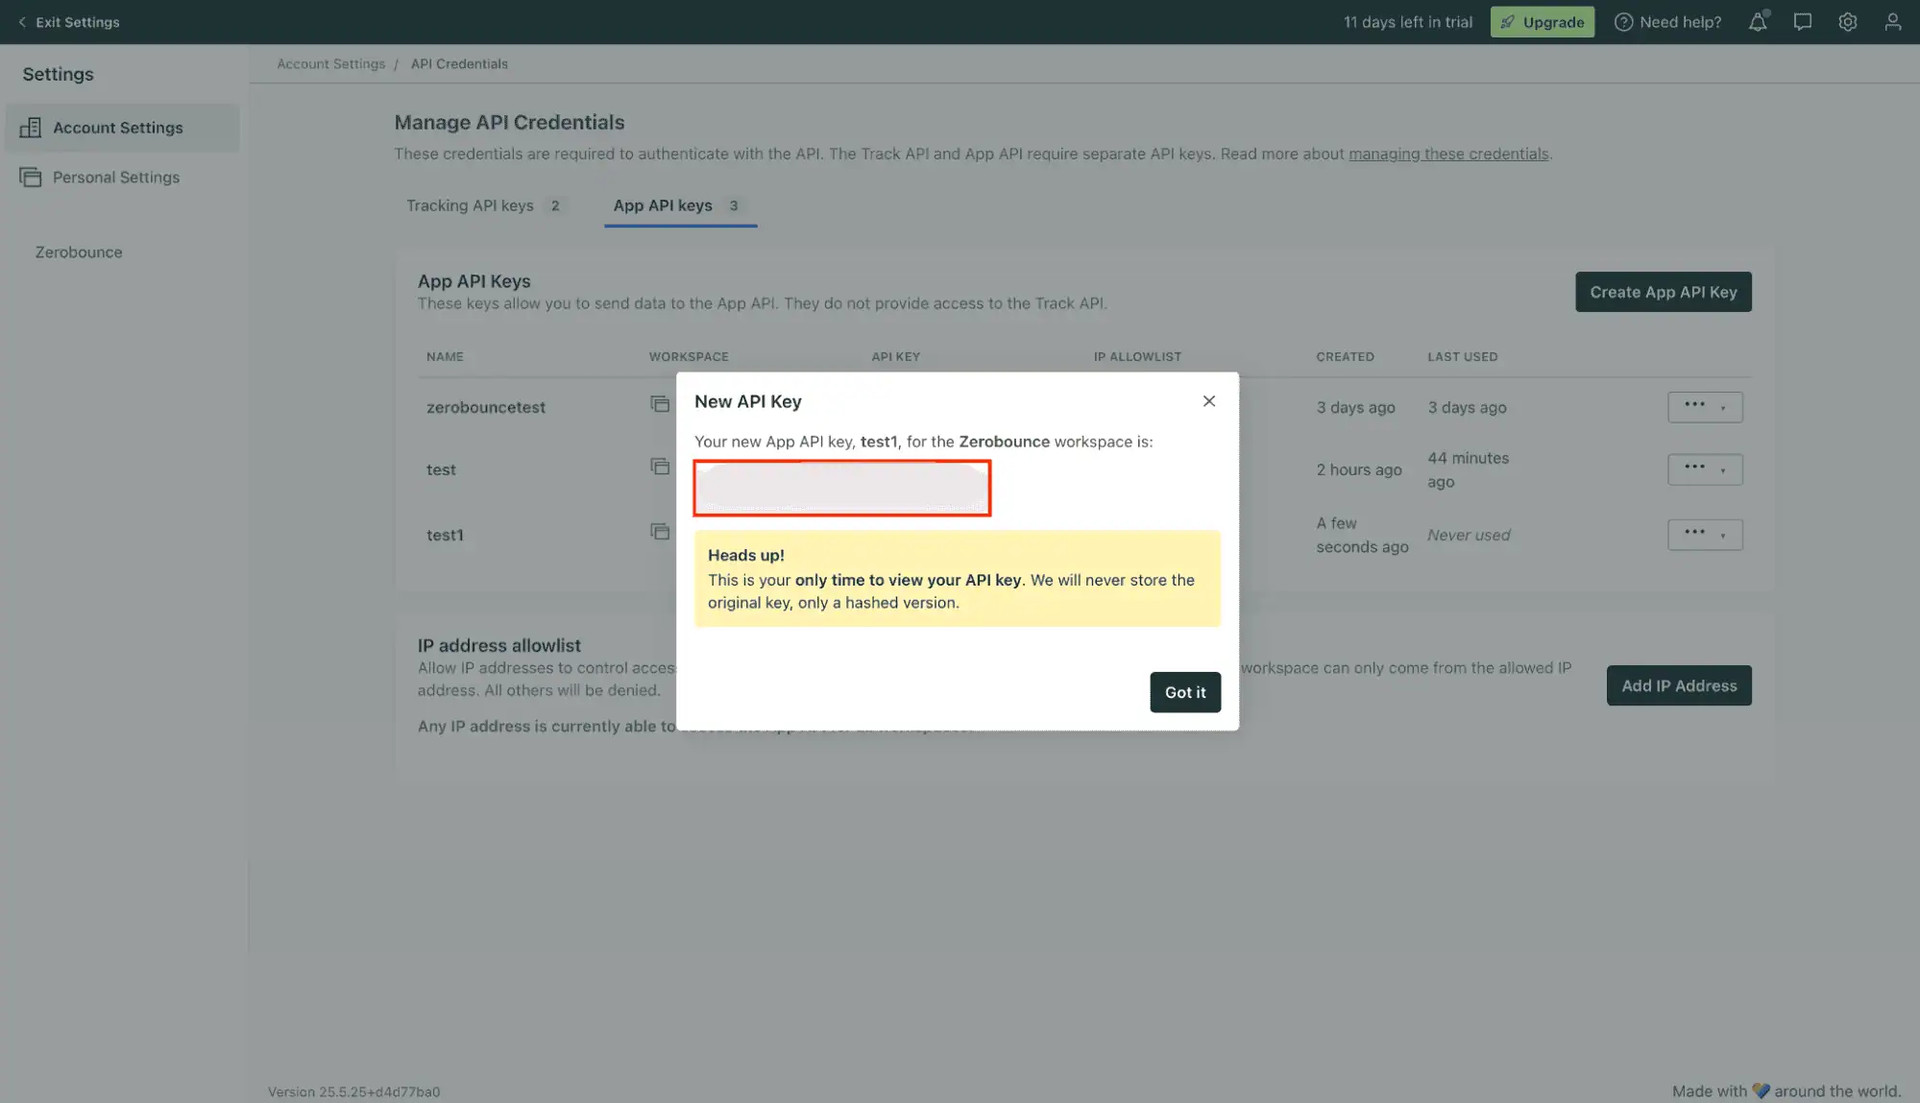
Copy Your API Key
The API key you receive from Customer.io must be entered into ZeroBounce when setting up the integration in the App API Key section.
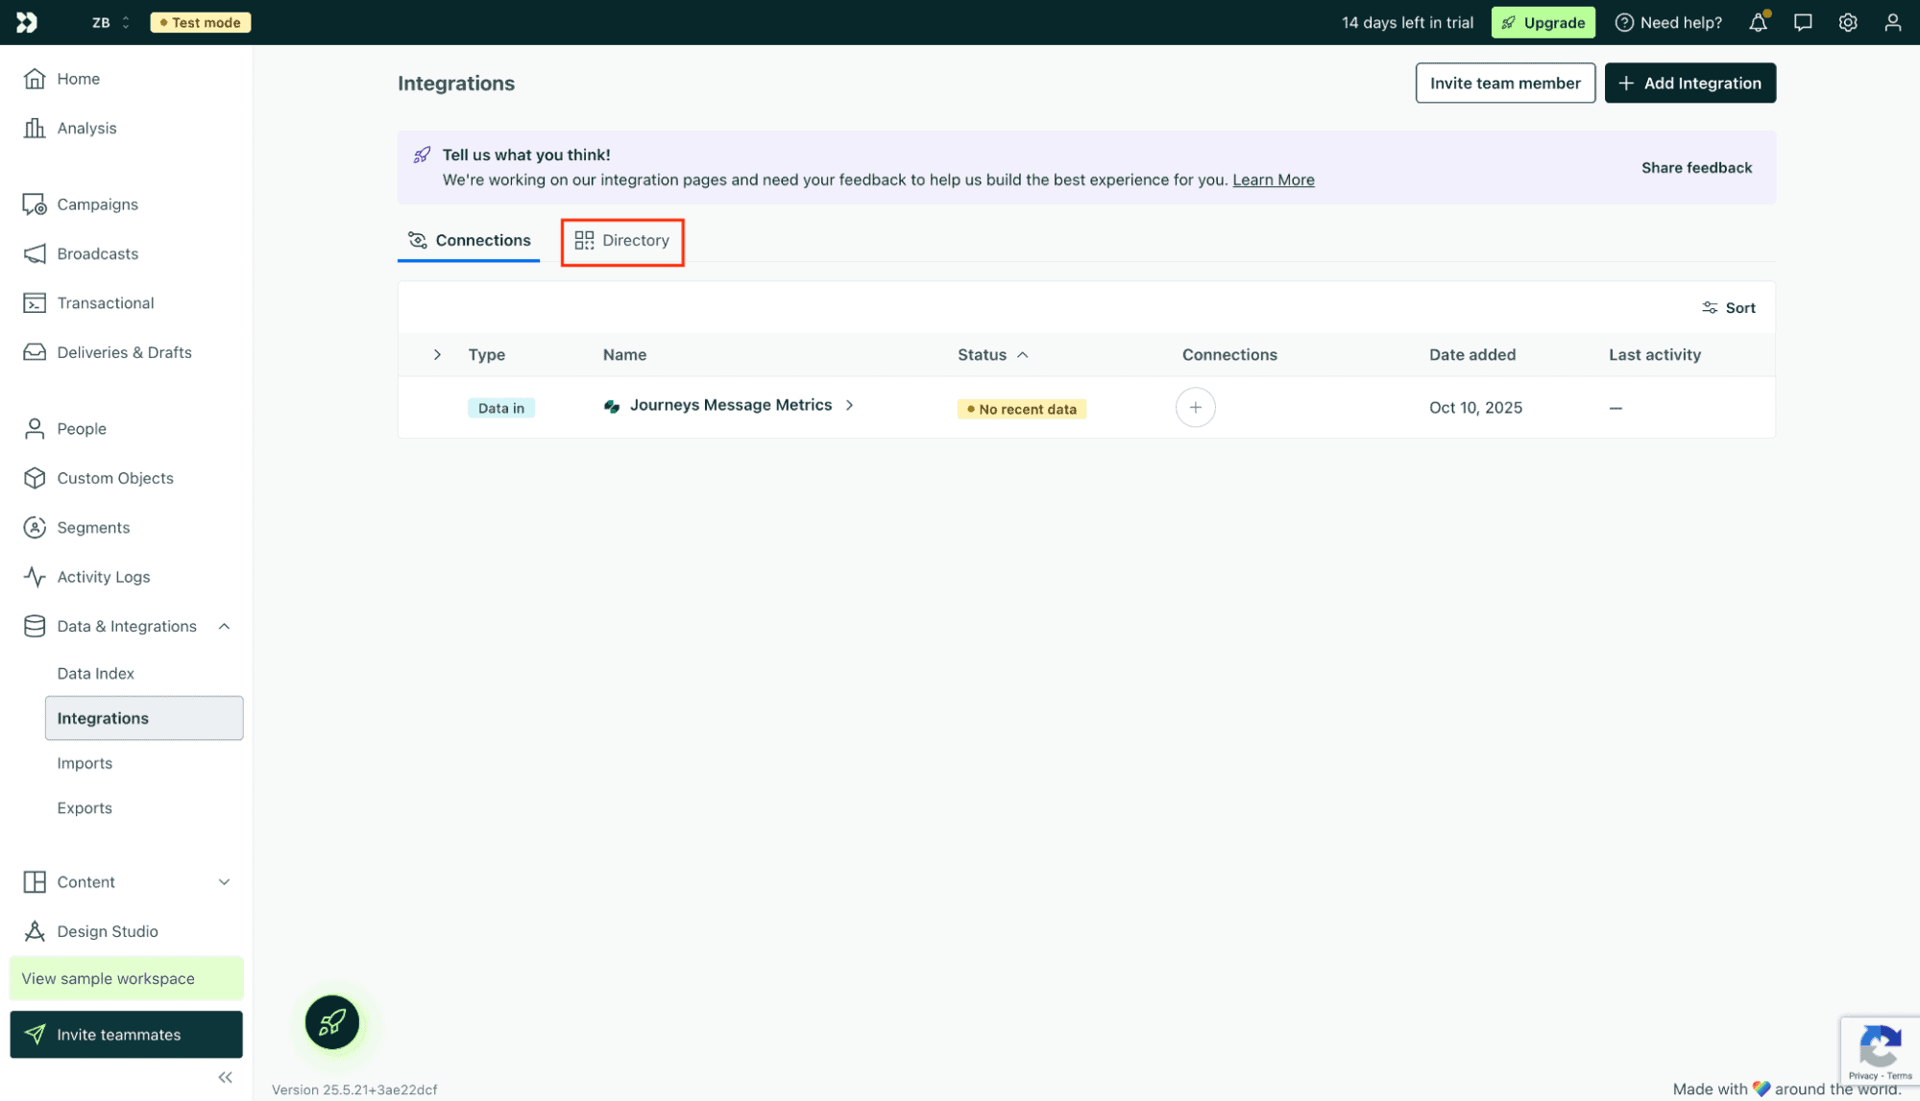
Open Integrations -> Directory
From the left-hand menu, go to Data & Integrations -> Integrations, and select the Directory tab.
This is where you can find and add new integrations to your workspace.
Integrations Directory
Select Customer.io API
In the search bar, type “Customer.io” and choose the Customer.io API integration option.
This integration allows you to send customer data directly to Customer.io via API.

Integrations section
The API key you receive from Customer.io must be entered into ZeroBounce when setting up the integration in the App API Key section.
Customer.io requires you to run the curl command that you can see in the image below during the installation of the Pipelines API. You can either execute it yourself using a command line or you can copy paste it to our dedicated field so that we execute it for you. Regardless of your choice, you should proceed thereafter with Step 3 of the Pipelines API installation which consist of pressing the Test Connection button on Customer.io side.
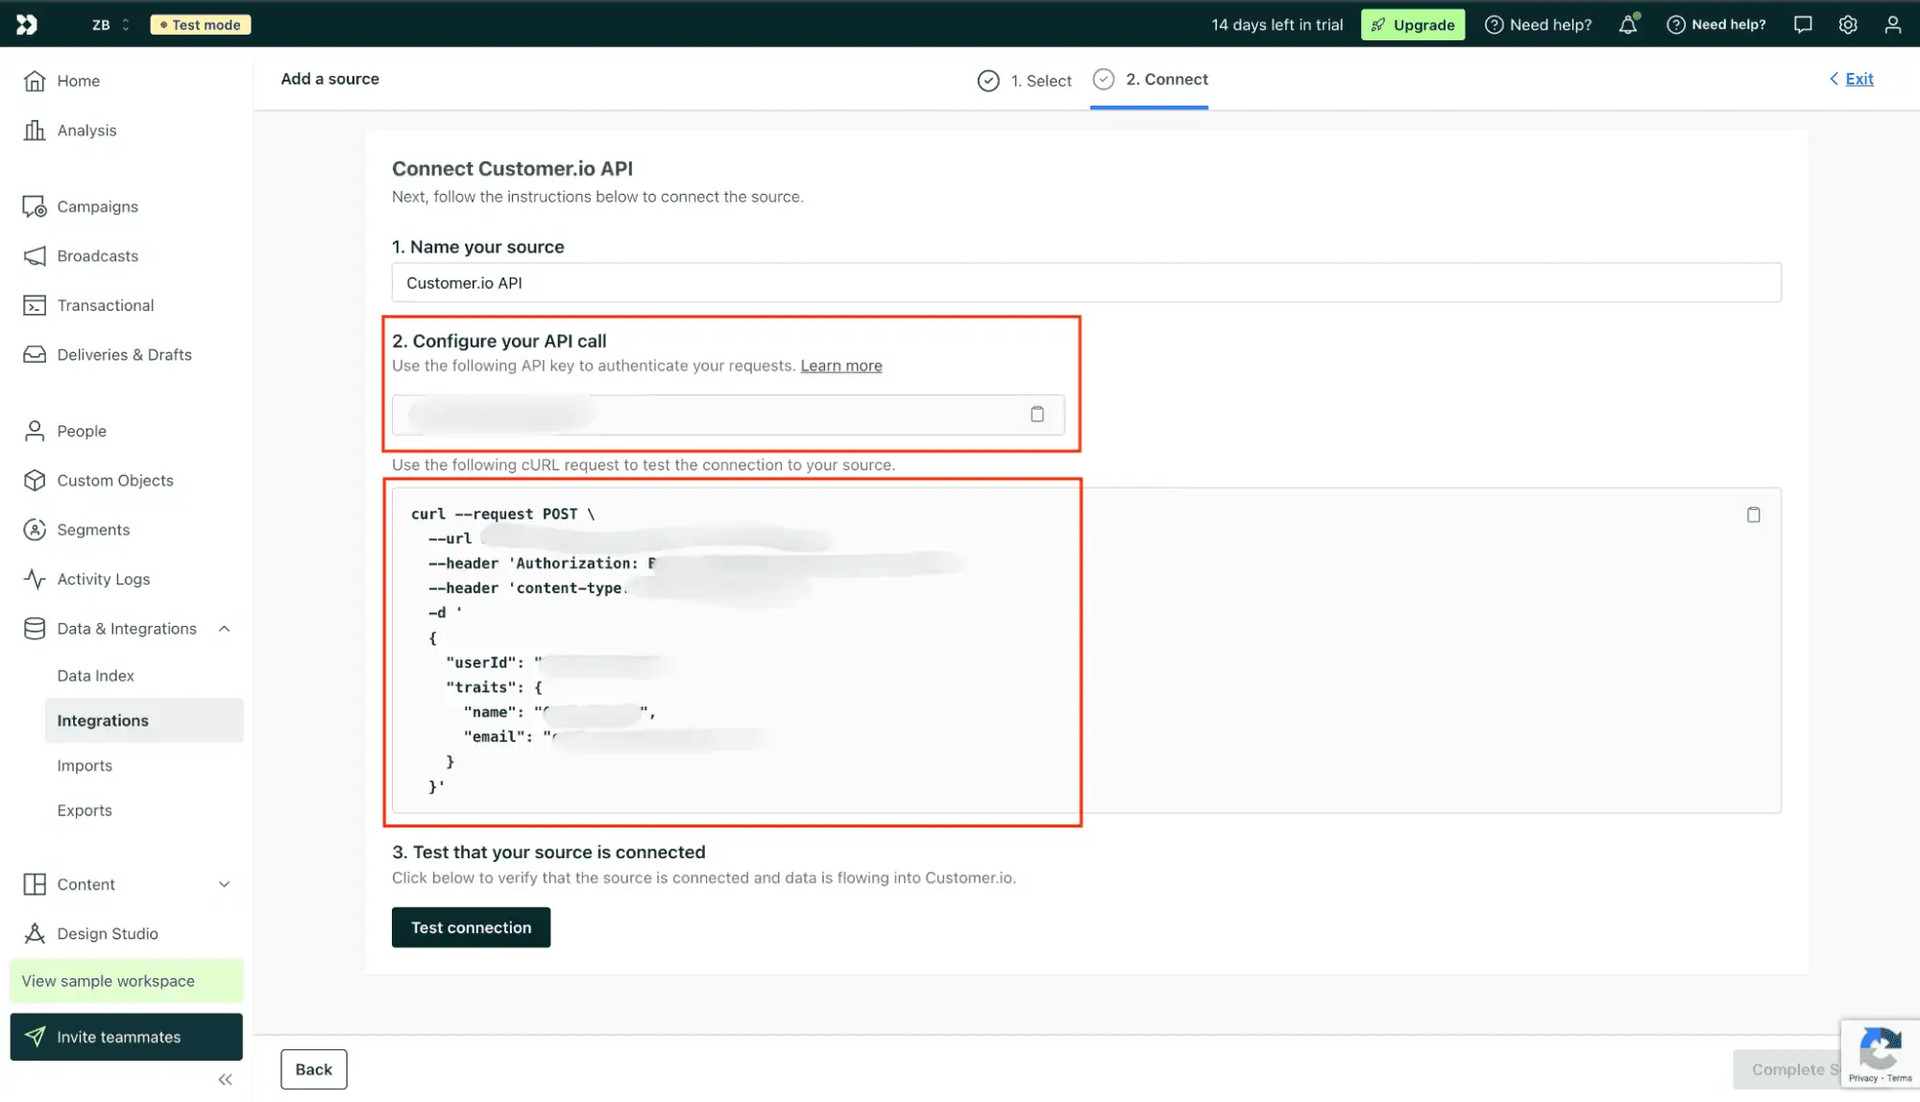
Connect Customer.io API section
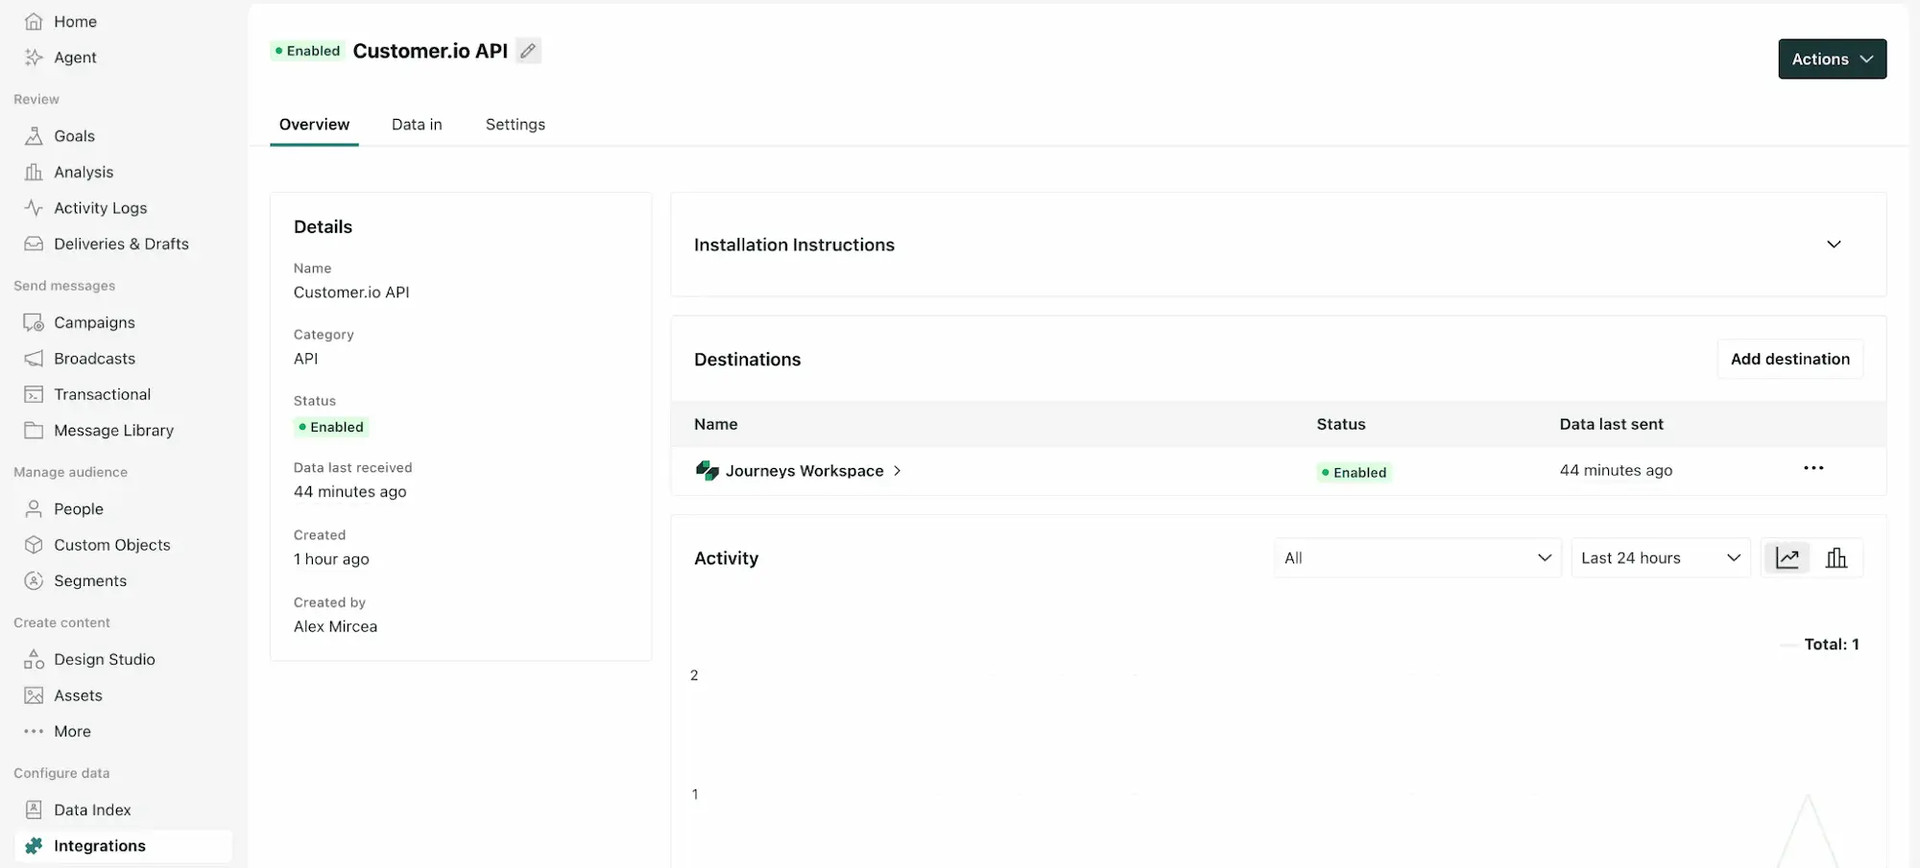
Verify that you have this destination configured and enabled: Customer.io API → Journeys Workspace. The status should be Enabled, and the connected workspace should appear under Destinations.
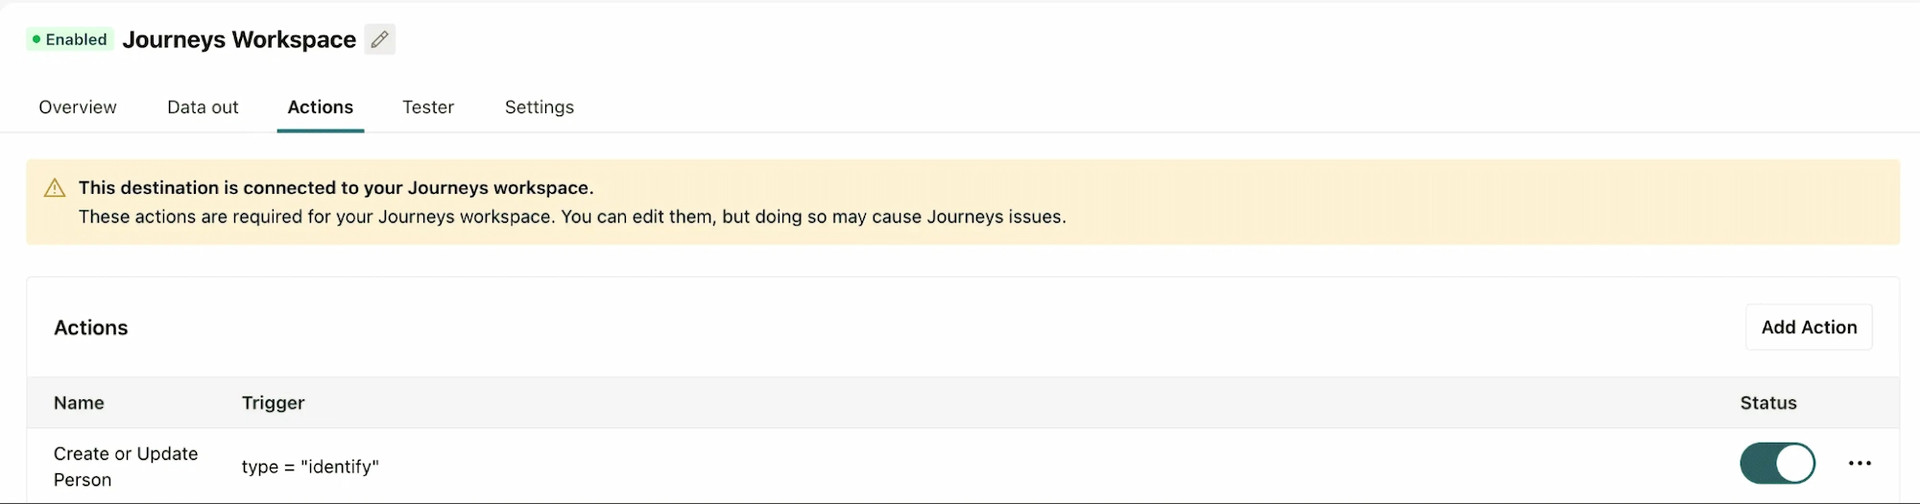
Verify that the Journeys Workspace destination is enabled and that the Create or Update Person action is active.
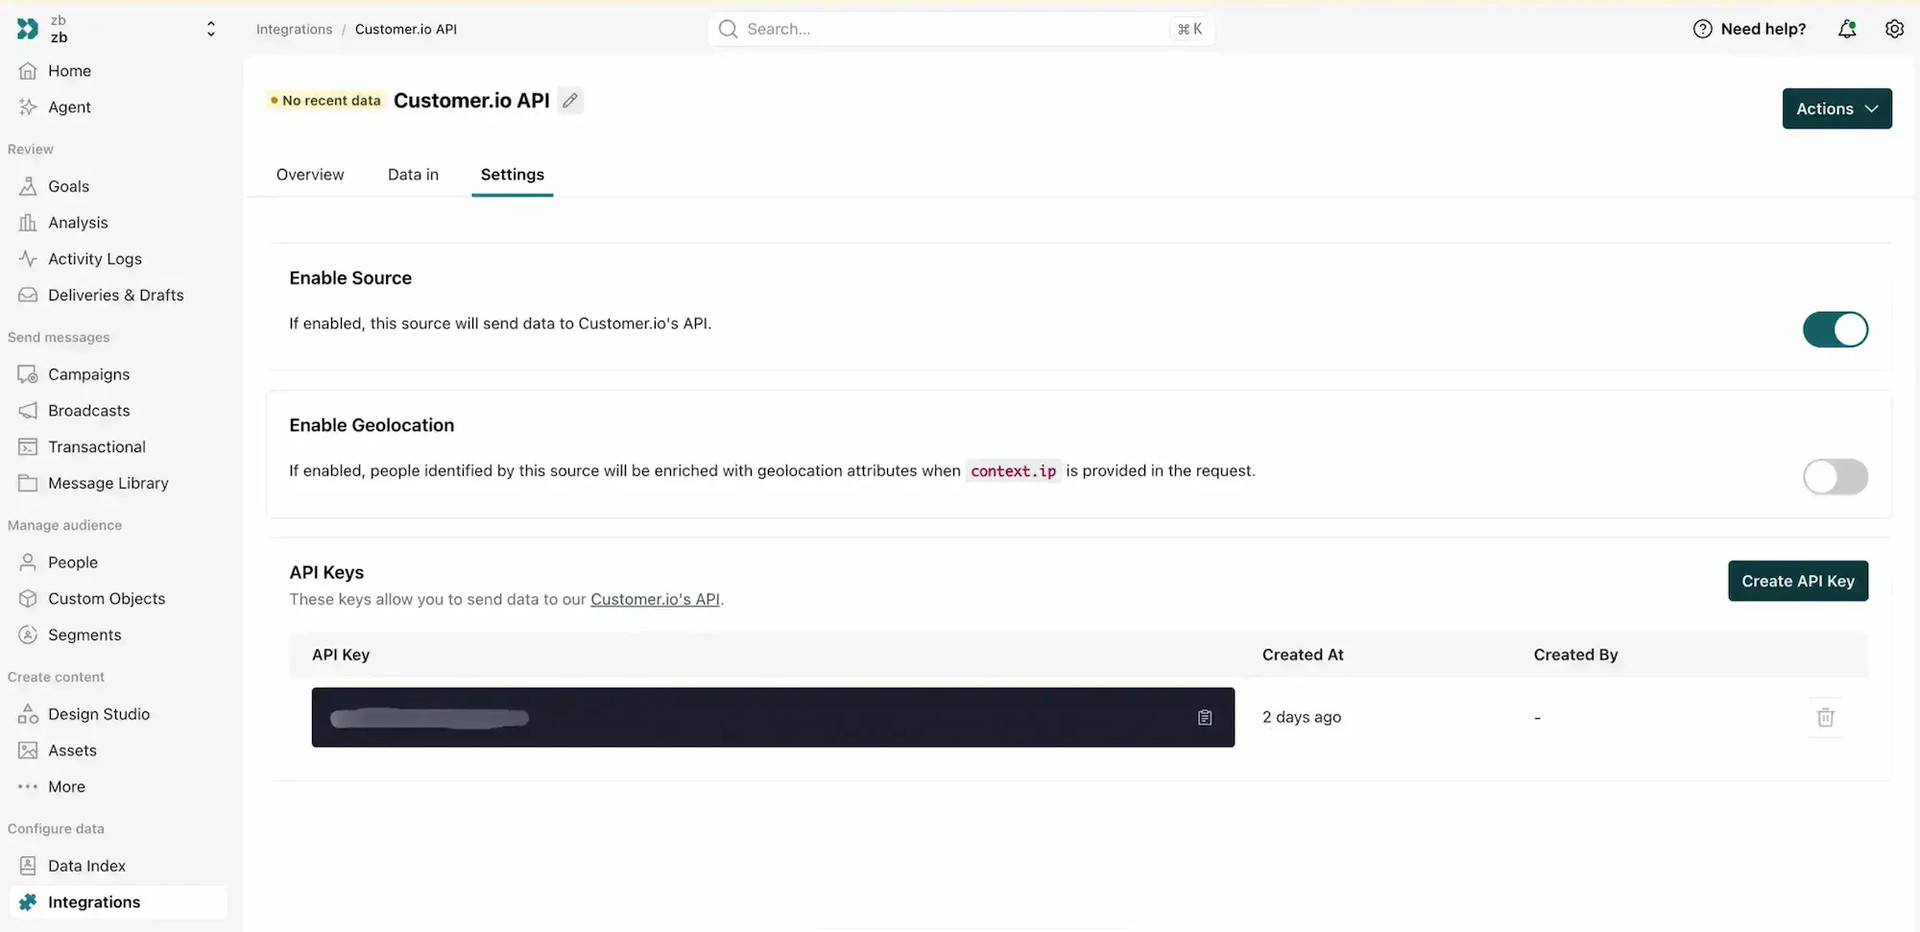
If you previously had Customer.io connected and then disconnected it, you can reconnect it directly from the Settings section using the generated Customer.io API key.
Step 2:
Go to https://www.zerobounce.net/members/signin and sign in with your ZeroBounce account. After that go on the menu on the left and click.
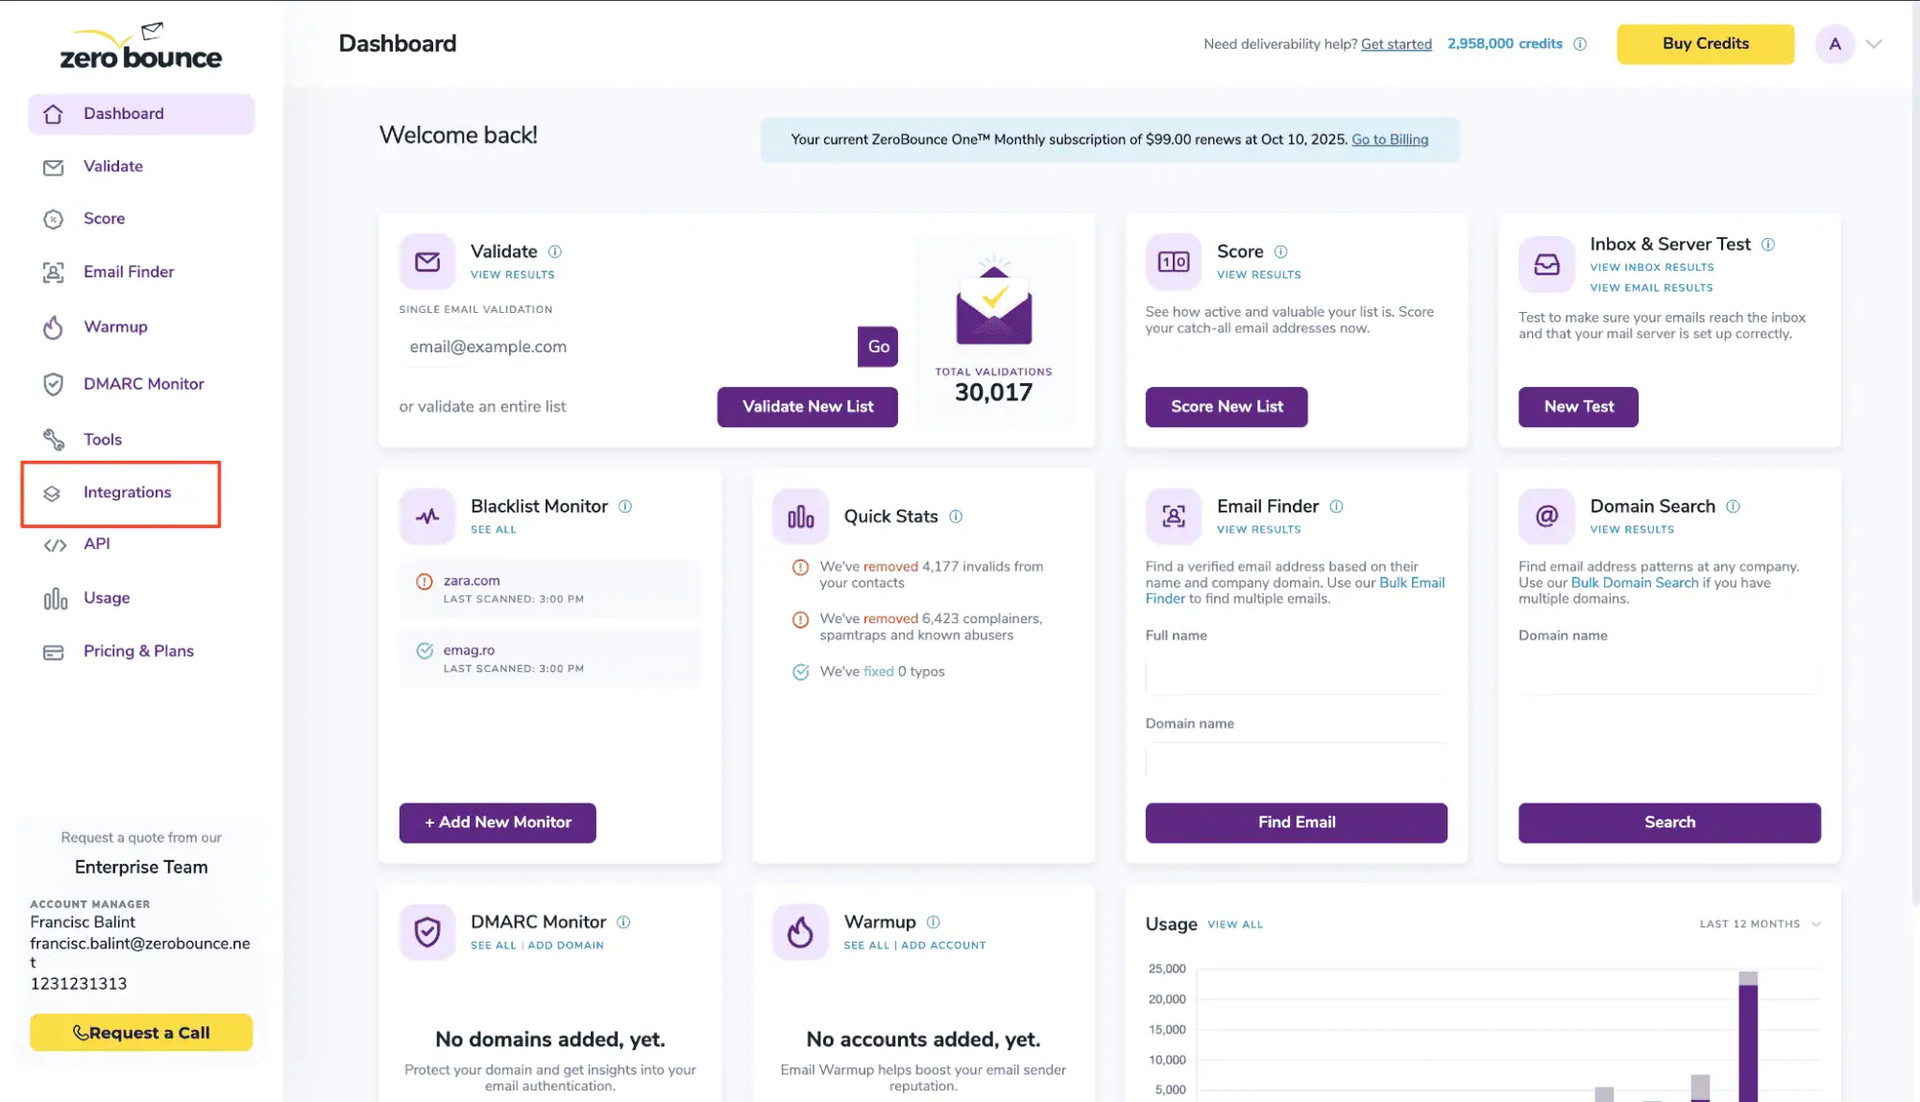
ZeroBounce Dashboard
Step 3:
On the Integrations page select Customer.io from the Integration List.
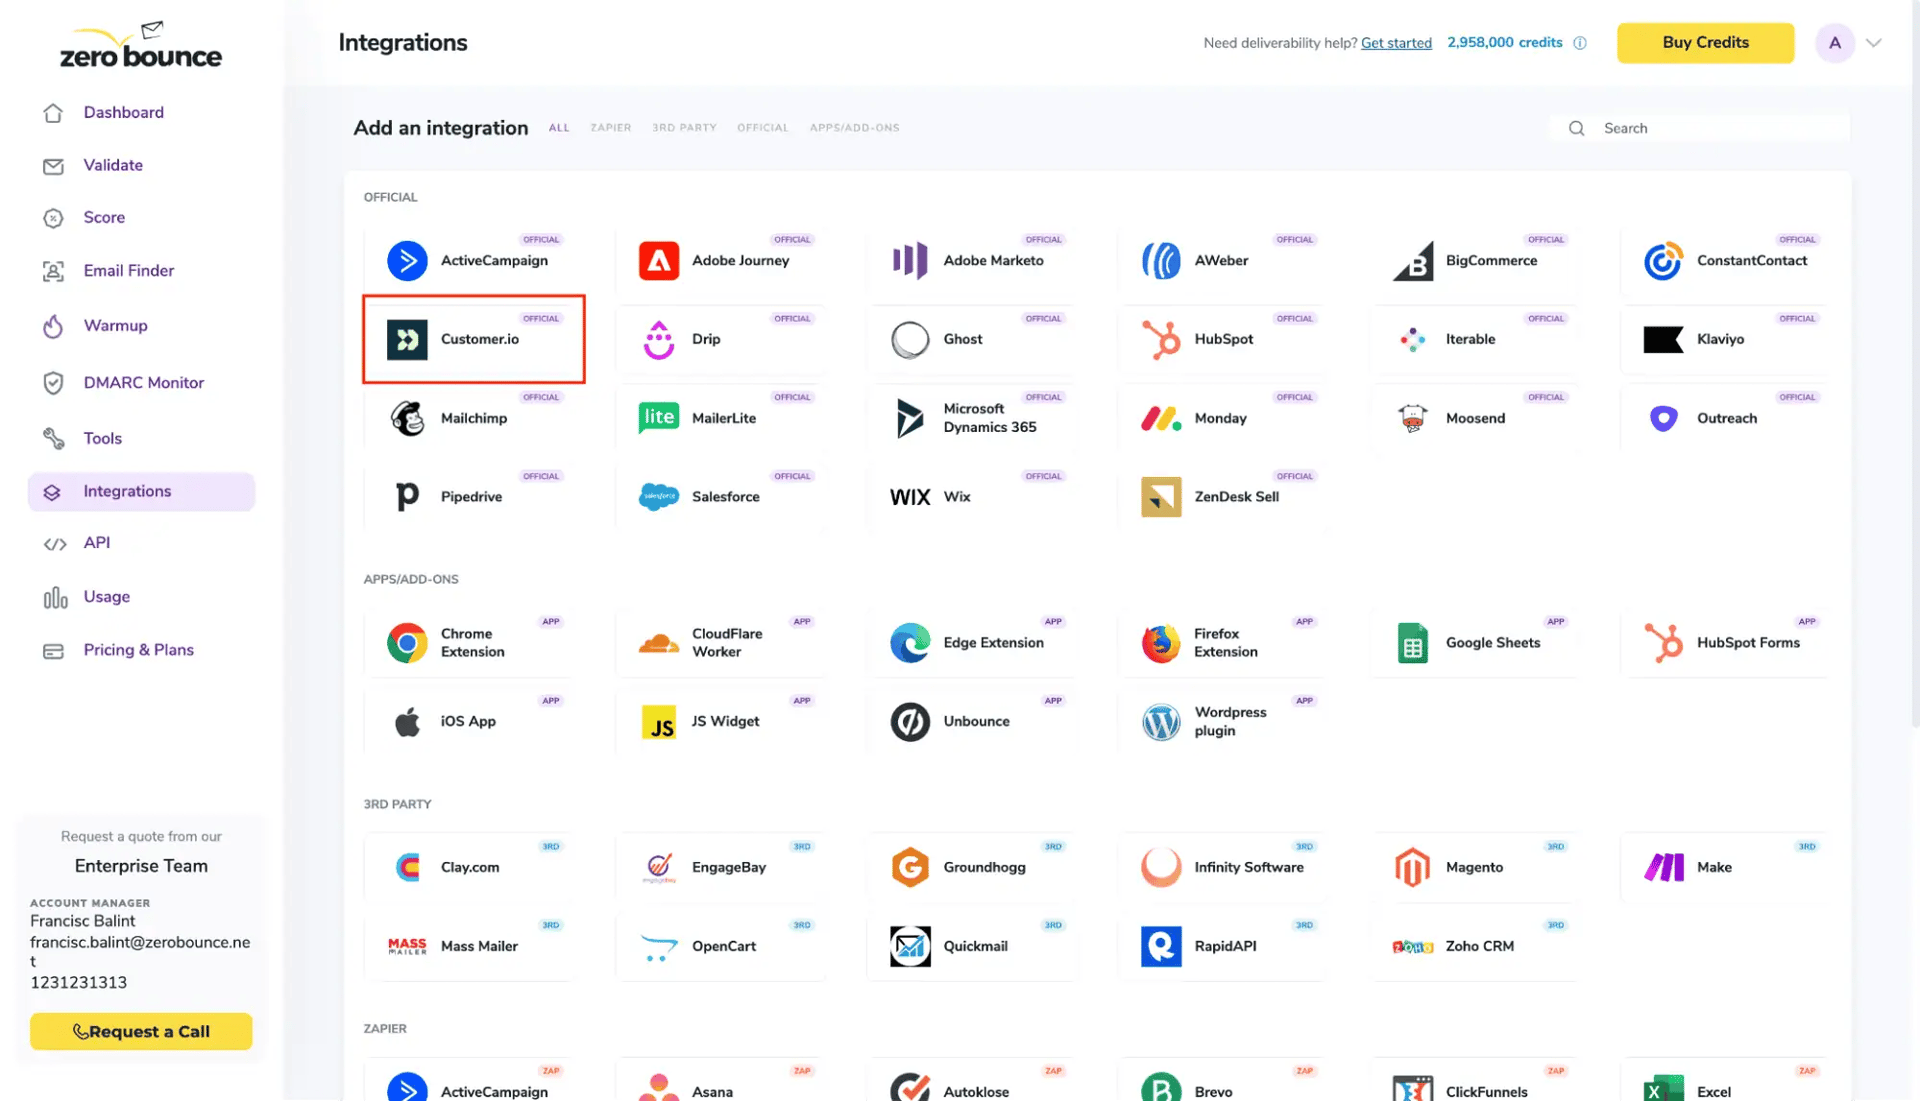
ZeroBounce Integrations Dashboard
Step 4:
To connect the integration, you need to enter the required details from your Customer.io
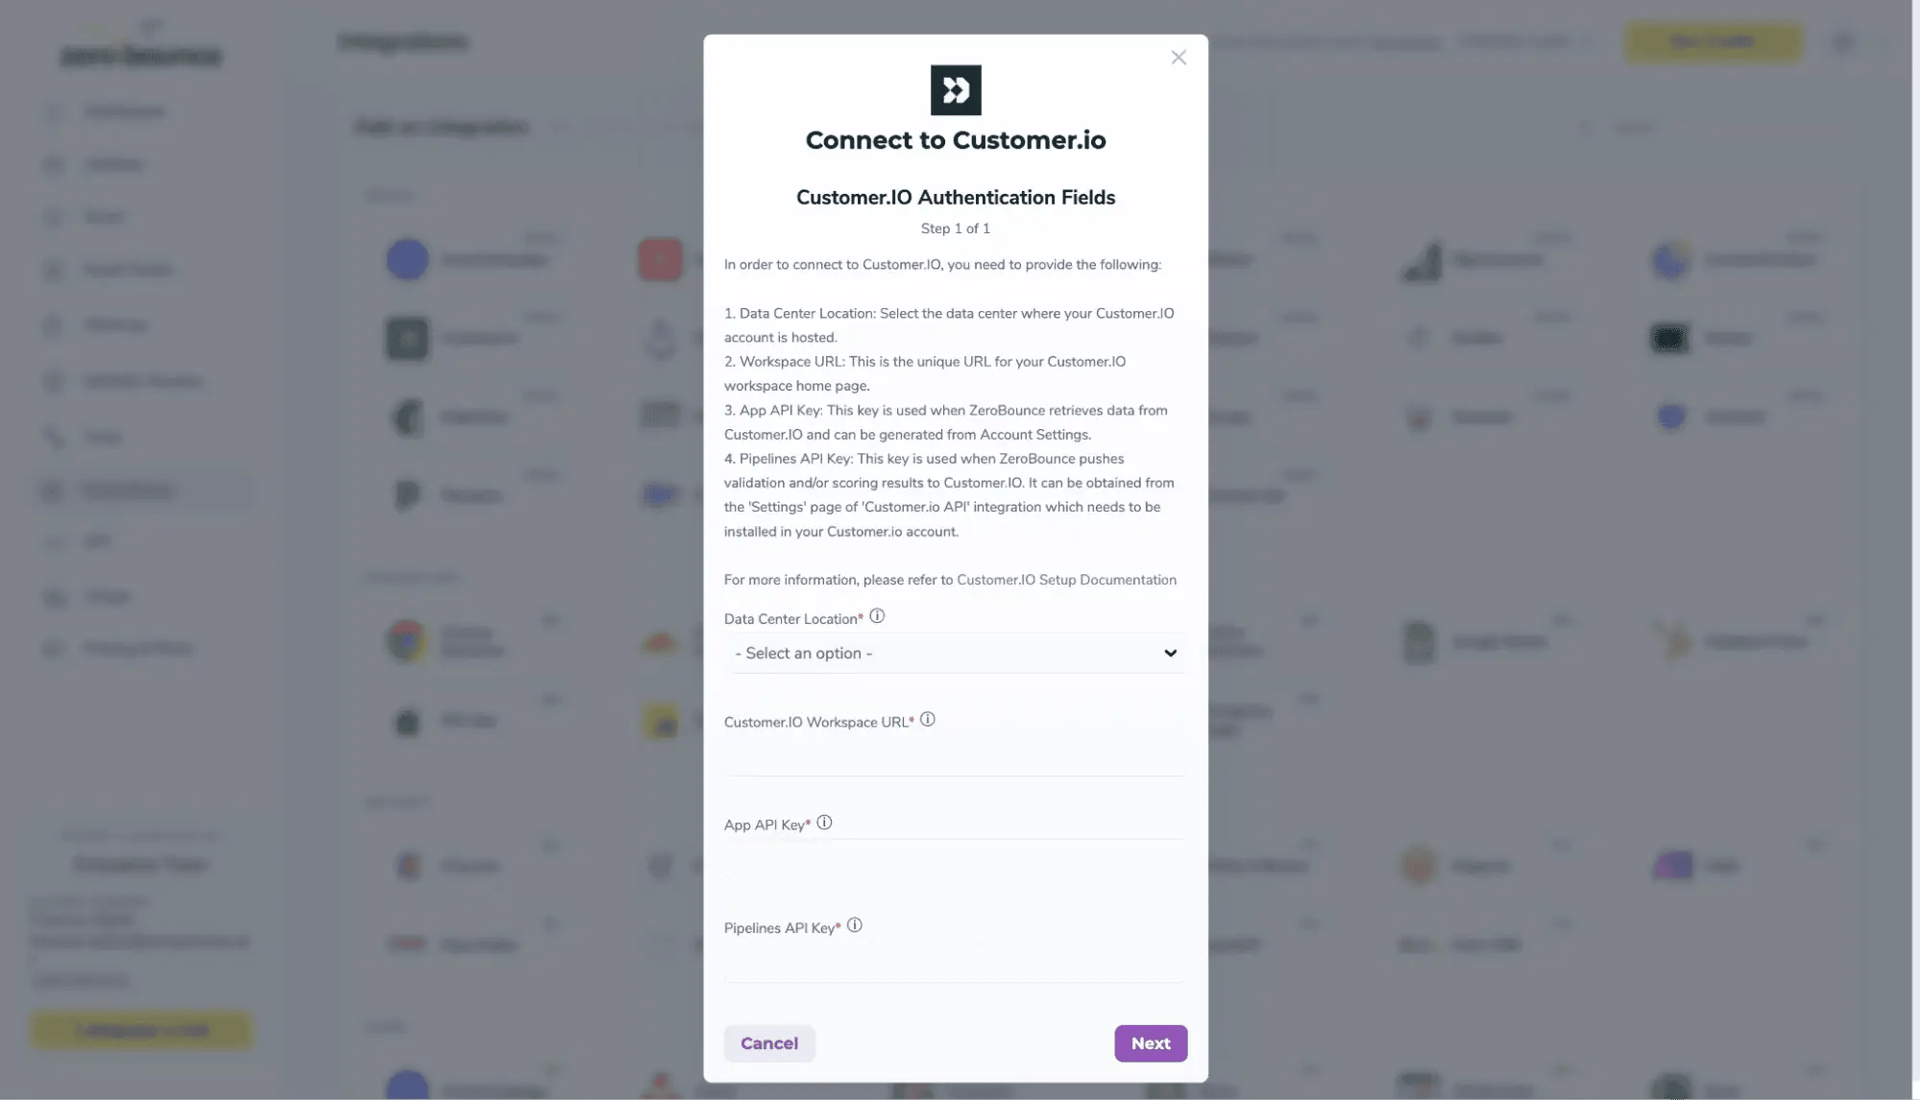
Redirect pop-up modal
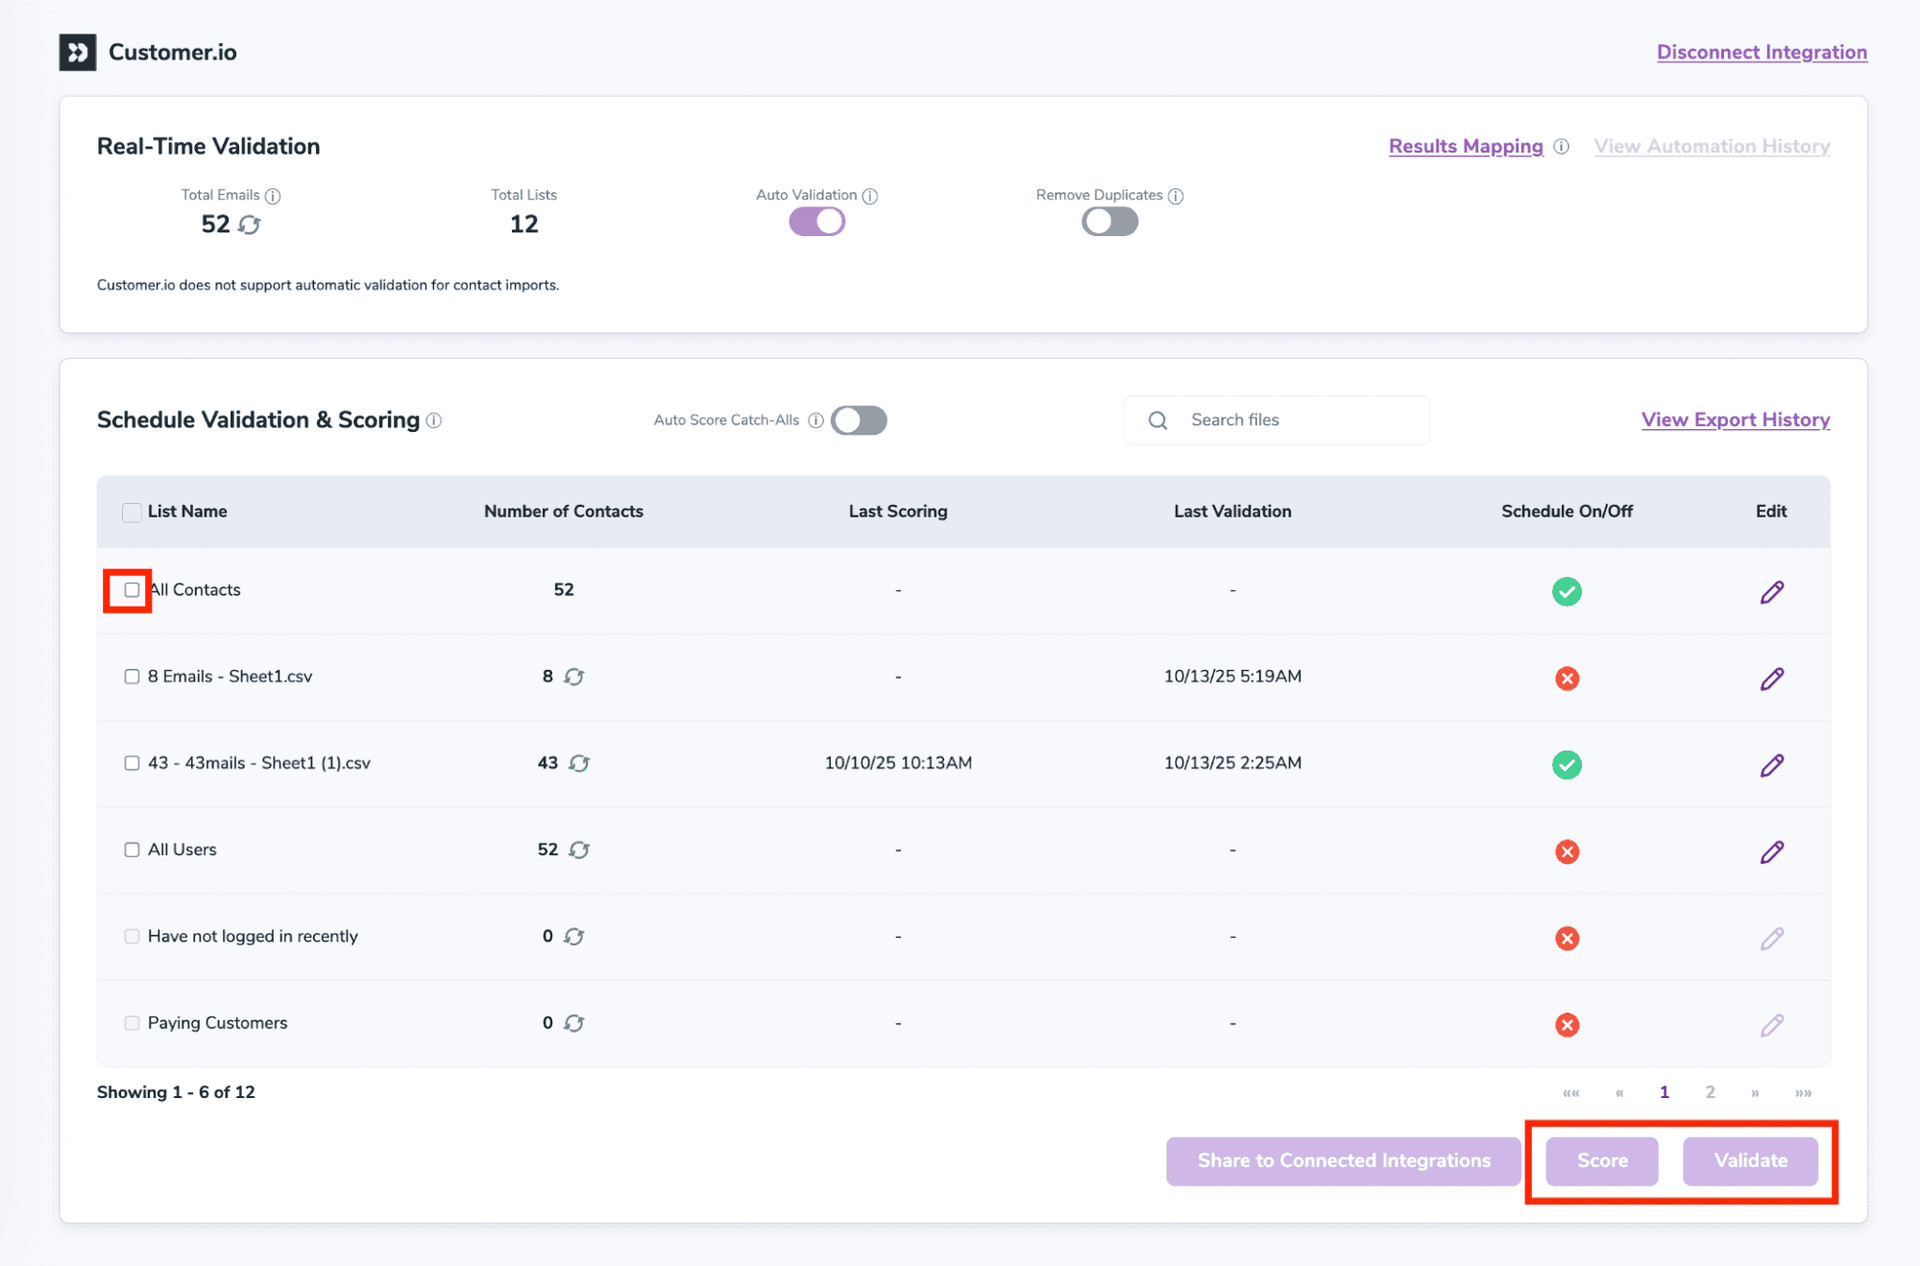
After successful integration, you will be able to view your lists in your ZeroBounce Dashboard.
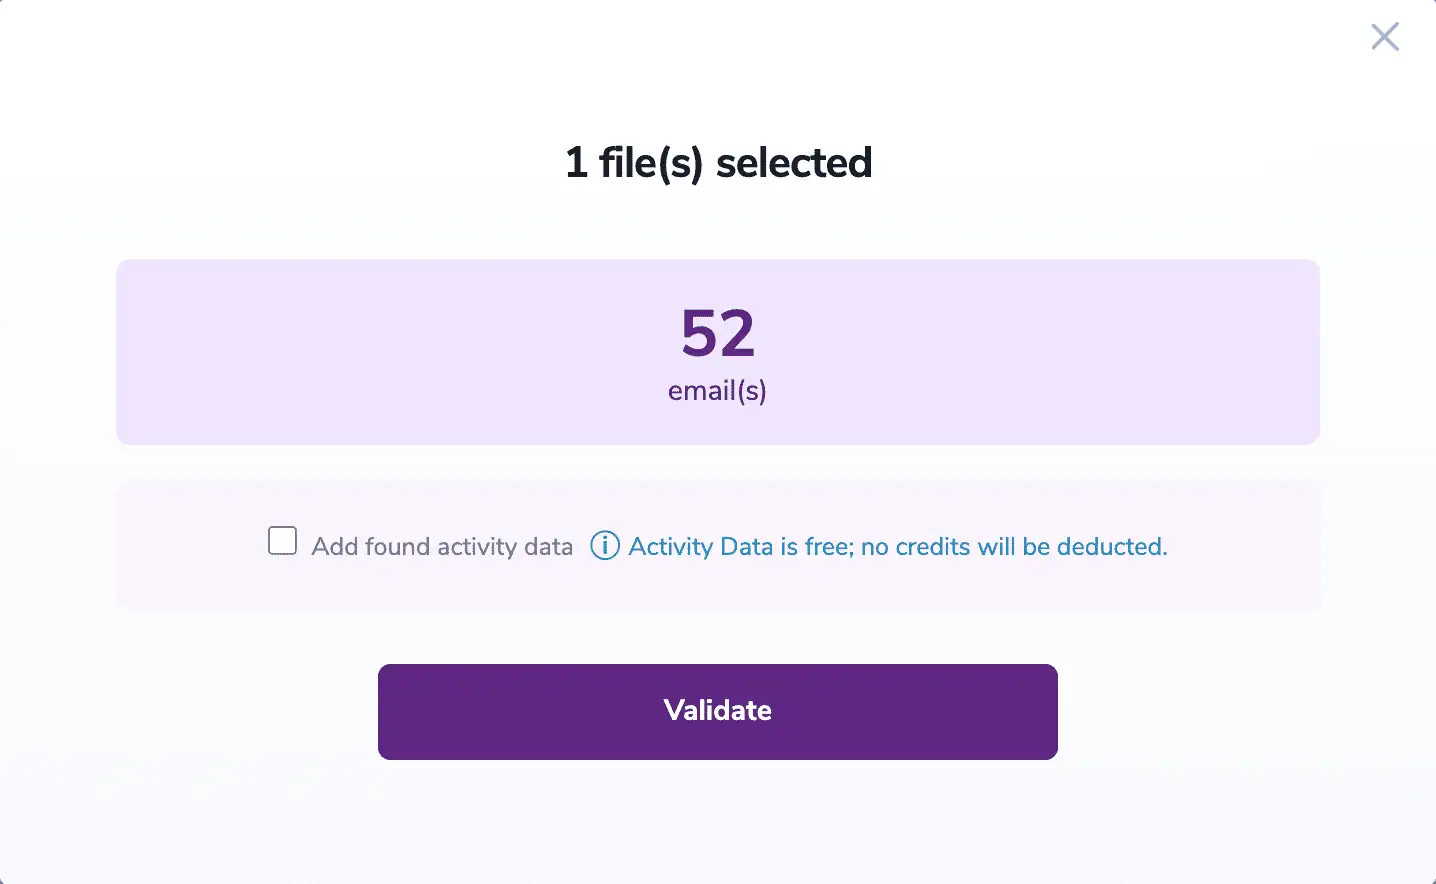
Validation Pop-up
On validate you will be presented with a popup with one option that can assist your validation process:
ZeroBounce Activity Data - uses interaction data to identify emails that have been opened, clicked, forwarded, or unsubscribed. The matching process is performed in-house through ZeroBounce's infrastructure, and your data is not transferred or shared with any third parties.
Step 5:
You will be taken to the Email Validation Results page which will show the list you selected in queue.
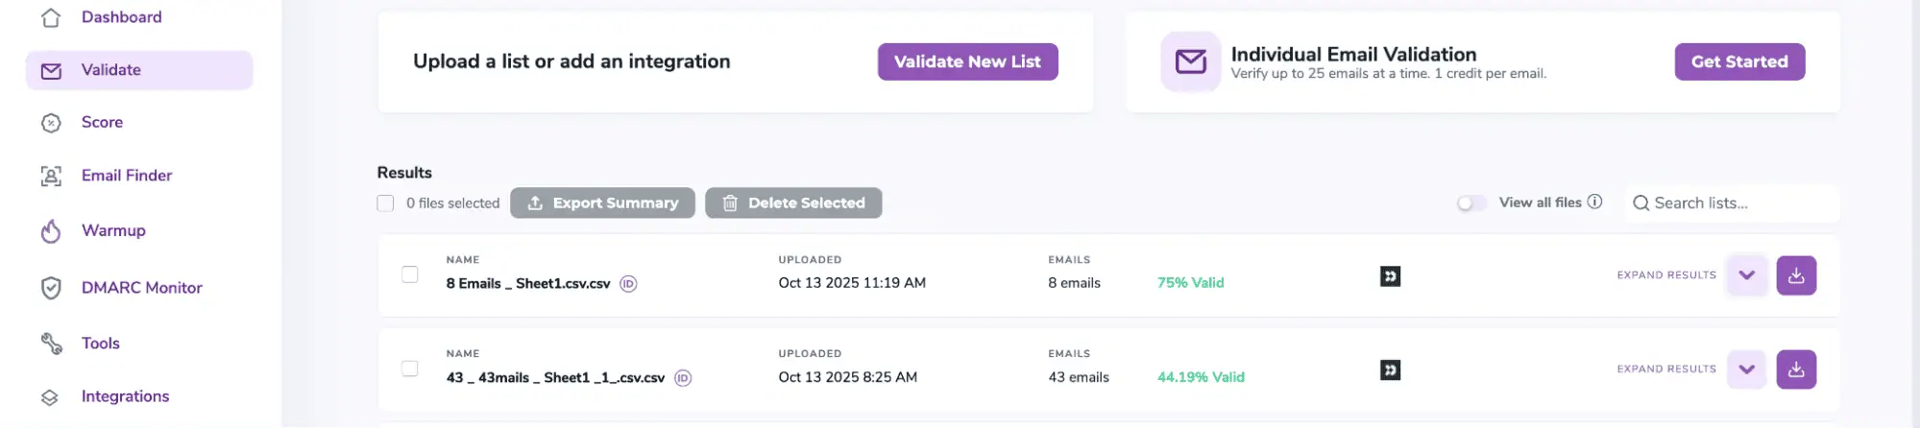
Email Validation results page
Step 6:
Once your list has completed processing you should receive an email notification and you will see that the Download button will appear.
Note: The results of the validation and scoring are automatically exported to the integration they originated from.
Status: Completed
Step 7:
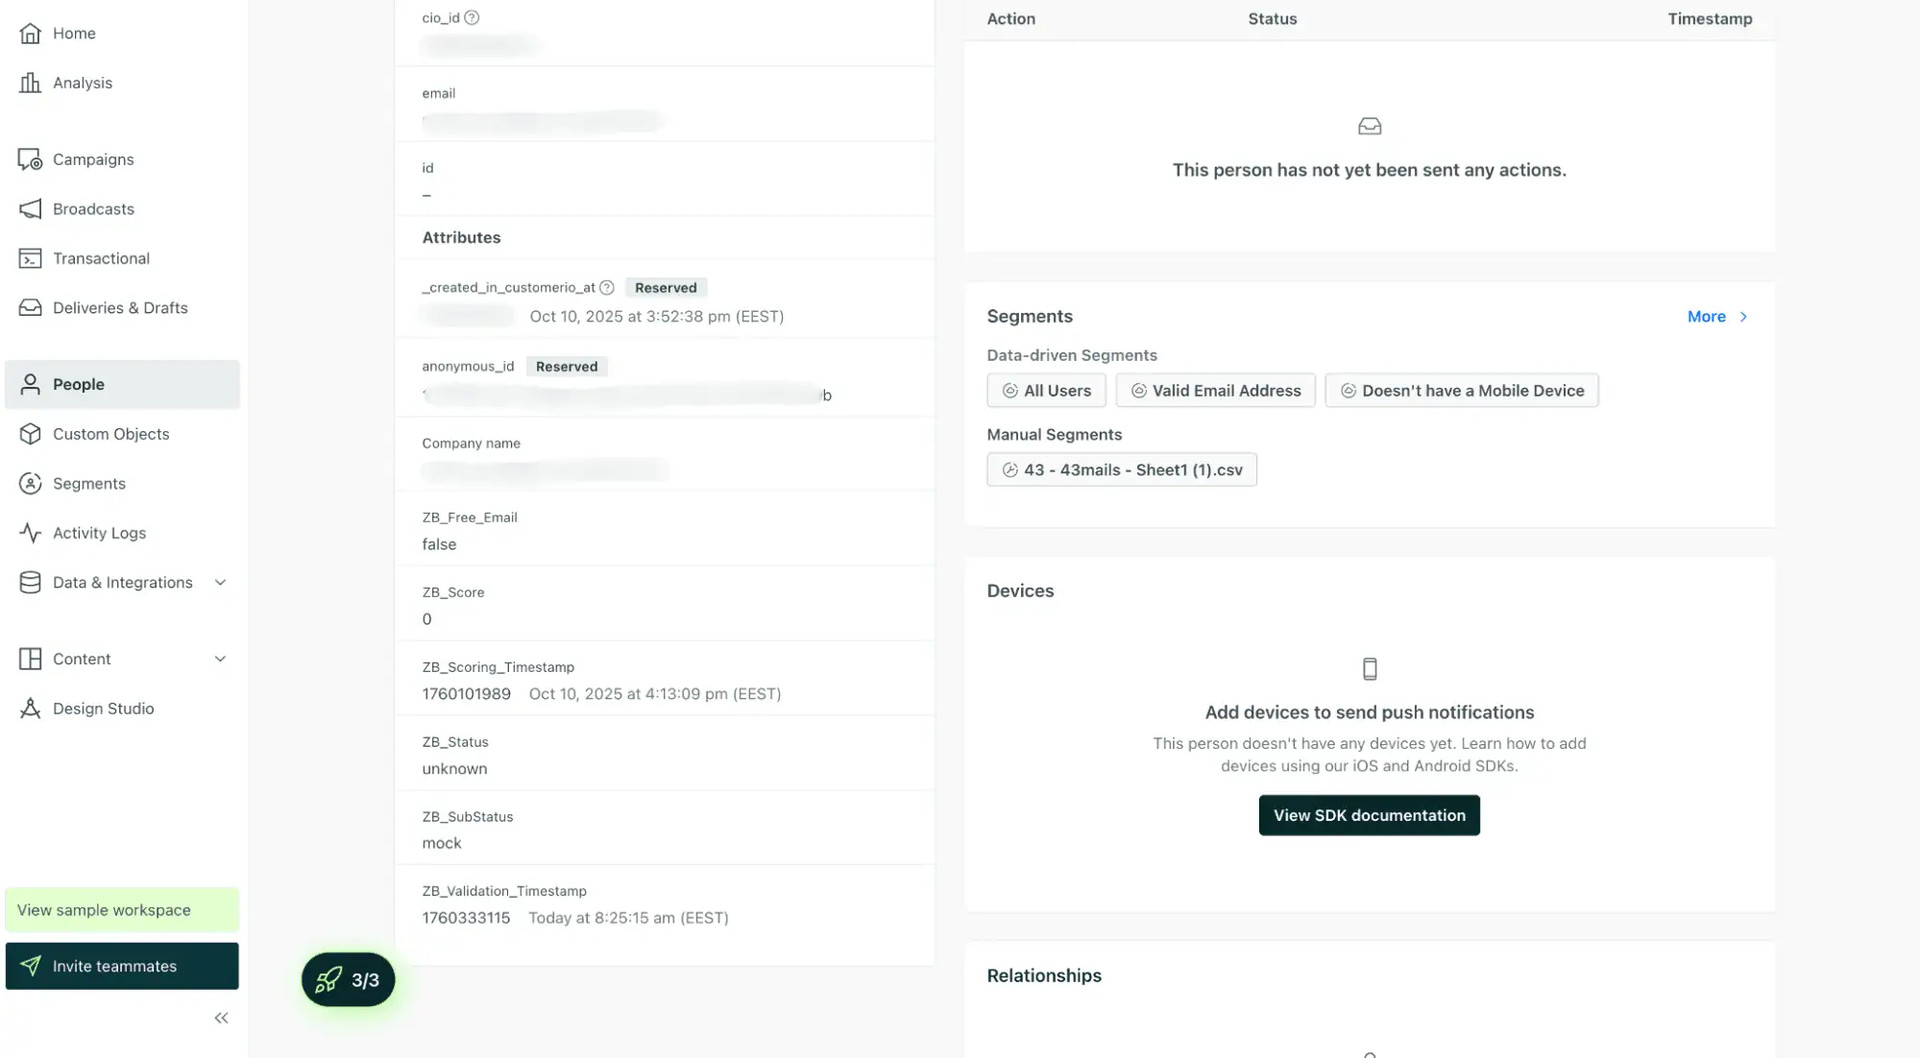
When you export your contacts, you'll find the following attributes included in the exported file:
- zb_Status
- zb_SubStatus
- zb_Validation_Timestamp
- zb_Score
- zb_Scoring_Timestamp
- zb_Free_Email
The following tags will be automatically created in your integration with the first automatically validation/scoring results export
These tags are essential for maintaining up-to-date and accurate contact information, allowing for better management and engagement with your contacts.
Essential attributes for maintaining up-to-date and accurate contact information on Customer.io.
Auto-validation
Auto-validation will be coming soon.