JS Widget Integration Documentation
Prerequisites
To use the JS Widget, your website must have a form that meets the following requirements:
- Include an email type field with the class: "zb-email".
- Define the class "zb-email" with the following styles:
- width: 100%;
- box-sizing: border-box;
- Wrap the email input in a div with the styles:
- position: absolute;
- display: inline-block;
Check the example below for more details:
Make sure you do not add any inline styles to the email input, as they will be removed by the widget.
How to use the ZeroBounce JS Widget integration
Step 1:
Go to https://www.zerobounce.net/members/signin and sign in with your ZeroBounce account.
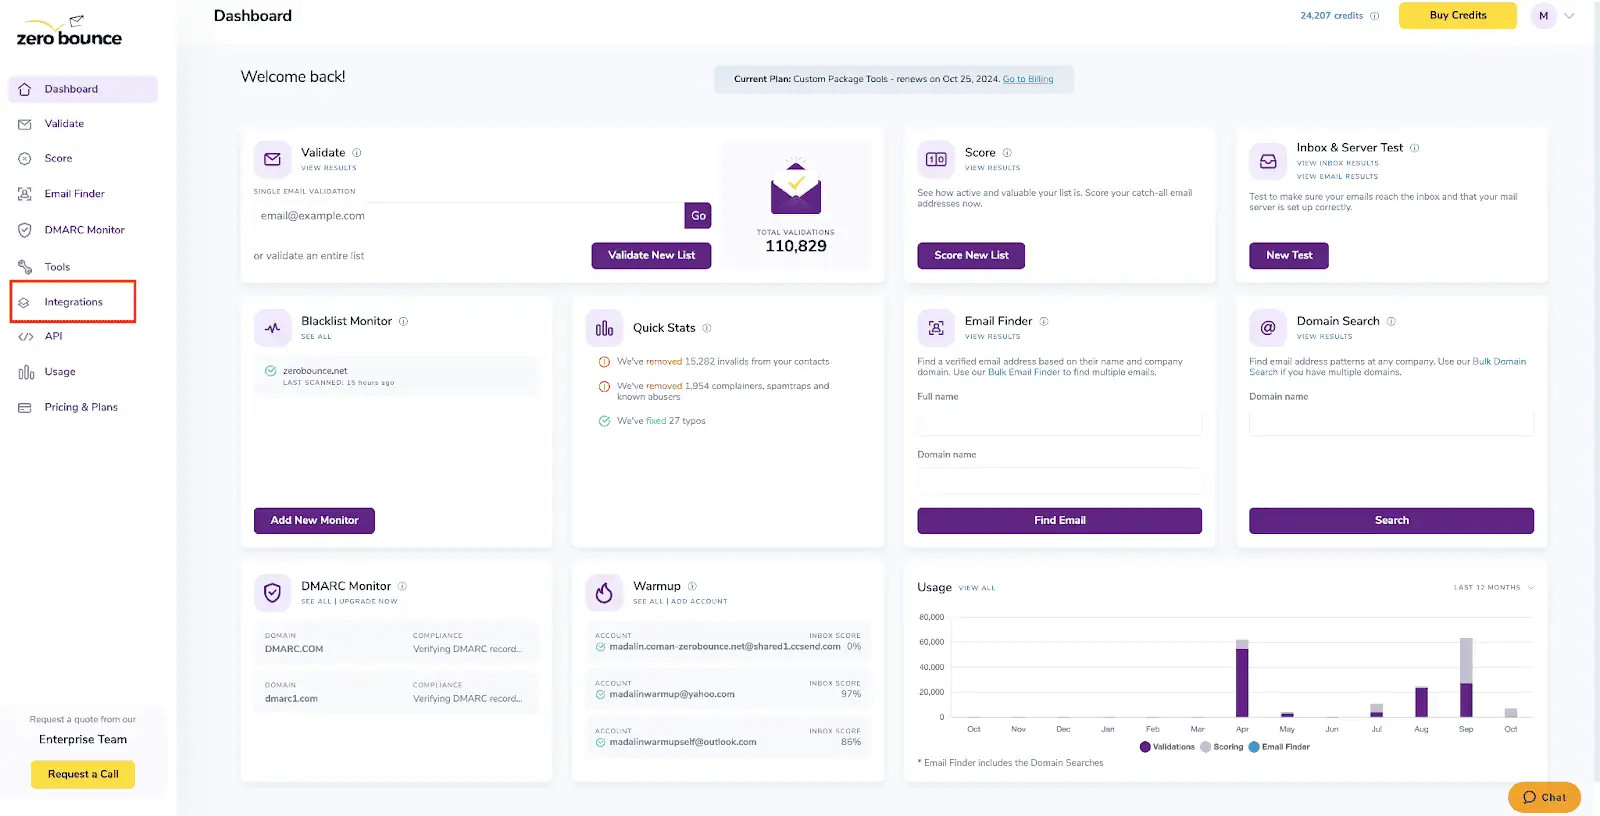
Go to the left-side menu and click Integrations.
Step 2:
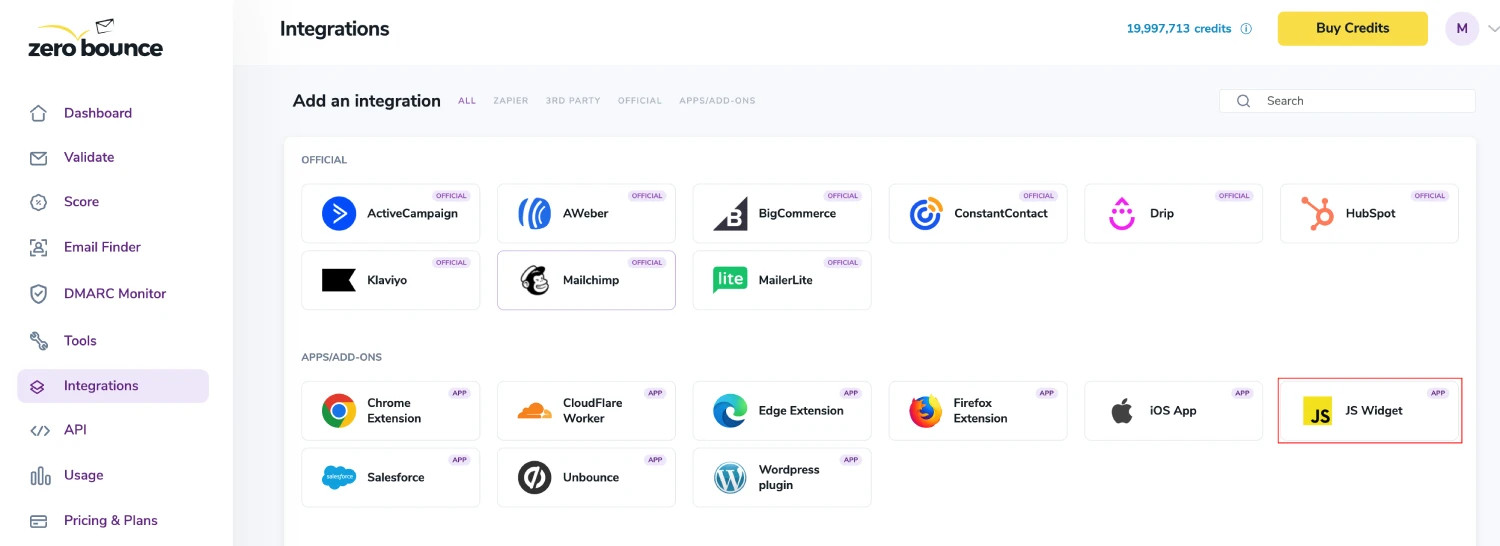
On the Integrations page, select JS Widget from the Integration List. You can find it under Apps/Add-Ons.
Step 3:
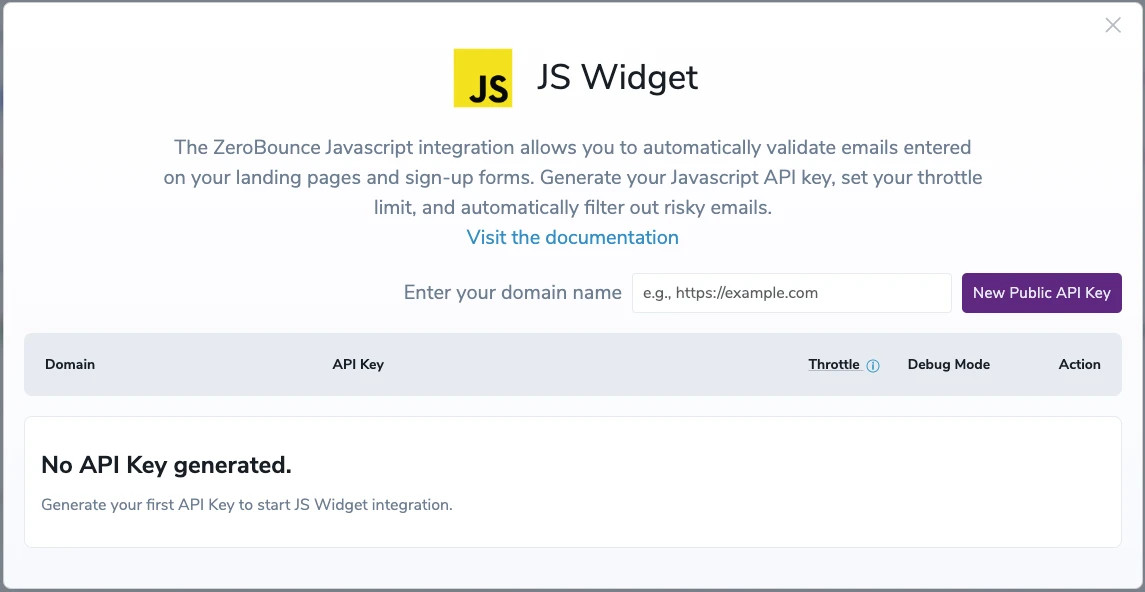
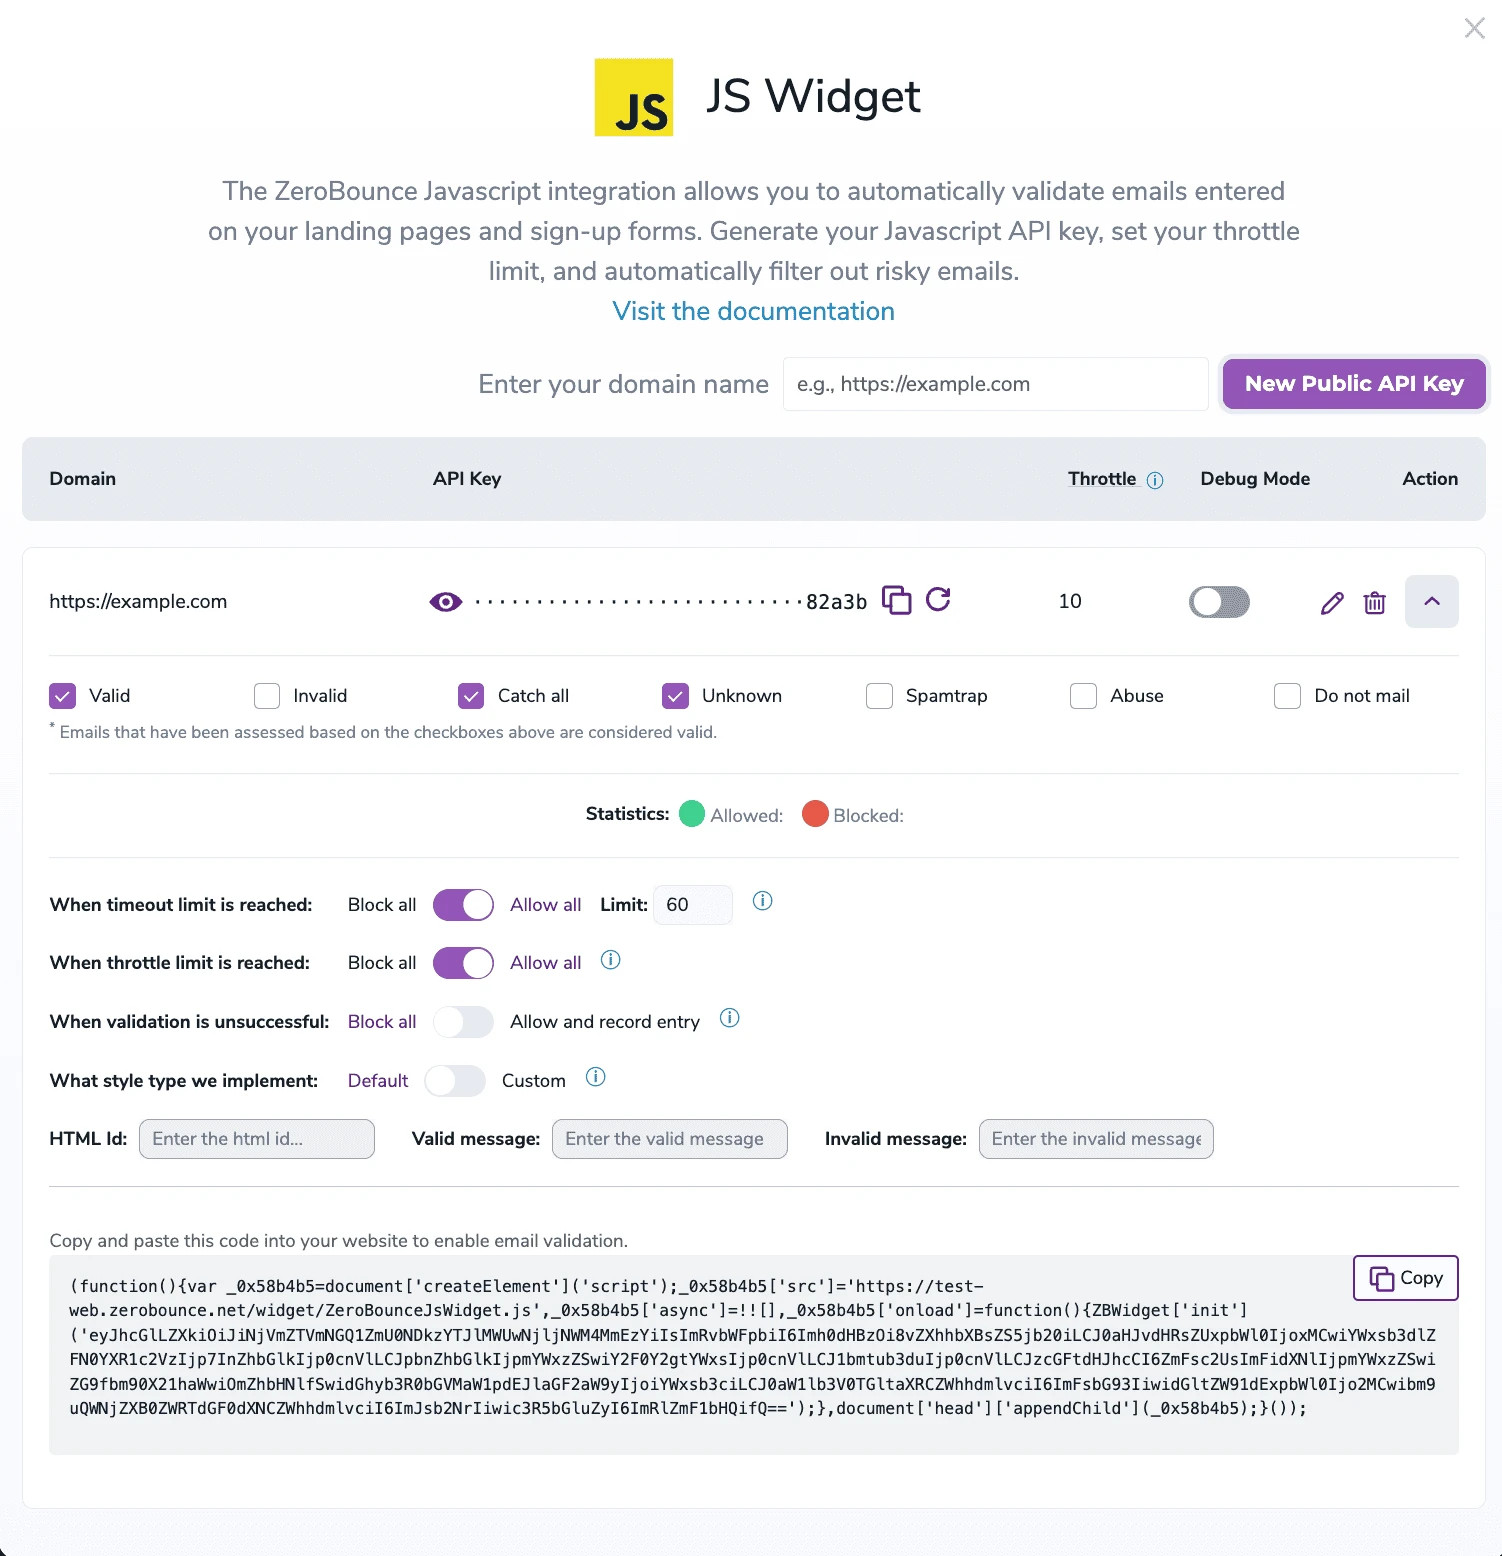
Enter your website URL in the field that reads “Enter your JS Widget domain name.”
Then, click New Public API Key to generate an API key linked to the domain you entered.
Use only the domain to generate the API Key (e.g., https://test.mywebsite.com). Make sure that the URL starts with ‘ https:// ’. Also, ensure there is no ‘ / ‘ at the end of the URL. Failure to do so will result in validation issues.
Step 4:
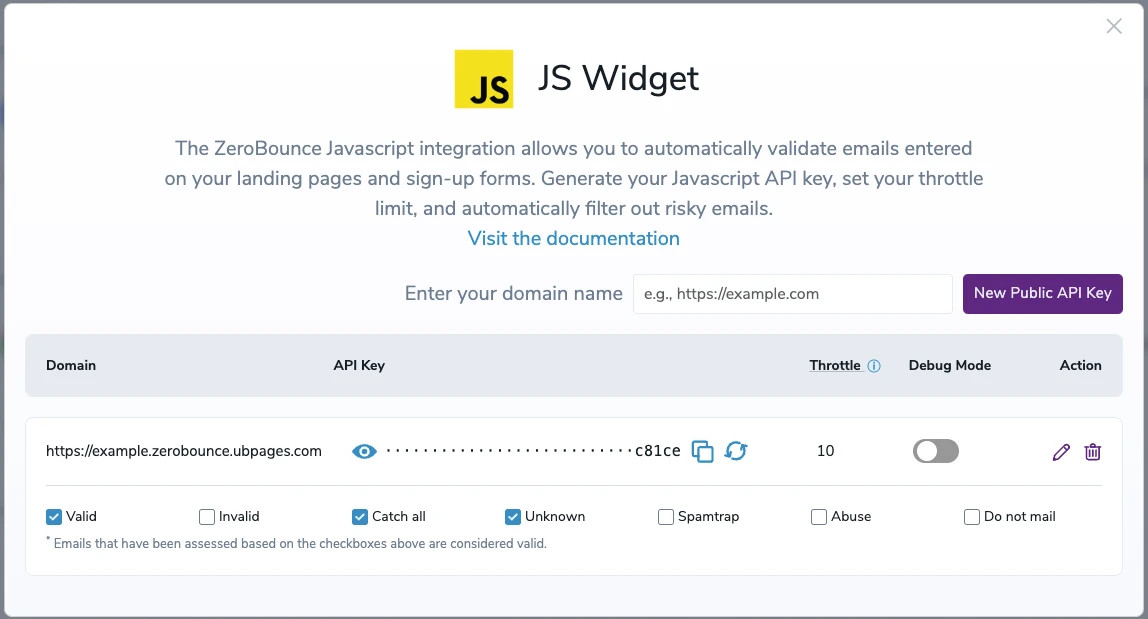
In this section, you can manage your configurations:
- Edit URL and Throttle
- URL - If the URL is changed, ensure that the script is placed on the correct JS Widget page.
- Throttle - This is the number of email validation attempts per hour that you will allow on your form.
- Change statuses
- Select the checkboxes that represent the validation criteria you want to designate as "valid" for your use case. Unselected checkboxes indicate that the associated criteria won’t be considered valid.
- Generate a new API Key
- Show/Hide API Key
- Copy API Key
- Debug Mode
- Delete
Debug mode removes validation limits, but it's best not to keep it active for too long to safeguard your validation services against abuse.
The next section provides some advanced settings for your widget:
- When the timeout limit is reached:
- Block all - The validation process will cease, and the form cannot be submitted. The user will get an error, and the submit button will be disabled.
- Allow all - The validation process will be bypassed, and the form submission will be allowed.
- For both cases, no credits are deducted since both actions prevent the validation process.
- When the throttle limit is reached:
- Block all - The validation process will cease, and the form cannot be submitted. The user will get an error, and the submit button will be disabled.
- Allow all - The validation process will be bypassed, and the form submission will be allowed.
- For both cases, no credits are deducted since both actions prevent the validation process.
- When validation is unsuccessful:
- Block all - The form submission is not allowed, and the user will get an error message.
- Allow all and record entry - The form submission will succeed regardless of the validation status, and the validation result will be available in a hidden input field with the ID "zbone_valid." - this information is not for the end user but for the client who implements the jswidget to track emails used on the form.
- For both of these options, credits are deducted as the validation process still occurs even when the user is unaware (for Allow all and record entry).
- What style type we implement:
- Default - This provides you with our default widget design, as shown below under More Information.
- Custom - This allows you to customize the widget’s style with the three available options: HTML ID, Valid Message, and Invalid Message.
- All errors presented to end users will depend on the option selected here. To get more comprehensive information about the error, we recommend using the custom error message. This way, the error will be a text message with explicit information about the error.
The order of validation for these limits is as follows: Timeout -> Throttle -> Validation success/unsuccessful
Every setting modification will update the code provided with the JS Widget integration. The user must always use the latest code generated on the go.
Step 5:
It’s recommended that you integrate the provided code snippet before closing the body tag. This implementation can be applied globally across your website or selectively targeted to specific pages where forms are present. Additionally, ensure that email input fields are appropriately configured with the specified attributes mentioned in Prerequisites: type="email" and class="zb-email".
Prior to utilizing the script, it’s crucial to ensure that you are operating within the appropriate environment. If your API key was generated on zerobounce.net, it’s imperative to reference the documentation and resources available on zerobounce.net exclusively. This adherence to the specific source is pivotal for seamless and efficient operation.
More information
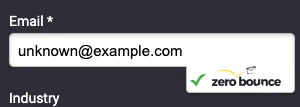
The following images illustrate how a valid and an invalid email will be displayed.
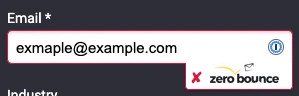
Certain cases will allow the form to be submitted even if the email is invalid:
- if the ZeroBounce user account used to generate the API key has an insufficient credit balance
- if the throttle limit is exceeded. The throttle is set by default to 10 per hour and can be changed in the JS Widget integration screen (see Step 4)
Emails that are considered valid include those categorized as catch-all, unknown and valid.