
Docs
Docs
The ZeroBounce email validator allows users to create custom filters to allow or block emails, email domains, specific mx records or TLD (Top Level Domain). Making these allowlists and blocklists will enable you to customize your email validation experience for your needs.
Creating these custom filters simplifies email validationⓘ by automatically allowing or blocking values and improve email list validation efficiency.
To create your email validationⓘ rules, sign in to your ZeroBounce account and visit your account settings.
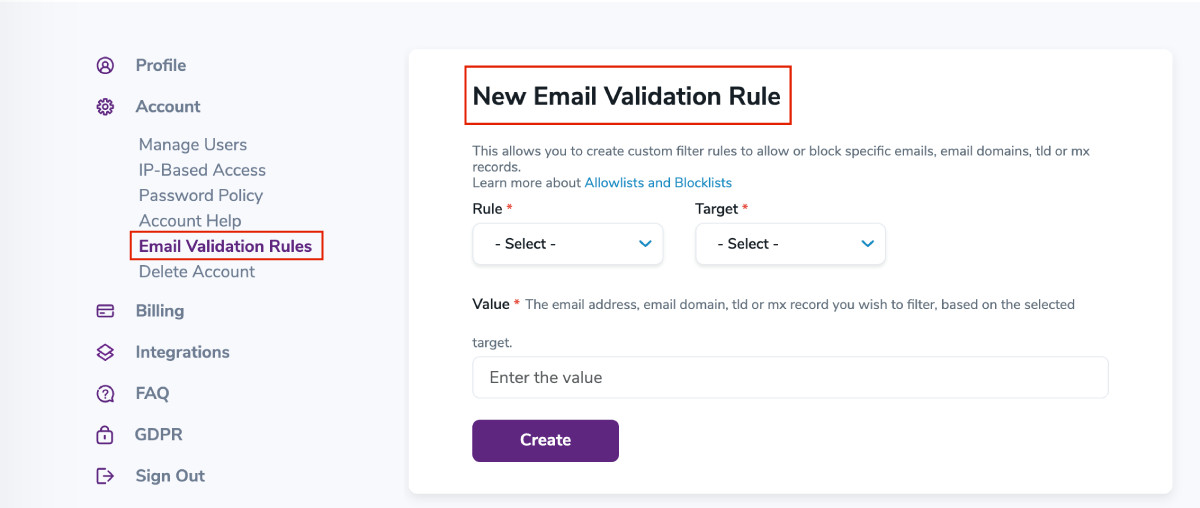
In the settings, you’ll find two mandatory dropdown fields. You must select a value for both to create a new rule successfully.
Important Note - Before you begin, know that more specific rules will take priority over less specific ones.
For example:
Rule 1: Block - Email - test@example.com
Overrides
Rule 2: Allow - Domain - example.com
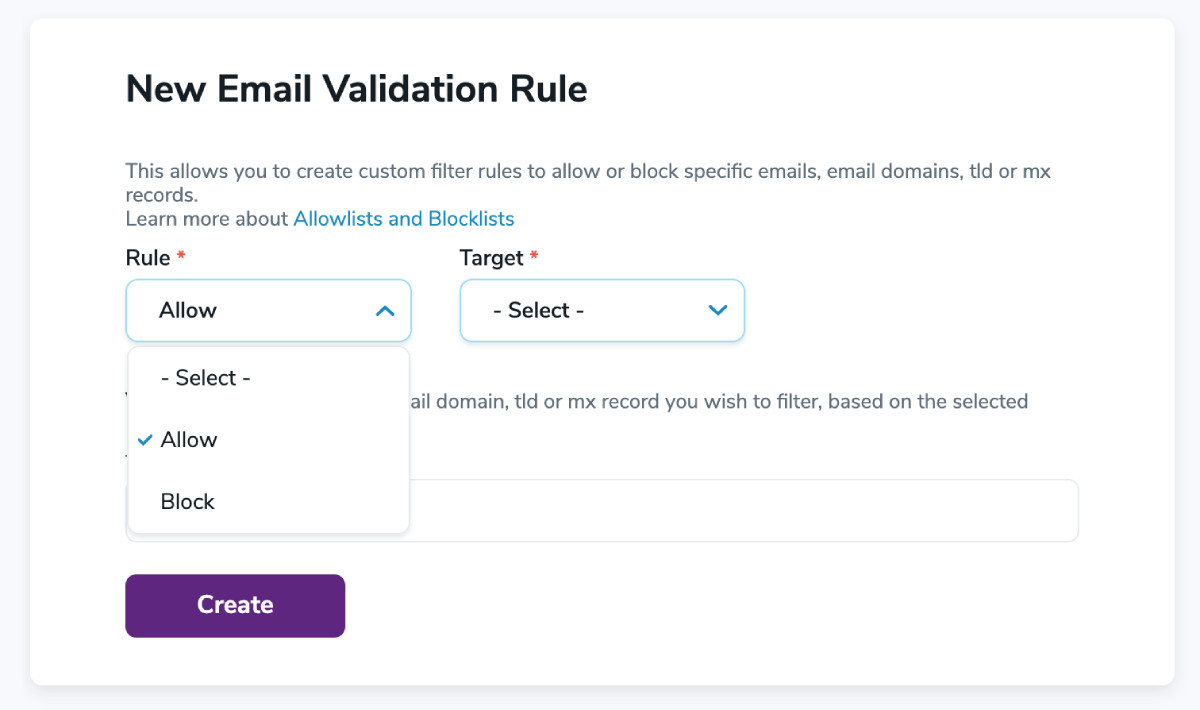 Allow will create an exception for all emails, email domains, mx records or tld that match the value entered.Block will ensure that all emails, email domains, mx records or tld that match the value entered are automatically filtered and blocked from email validation.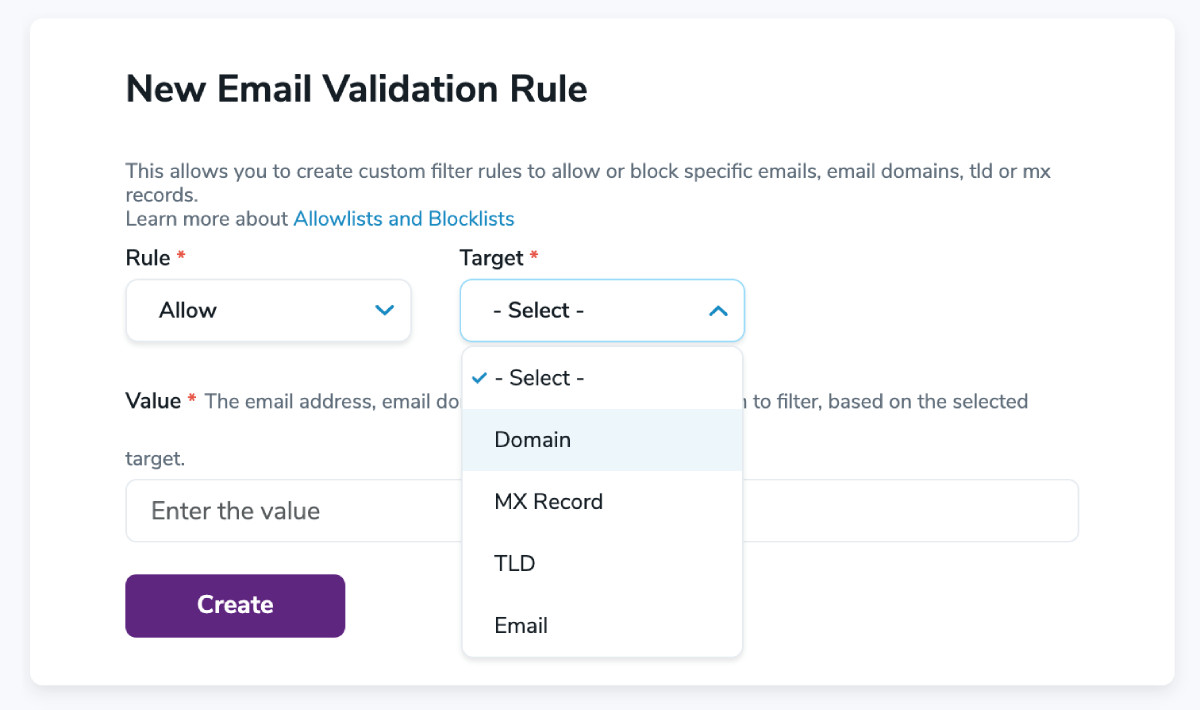
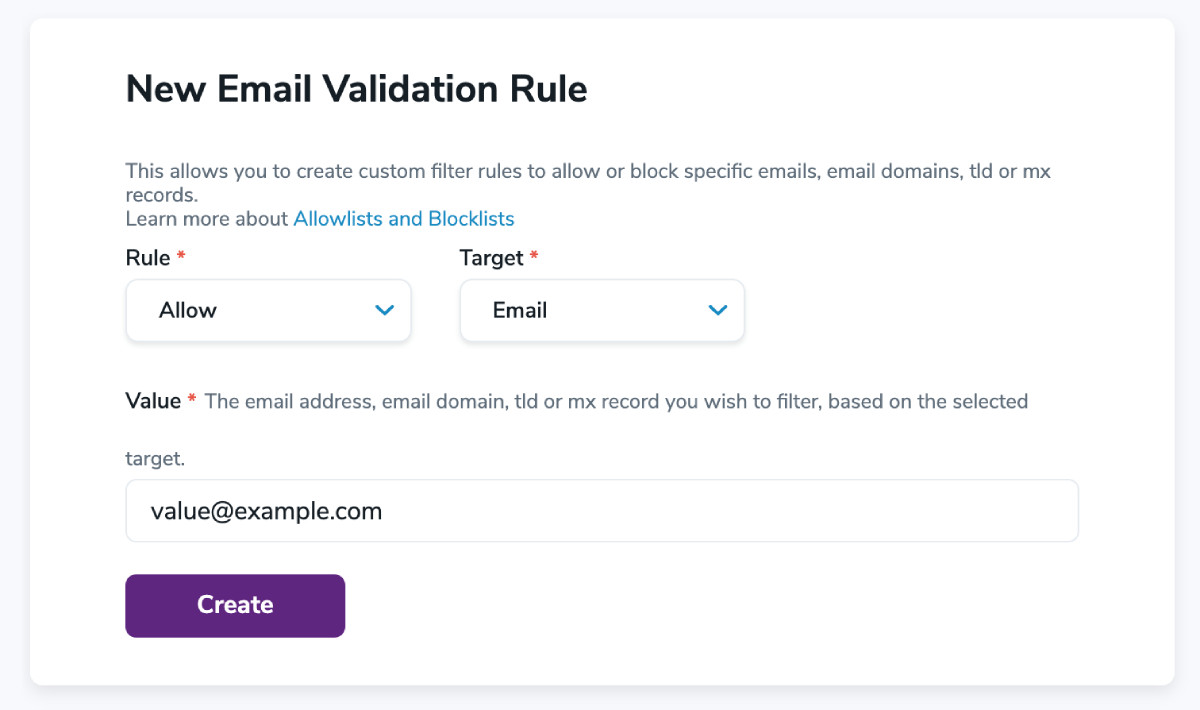 Example domain value - example.com.Example mx record value - long.string.example.comExample tld value - .comExample email value - test@example.com
If you need to edit an existing rule, you can do so by locating the rule in your list and clicking Modify.

Doing so will prompt your rule to appear in the customization field above. You can then switch your rule from Allow to Block or vice versa.
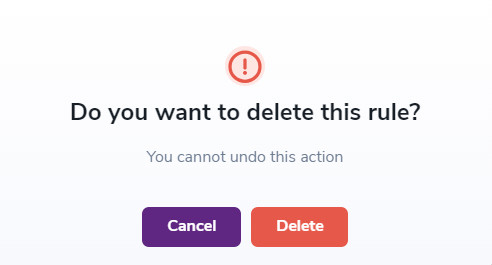
If you wish to edit the Target or Value, delete the rule from your list and create a new one. You can do this by clicking Delete. A confirmation screen will appear to help prevent accidental rule changes on your account.
Then, you may create a new rule that contains the proper Rule, Target and Value.
If you experience issues creating your custom allow or block rules, please contact the ZeroBounce support team - available 24/7 via phone, email or live chat.
