ENABLING TWO-FACTOR AUTHENTICATION
Step 1:
Click on your Profile on the top-right menu. Then find the Two-Factor Authentication switch in the "Change Password" section. Toggle the switch to ON.

The two-factor authentication toggle switch for your ZeroBounce account
Step 2:
In order to activate Two-Factor Authentication, you need to install Authy (IOS/Android) or Google Authenticator (IOS/Android) on your phone. After you install one of these and configure it, you are ready to move on to the next step.
Step 3:
Great! Now use Authy or Google Authenticator to scan the QR Code or just manually type the provided code in the field as shown below.
REMEMBER: For security purposes, the code is refreshed every 30 seconds.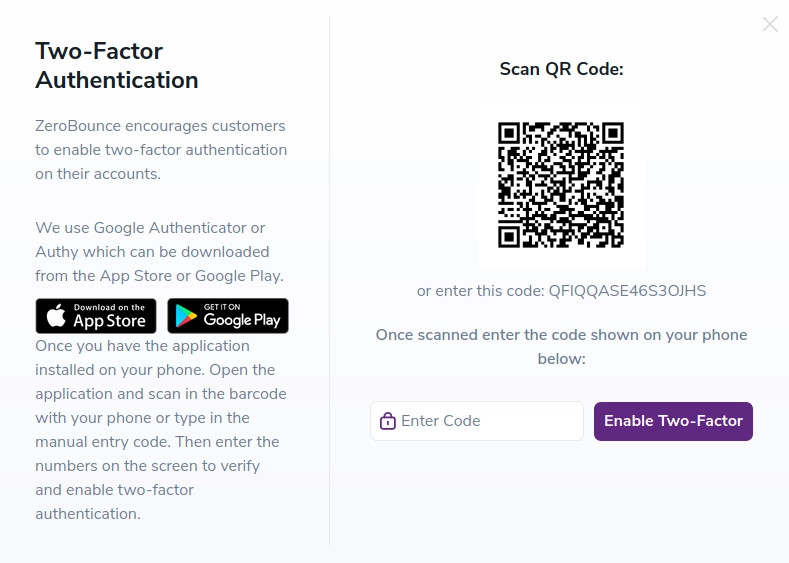
QR code window for enabling Two Factor Authentication on your ZeroBounce account
Step 4:
Congratulations! You now have an extra layer of security activated on your account.
Step 5:
When you sign in next time, after you enter your username and password, you will be prompted to provide the six-digit code from your authenticator app in order to authenticate successfully.
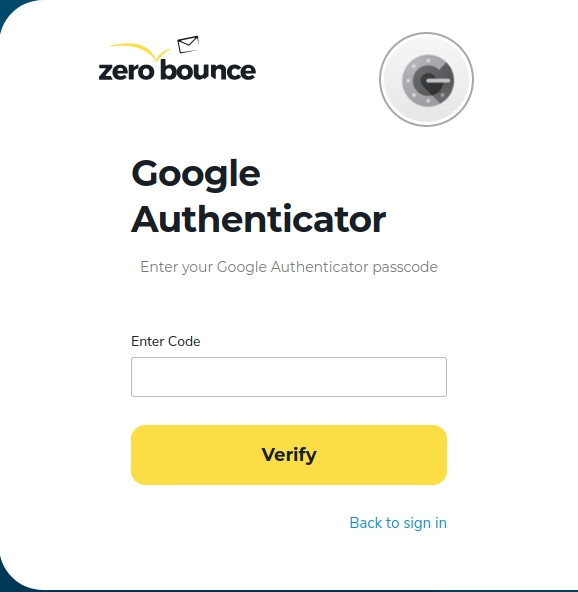
Field for inserting your Google Authenticator passcode for your ZeroBounce account