CONFIGURE OKTA SSO
To configure a custom Okta SSO solution for use with ZeroBounce, please contact ZeroBounce Support.
How to set up Okta to utilize the same user via single sign-on (SSO) in ZeroBounce
Step 1:
Set up Okta as an Identity provider.
Sign in into your Okta admin account. Navigate to Applications within the main navigation, and click 'Create App Integration.',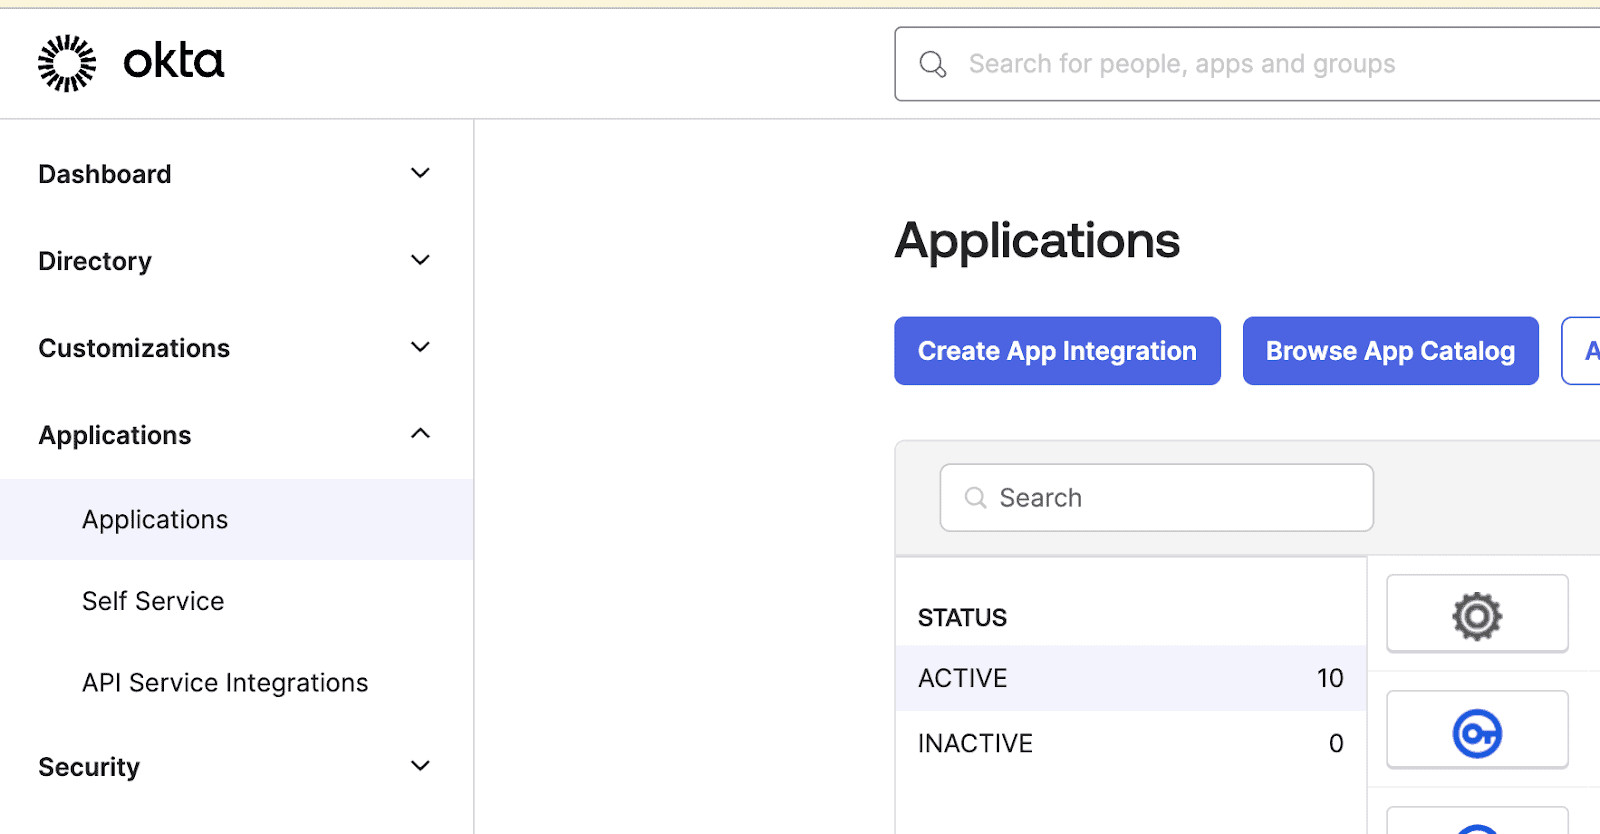
Okta account dashboard with the Applications menu highlighted
Step 2:
Select 'OIDC' as the sign-in method, then select 'Web Application' as the application type, and click 'Next.'
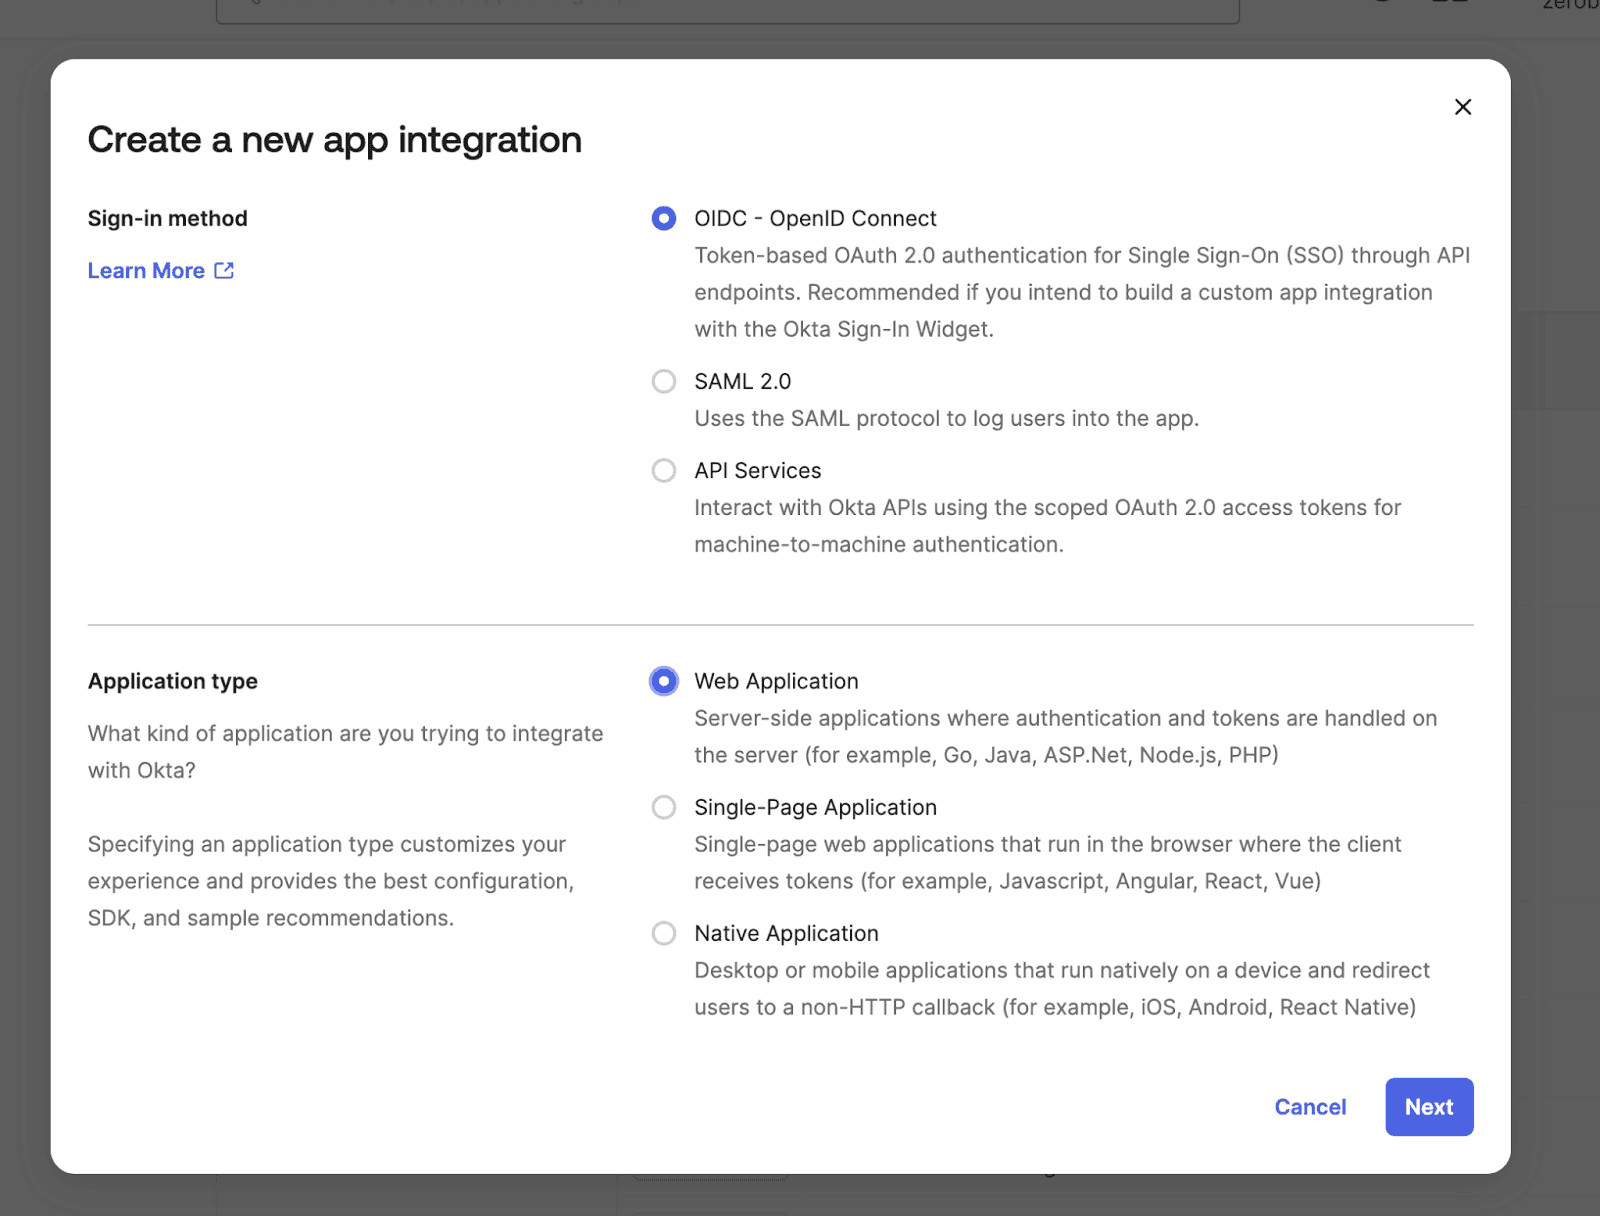
Okta's Create a new app integration menu with OIDC and Web Application selected
Step 3:
Give a name to the application (e.g., 'Zerobounce IDP auth server'). Make sure 'Authorization Code' is selected (should be selected by default).
In the Sign-in redirect URIs field, add the following:
https://okta.zerobounce.net/oauth2/v1/authorize/callback,
In the Sign-out redirect URIs field, add the following: https://okta.zerobounce.net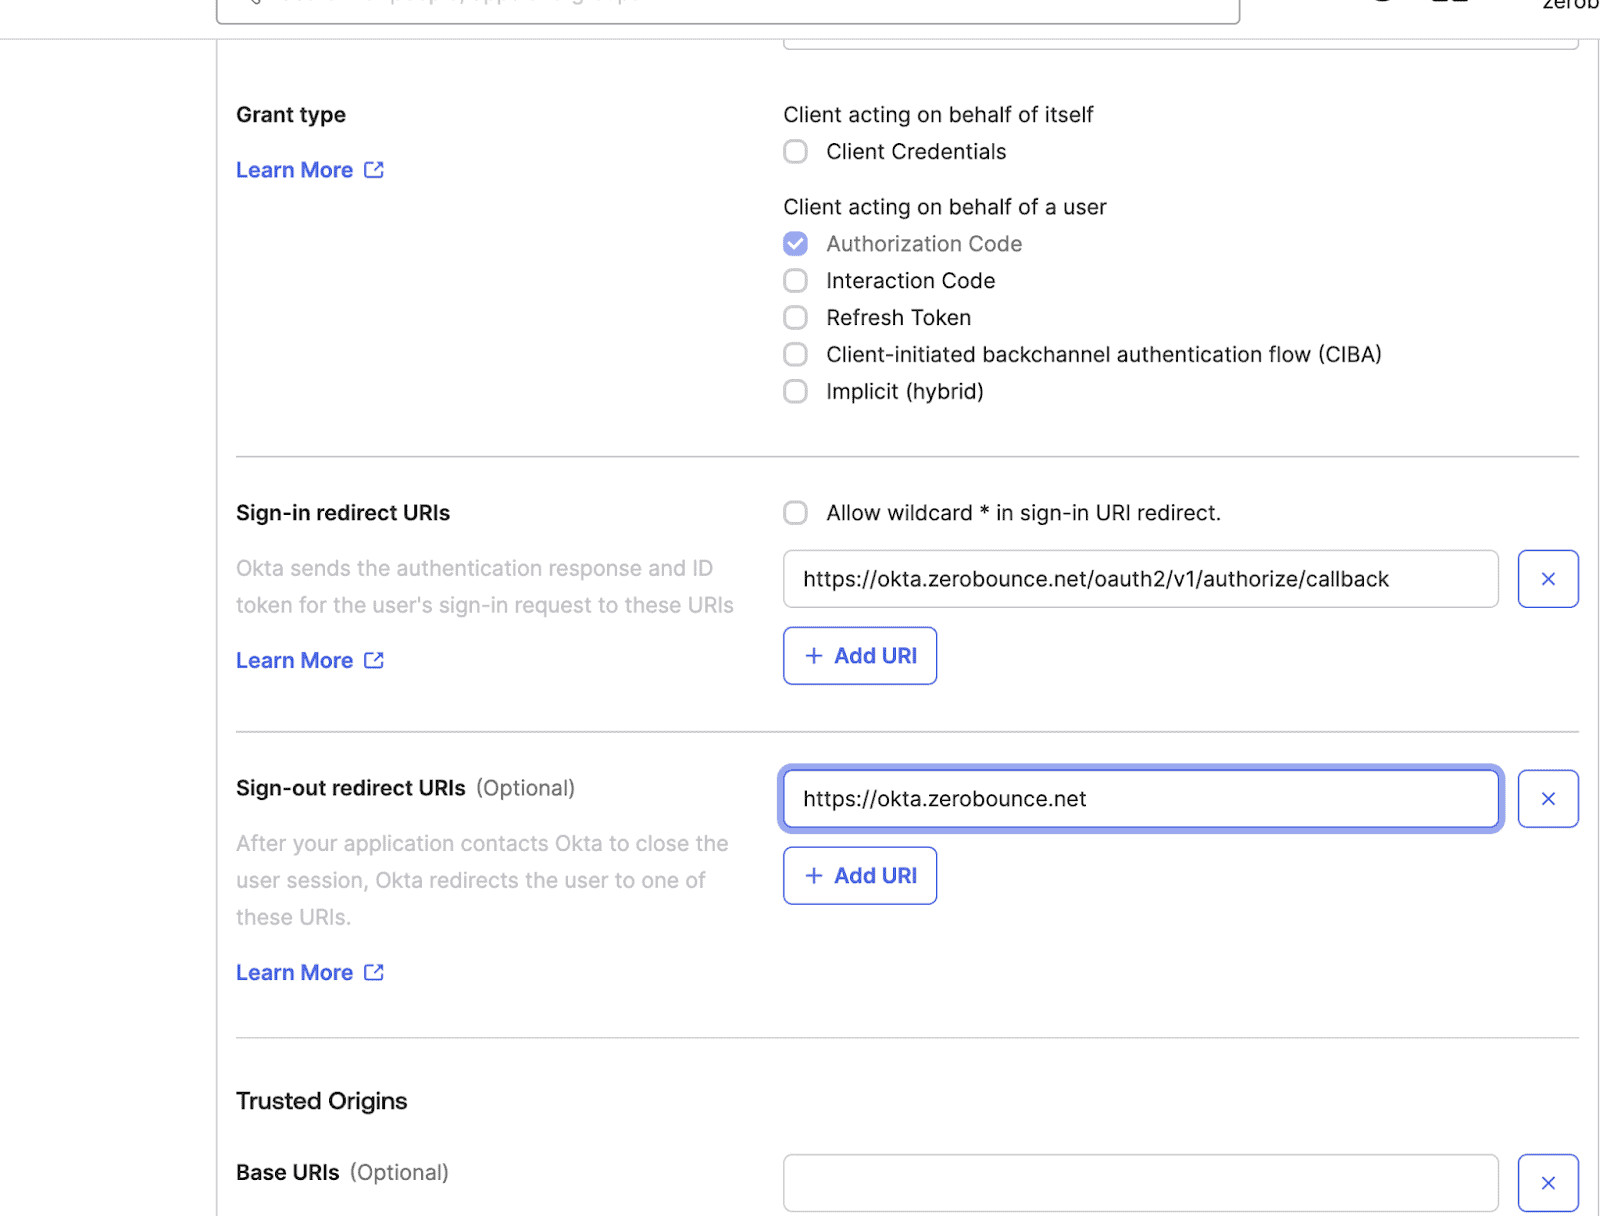
Step 4:
In the Controlled Access section, choose the option best suited for your organization. You can allow all users from your organization to sign in (or register) or select a specific group of users. You can also select an option later. Click 'Save.'
Step 5:
Please make sure that the application is under the correct authentication policy. You can enforce your enterprise authentication policy under the Sign On tab. To do this, scroll to the bottom and change the authentication policy.
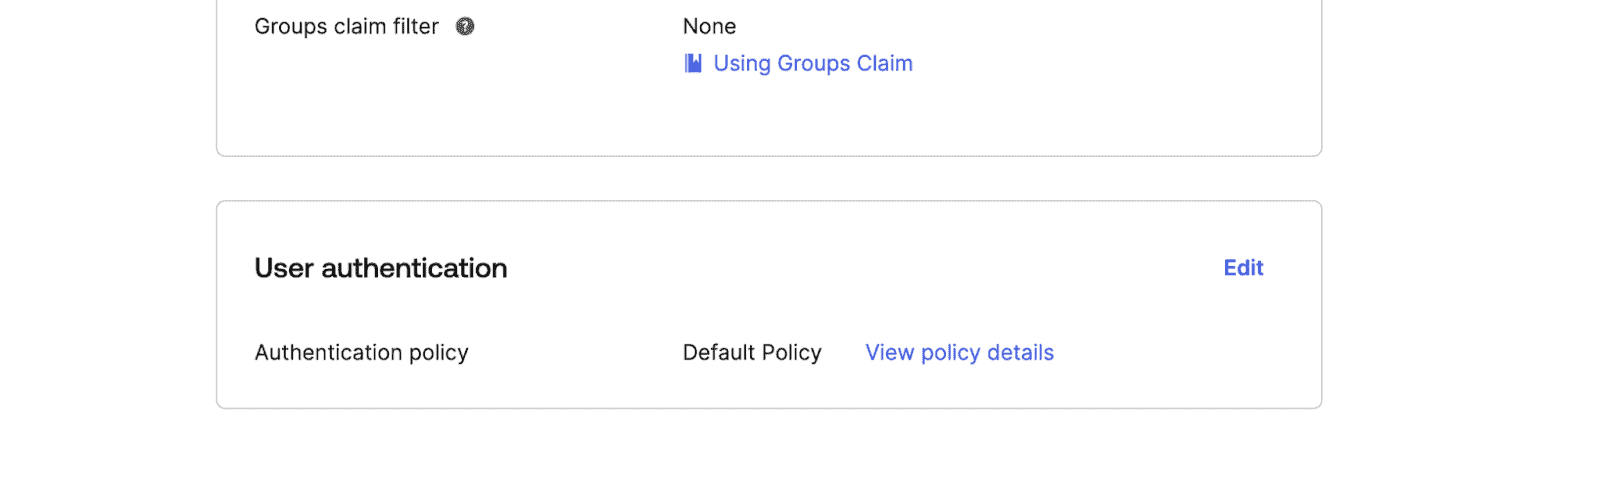
An Okta menu showing the user authentication policy selector
Step 6:
You will need to provide ZeroBounce with the 'Client ID' and the Client Secret key for the created application.
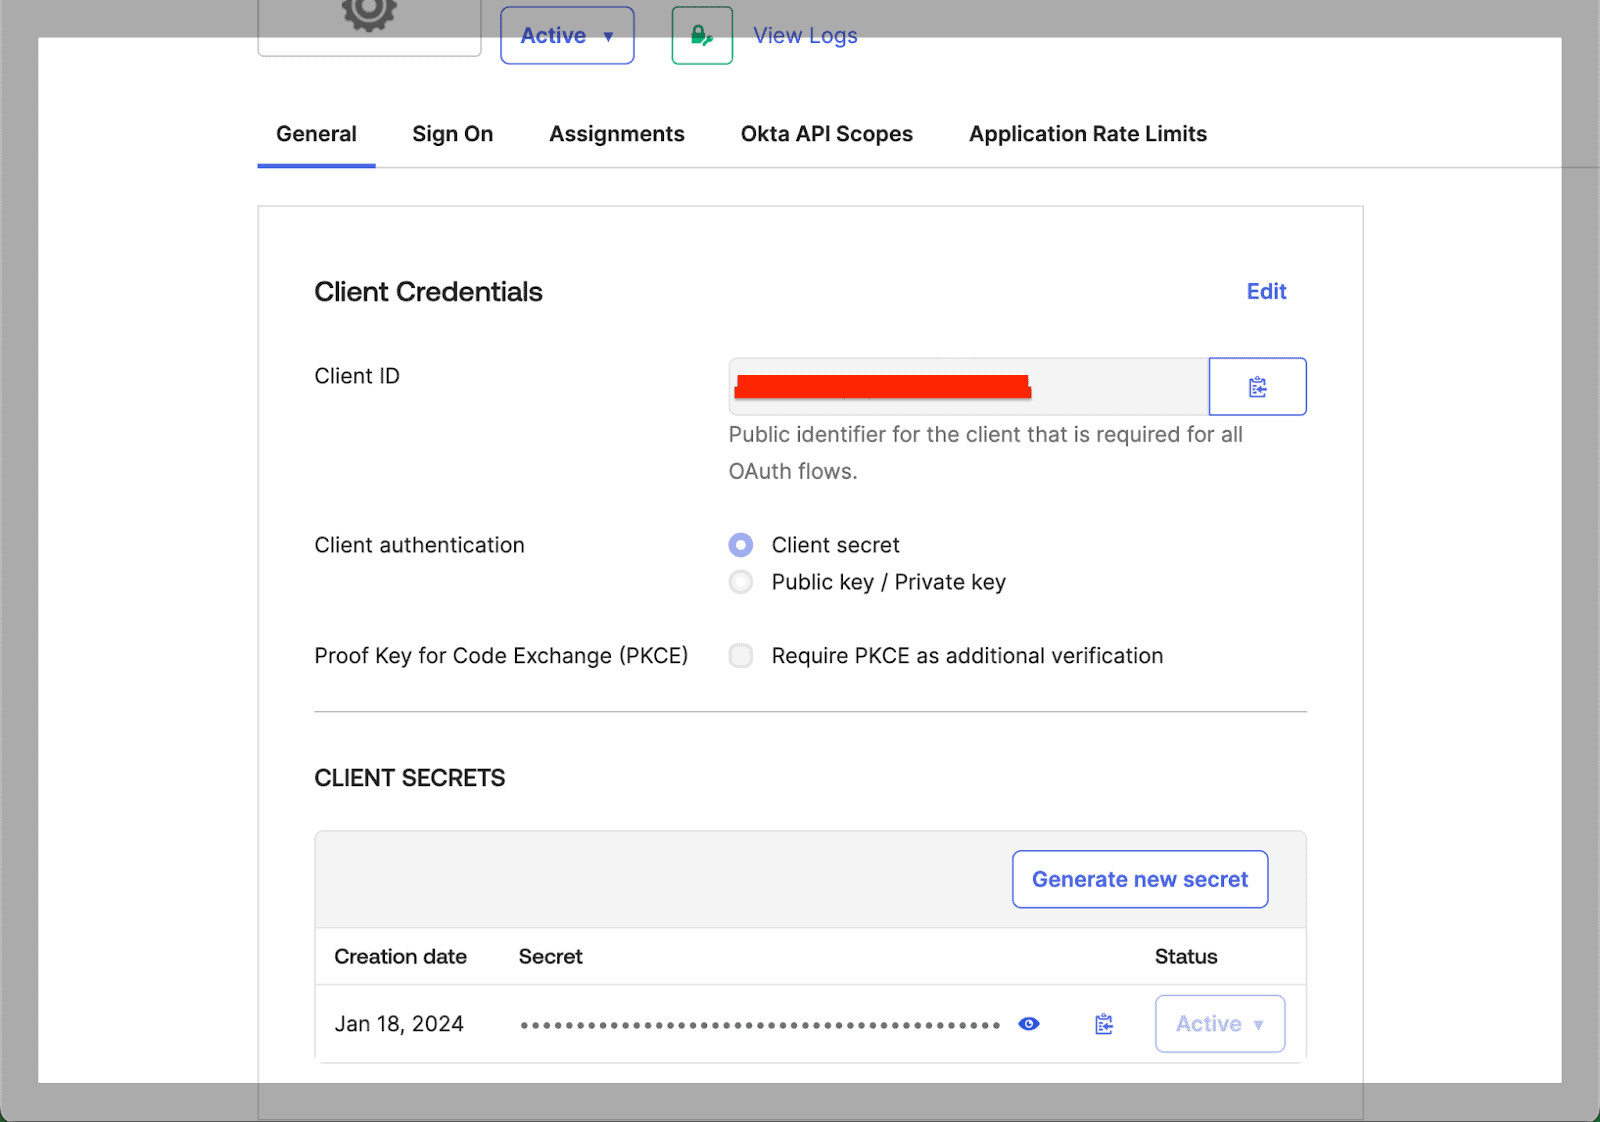
Okta general settings menu that shows Client Credentials and Client Secrets with a red bar through the Client ID
You'll also need to provide the 'Custom Domain,' which you can find under Customizations, followed by 'Brands'
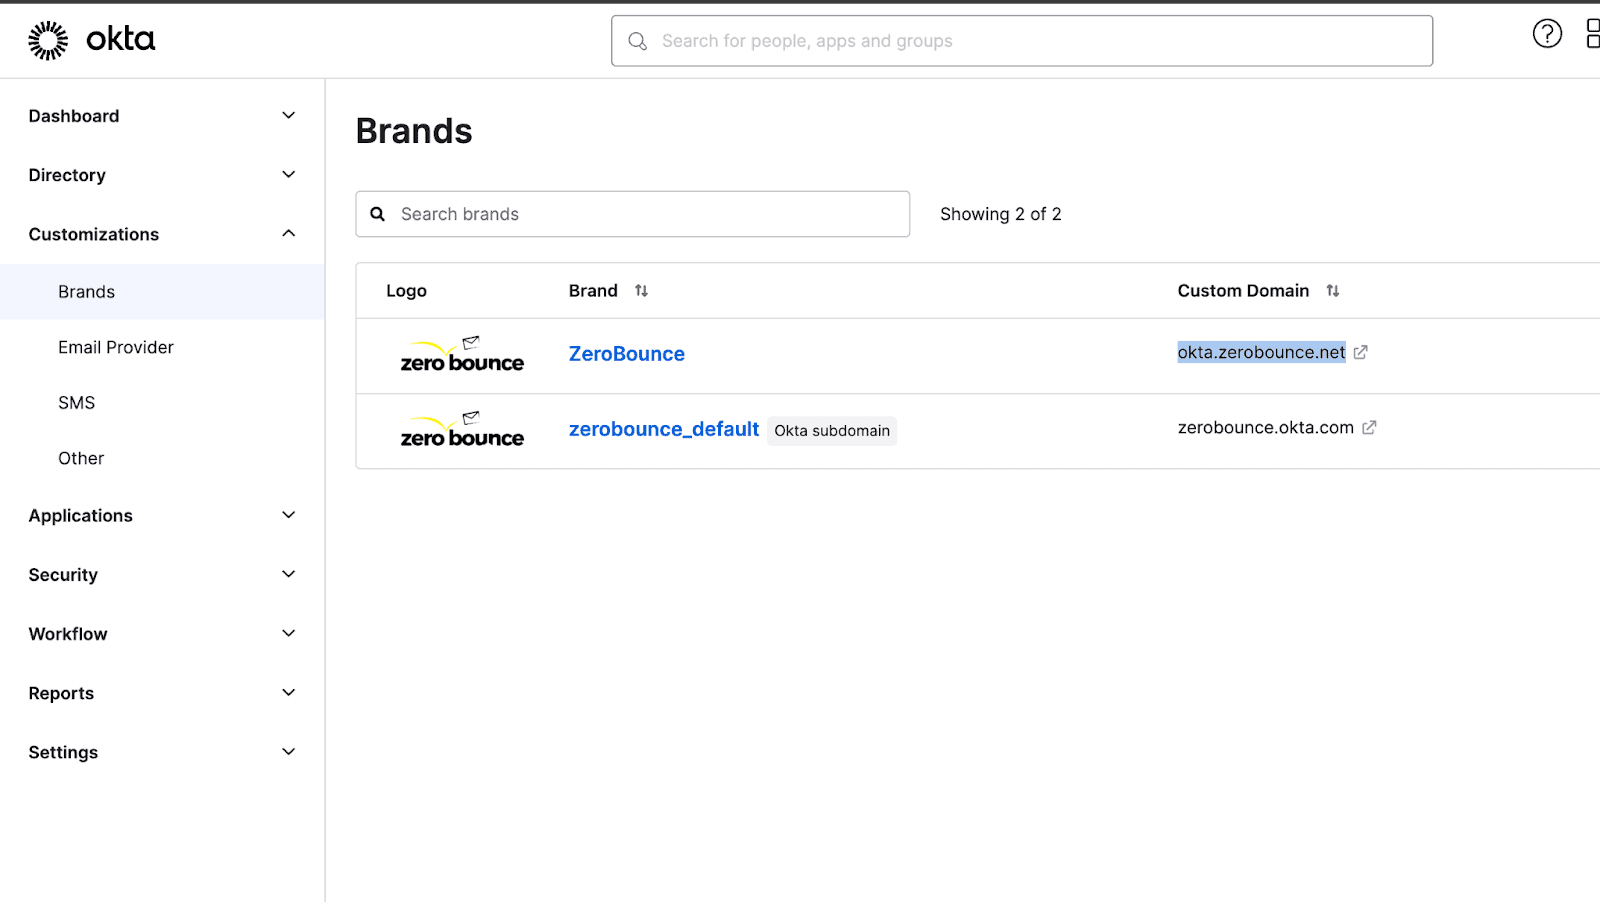
The Brands menu in Okta's Customizations shows the custom domain URLs for ZeroBounce and zerobounce_default