What Payment Methods Does ZeroBounce Accept?
ZeroBounce uses PayPal and Stripe as their primary payment processor. Therefore, you can use all payment methods that either platform accepts. Payments through Link are also now available.
What credit cards can I use with ZeroBounce via PayPal?
PayPal currently accepts the following payment methods:
- Visa
- Mastercard
- American Express
- Discover
- JCB
- Diners Club
- EnRoute
- Level 2 and 3 Purchasing Cards (P-Cards)
Learn more about PayPal payment methods via their Acceptance page. You can also view which countries are supported by PayPal payments to determine if you or your business is in a valid location.
What payment methods can I use with Stripe?
ZeroBounce now supports expanded payment options through Stripe, including some popular platforms used internationally. These payment platforms include:
- Apple Pay
- Google Pay
- Cash App
- Afterpay/Clearpay
- Klarna
- Bancontact
- EPS
- Giropay
- iDEAL
- Sofort
- WeChat Pay
- Alipay
In addition to this, ZeroBounce supports 135 international currencies for Pay-As-You-Go purchases. When attempting checkout with a Pay-As-You-Go order, the currency will be determined based on your location.
You can find the full list of Stripe’s supported currencies on their website.
Any payment via PayPal or Stripe may be used for your ZeroBounce purchases.
Does ZeroBounce accept bank wire or ACH?
You can pay for your credit or subscription via bank wire or Automated Clearing House. Please contact support@zerobounce.net for more information.
How to pay with PayPal
To pay for your ZeroBounce purchase with PayPal, follow these steps:
- When adding credits or subscriptions to your cart, click the 'PayPal' button.
- Sign in to your PayPal account.
- Select your preferred payment method and click Complete Purchase.
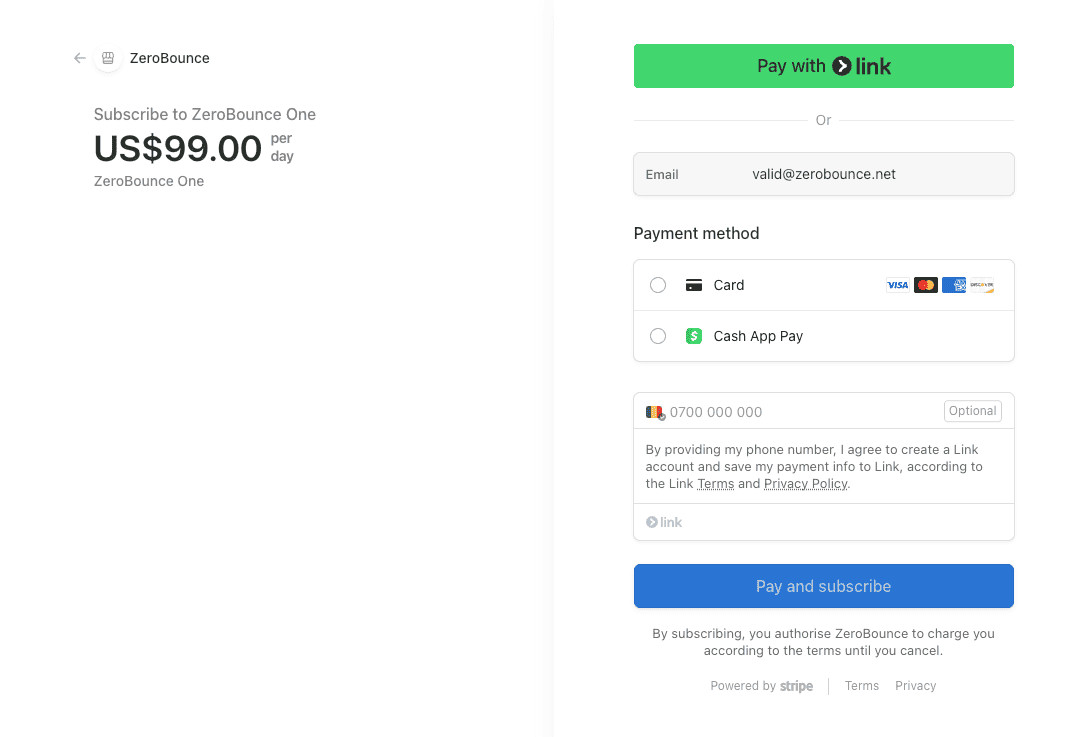
How to pay with Link
You can now use Link for a simple, one-click checkout.
To do so, follow these steps:
- Add your credits or subscription to your cart, and head to checkout.
- At the top of the page, click 'Pay with Link'.

- Sign in to your Link account.
- Click Pay.
You can also securely save your Link information for future purchases by checking the box at the bottom.
How to change your preferred payment method
To change your payment method on file with ZeroBounce, proceed with the following steps:
- From your ZeroBounce dashboard, hover over your account icon in the upper right corner. Then, click Billing.

- You’ll be sent to the ‘Payment Method’ tab within the Billing menu. Click the dropdown to reveal your current payment method details. Then, click Replace Card.

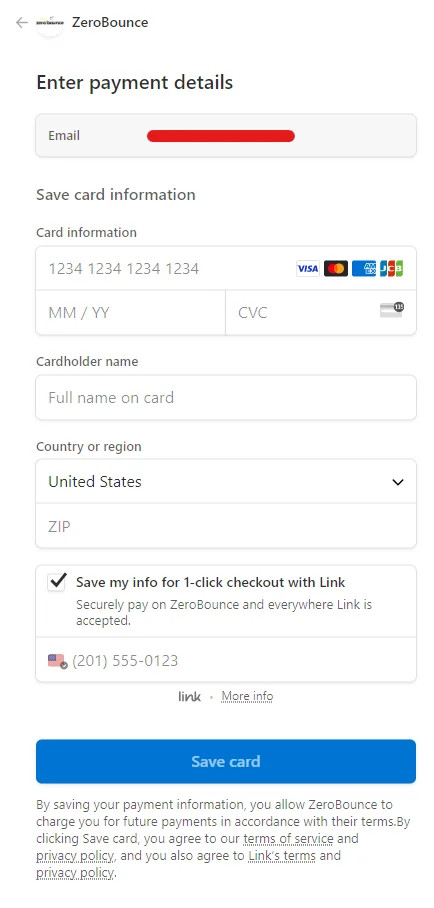
- Enter the details for your new payment method. After you’ve finished entering your data, click Save Card.
If you prefer to use the Link checkout method, check the box next to 'Save my info for 1-click checkout with Link.'
- Back in the Billing settings page, you’ll now see your new payment method on file. If you ever wish to remove any payment methods entirely, simply click Remove Card.
How to set up Autopay
You can use any of the above payment methods to automatically add new credits to your account when your balance runs low.
To set up Autopay, follow these steps:
- From your dashboard, go to Settings.
- Under Billing, click on Plans & Autopay.
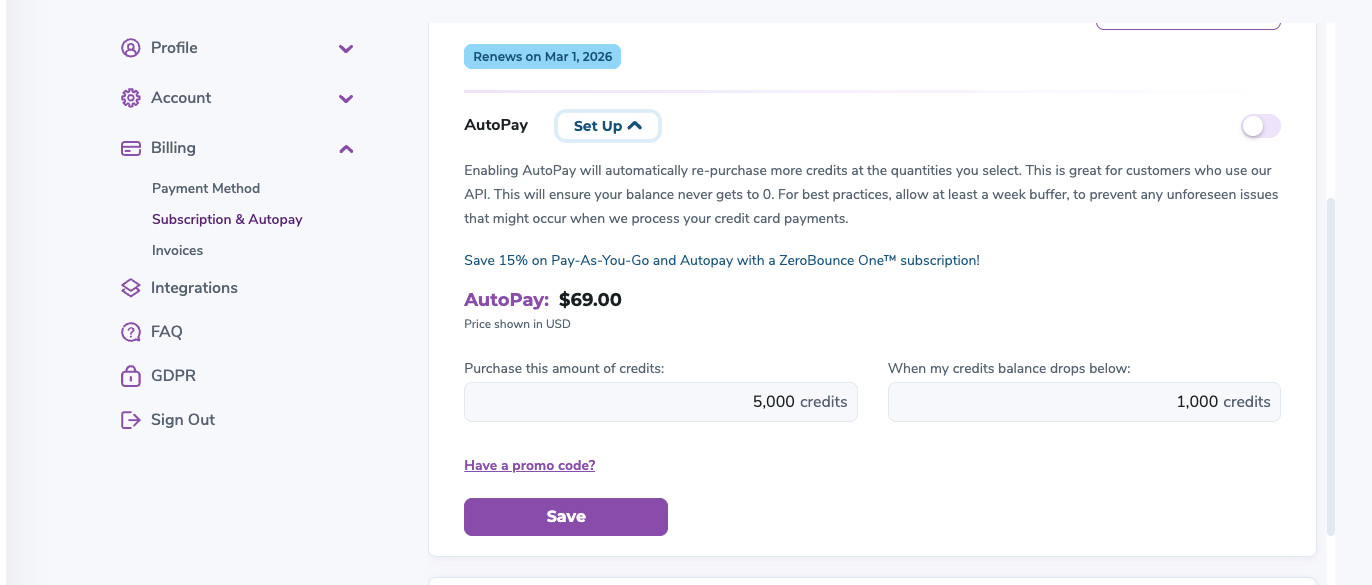
- In the first field, enter the amount of credits you want to purchase with Autopay.
- In the second field, select the credit threshold you want to use for future Autopay purchases. When your balance drops below your designated amount, we will automatically bill your preferred payment method and add new credits to your account.
- Click Save.
Related Articles
How do I check out as a guest with PayPal?
What does my bank decline code mean?
How is pricing determined for email verification?
Are there any discounts for bulk verification?
How to assign and update payment methods for subscriptions?
How Do I Check Out as a Guest with PayPal?
Though PayPal is one of ZeroBounce's primary customer payment methods, you don't need a PayPal account to complete your purchase. You can temporarily add your credit or debit card to PayPal to process your transaction through their service.
To temporarily add your debit or credit card to PayPal, follow these steps:
- After selecting your credits or subscription, go to the checkout screen.
- Click PayPal.
- Instead of entering an email address or signing up, click Pay with Debit or Credit Card at the bottom.

PayPal payment screen: After choosing this option, you'll see the screen below to enter your credit card information.
- Enter your email address. Click Continue to Payment.
- Enter your payment information in the fields provided.
Be aware that sometimes, PayPal won't allow you to check out as a guest. Their reasoning can be related to browser choice, existing cookies, location, or IP address. If you have issues using the guest checkout feature, contact PayPal support for more information.
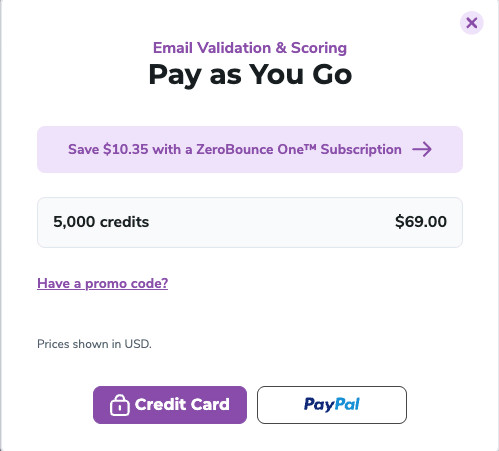
Can I enter my credit card information directly?
Yes. ZeroBounce also processes debit and card payments via Stripe. Click Credit Card to enter your billing information when visiting the checkout screen. You can then select whether or not you wish to save your credit card information for future payments.

Click Credit Card to enter your debit or credit information directly.
After, we'll redirect you to our Stripe checkout screen. Here, you can also enable Stripe's "Pay with Link" feature for easy, 1-click checkouts.
Check out our complete list of accepted payment options to ensure Stripe supports your payment method.
Related Articles
What Payment Methods Does ZeroBounce Accept?
What does my bank decline code mean?
How is pricing determined for email verification?
Are there any discounts for bulk verification?
How to assign and update payment methods for subscriptions?
Where Do I Get My Invoice?
Your entire ZeroBounce invoice history is stored in your account. To access those invoices, follow these steps:
- Access your account settings in the top-right corner of your dashboard.
- Click Billing.
- Click Invoices.
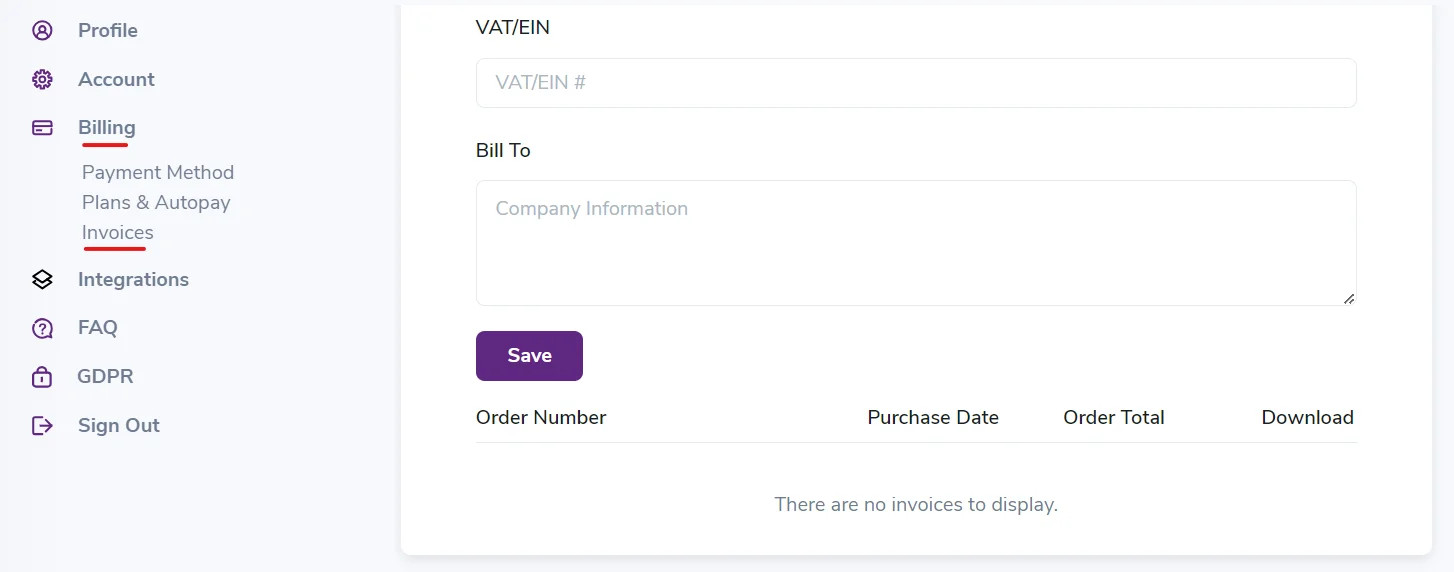
You can find your invoice history by visiting the Billing section in your ZeroBounce account settings.
Please note that the invoices in your account settings are only for your convenience. They may be missing information needed for tax-related expenses or account purposes, as PayPal does not provide this data.
ZeroBounce only has access to the information that PayPal agrees to provide, which is typically limited. Like ZeroBounce, PayPal protects their customers' payment data and doesn't transmit or share any unnecessary information to the vendor for order completion.
However, PayPal will also issue you a receipt after each ZeroBounce purchase. It's strongly recommended to store and file these receipts for your records, as they will contain complete information regarding each transaction.
How to add invoices
You can also add documents to your invoice history.
After accessing Invoices from your Billing settings, enter an Employer Identification Number (EIN) or Value Added Tax (VAT) number in the field provided. You can also enter your invoice's relevant business name in the Bill To section.
Then, click Save.
You can then find and download invoices in your list of orders.
How to download invoices
You can download any past invoices for your records.
Locate the invoice in your list of past orders. Then, click the download link located to the right of the order total.
Related Articles
What Payment Methods Does ZeroBounce Accept?
How do I check out as a guest with PayPal?
What does my bank decline code mean?
How is pricing determined for email verification?
Are there any discounts for bulk verification?
How to assign and update payment methods for subscriptions?
What Does My Bank Decline Code Mean?
In some instances, your bank or card issuer may decline payment when attempting to make a purchase. They may provide a decline code that details why the transaction was declined.
Below is a list of possible decline codes and a corresponding explanation. You can also find instructions on resolving your payment issues as soon as possible.
Decline Code
- Decline CodeExplanationNext Steps
- approve_idThe payment cannot be authorizedThe payment should be attempted again. If it still cannot be processed, the customer needs to contact their bank.
- call_issuerThe card has been declined for an unknown reasonThe customer needs to contact their bank for more information.
- card_not_supportedThe card does not support this type of purchaseThe customer needs to contact their bank to make sure their card can be used to make this type of purchase.
- card_velocity_exceededThe customer has exceeded the balance or credit limit available on their card.The customer should contact their bank for more information.
- currency_not_supportedThe card does not support the specified currency.The customer needs to check with the issuer that the card can be used for the type of currency specified.
- do_not_honorThe card has been declined for an unknown reasonThe customer needs to contact their bank for more information.
- do_not_try_againThe card has been declined for an unknown reasonThe customer should contact their bank for more information.
- fraudulentThe payment has been declined as the issuer suspects it is fraudulentThe customer should contact their bank for more information.
- generic_declineThe card has been declined for an unknown reasonThe customer needs to contact their bank for more information.
- insufficient_fundsThe card has insufficient funds to complete the purchaseThe customer should use an alternative payment method.
- invalid_accountThe card, or account the card is connected to, is invalidThe customer needs to contact their bank to check that the card is working correctly.
- invalid_amountThe payment amount is invalid, or exceeds the amount that is allowedIf the amount appears correct, the customer needs to verify their account balance with their bank to ensure they can charge the required amount.
- invalid_pinThe PIN entered is incorrect. This decline code only applies to payments made with a card reader.The customer should try again using the correct PIN.
- issuer_not_availableThe card issuer could not be reached, so the payment could not be authorizedThe payment should be attempted again. If it still cannot be processed, the customer needs to contact their bank.
- lost_cardThe payment has been declined because the card is reported lostThe specific reason for the decline should not be reported to the customer. Instead, it needs to be presented as a generic decline.
- new_account_information_availableThe card, or account the card is connected to, is invalidThe customer needs to contact their bank for more information.
- no_action_takenThe card has been declined for an unknown reasonThe customer should contact their bank for more information.
- not_permittedThe payment is not permittedThe customer needs to contact their bank for more information.
- pickup_cardThe card cannot be used to make this payment (it is possible it has been reported lost or stolen)The customer needs to contact their bank for more information.
- reenter_transactionThe payment could not be processed by the issuer for an unknown reason.The payment should be attempted again. If it still cannot be processed, the customer needs to contact their bank.
- restricted_cardThe card cannot be used to make this payment (it is possible it has been reported lost or stolen)The customer needs to contact their bank for more information.
- revocation_of_all_authorizationsThe card has been declined for an unknown reasonThe customer should contact their bank for more information.
- revocation_of_authorizationThe card has been declined for an unknown reasonThe customer should contact their bank for more information.
- security_violationThe card has been declined for an unknown reasonThe customer needs to contact their bank for more information.
- service_not_allowedThe card has been declined for an unknown reasonThe customer should contact their bank for more information.
- stolen_cardThe payment has been declined because the card is reported stolenThe specific reason for the decline should not be reported to the customer. Instead, it needs to be presented as a generic decline.
- stop_payment_orderThe card has been declined for an unknown reasonThe customer should contact their bank for more information.
- testmode_declineA Stripe test card number was usedA genuine card must be used to make a payment.
- transaction_not_allowedThe card has been declined for an unknown reasonThe customer needs to contact their bank for more information.
- try_again_xxxxxxxxxThe card has been declined for an unknown reasonAsk the customer to attempt the payment again. If subsequent payments are declined, the customer should contact their bank for more information.
- withdrawal_count_limit_exceededThe customer has exceeded the balance or credit limit available on their card.The customer should use an alternative payment method.
If you have any additional questions regarding your declined payment, contact the support team via live chat or support@zerobounce.net.
Related Articles
What Payment Methods Does ZeroBounce Accept?
How do I check out as a guest with PayPal?
What does my bank decline code mean?
How is pricing determined for email verification?
Are there any discounts for bulk verification?
How to assign and update payment methods for subscriptions?
How Is Pricing Determined for Email Verification?
ZeroBounce uses a volume-based pricing structure for email verification. The more emails on your list you need to clean, the lower the price per email verification credit.
The minimum email verification credit purchase is 2,000 credits. You can verify one email address at the cost of one credit. Currently, 2,000 credits cost $39.00 (~$0.0195 per credit). The price per credit decreases as your purchase volume increases.
ZeroBounce does not charge for removing duplicate email addresses or for unknown results. Credits never expire.
See the table below for volume price scaling.
Pay-As-You-Go Price Per Credit
- Number of creditsPrice per credit
- 2,000$0.0195
- 5,000$0.0138
- 10,000$0.0129
- 100,000$0.00649
- 250,000$0.005196
- 500,000$0.004398
- 1,000,000$0.003199
Be aware that you also receive 100 monthly credits for creating a free ZeroBounce account.
How does email verification pricing work for subscriptions?
For the best value, a ZeroBounce ONE™ subscription provides you with 10,000 email verification credits monthly for $99 per month ($79 per month annually). Here's everything included in a ZeroBounce ONE™ subscription:
- 10,000 email verification credits (credits rollover, replenish monthly)
- 10,000 Email Finder searches
- 100 Inbox Placement Tests
- 100 Email Server Tests
- 10 Blacklist Monitor scans
- 1 DMARC Monitor domains
ZeroBounce ONE™ also provides a 15% discount on any additional email verification credit purchases. There are no contracts, and you can cancel a subscription at any time.
There are no contracts, and you can cancel a ZeroBounce subscription anytime.
Learn more about email verification pricing
Is there enterprise pricing for email verification?
Unique Enterprise pricing is available for purchases or monthly subscriptions over one million email verification credits.
ZeroBounce's scalable enterprise plans include:
- Personalized onboarding to help smooth the process of uploading your data for cleaning
- Email verification training to help you use our tools effectively
- 24/7 customer support to troubleshoot any issues
Plans also include 1,500 testing credits to help you ensure the ZeroBounce email verifier is suitable for your company.
Learn more about enterprise plans
Related Articles
What Payment Methods Does ZeroBounce Accept?
How do I check out as a guest with PayPal?
What does my bank decline code mean?
Are there any discounts for bulk verification?
How to assign and update payment methods for subscriptions?
Are There Any Discounts for Bulk Verification?
All email verification pricing is volume-based and scales with how many emails you need to verify. This scalability applies to both one-time Pay-as-you-go purchases and monthly subscription plans.
For example, with the volume discount, 2,000 email verification credits will cost more per credit than 10,000.
You can verify one email at the cost of one credit. ZeroBounce does not charge credits for duplicate emails or unknown results.
ZeroBounce credits never expire, making bulk verification purchases even better for future email list cleanings.
Check out the volume pricing scale below.
Pay-as-you-go price scaling
- Number of creditsPrice per credit
- 2,000$0.0195
- 5,000$0.0138
- 10,000$0.0129
- 100,000$0.00649
- 250,000$0.005196
- 500,000$0.004398
- 1,000,000$0.003199
Monthly subscription pricing
For the best value, a ZeroBounce ONE™ subscription provides you with 10,000 email verification credits monthly for $99 per month ($79 per month annually). Here's everything included in a ZeroBounce ONE™ subscription:
- 10,000 email verification credits (credits rollover, replenish monthly)
- 10,000 Email Finder searches
- 100 Inbox Placement Tests
- 100 Email Server Tests
- 10 Blacklist Monitor scans
- 1 DMARC Monitor domains
ZeroBounce ONE™ also provides a 15% discount on any additional email verification credit purchases. There are no contracts, and you can cancel a subscription at any time.
Bulk verification discounts for enterprises
In keeping with scalable volume pricing, ZeroBounce offers custom plans for enterprises with over one million email addresses.
In addition to discounted volume pricing, enterprise plans come with all of ZeroBounce's top features, including a dedicated account manager, personalized onboarding, email verification training, team accounts, unlimited email testing, and more.
You can discuss a custom enterprise pricing plan with the ZeroBounce team today. They also provide 1,500 email verification credits to test the tool before you sign up.
Learn more about ZeroBounce enterprise plans
Related Articles
What Payment Methods Does ZeroBounce Accept?
How do I check out as a guest with PayPal?
What does my bank decline code mean?
How is pricing determined for email verification?
How to Assign and Update Payment Methods for ZeroBounce ONE™ and Autopay
To assign a payment method for ZeroBounce or credit Autopay, ensure that you have a payment method on file.
Then, follow the instructions below based on your current scenario.
How to assign payment methods to ZeroBounce ONE™
If you don't have an existing ZeroBounce ONE™ subscription
If you don't have a ZeroBounce ONE™ subscription, you can get started by accessing:
- Pricing & Plans on the left side menu of your dashboard
- Billing, accessed by hovering over your profile picture in the top-right corner
If using the latter, scroll down to Subscription & Autopay and select Update Subscription. Both methods will take you to the same screen.
Next, follow these steps:
- Under ZeroBounce ONE™, click Subscribe. Alternatively, set your desired values under ZeroBounce ONE™ Custom, and click Subscribe.
- Click Confirm.
- Enter a promo code (if you have one) and click Checkout.
- Select a payment method on the right side menu. If you don't have one on file, enter one now.
- Click Subscribe to complete the process.
Your subscription will now appear under Billing > Subscription & Autopay. You can edit your payment method at any time from this menu.
If you don't have Autopay enabled and want to add a subscription
- From your profile picture in the top-right corner, go to Billing.
- Scroll down to Subscription & Autopay.
- Under Autopay, set your desired credit values in the provided fields. Click Save.
- Click Confirm.
- Select a payment method to use for Autopay. If you don't have one on file, add one now.
- Click Save.
Moving forward, you'll be able to edit your payment method attached to Autopay from the Billing menu.
How to update the payment method for an existing ZeroBounce ONE™ or Autopay subscription
If you already have a subscription and wish to update your payment method, follow these steps:
- From your profile picture in the top-right corner, select Billing.
- Scroll down to Subscription & Autopay.
- Locate your payment method under your ZeroBounce ONE™ or Autopay plan. Select Set Usage or Replace Card.
- Click Save Changes.
Related Articles
What Payment Methods Does ZeroBounce Accept?
How do I check out as a guest with PayPal?
What does my bank decline code mean?
How is pricing determined for email verification?
Are there any discounts for bulk verification?
Stripe Identity
Stripe Identity is an identity verification service provided by Stripe that helps businesses automatically confirm the identity of their users online.
With this new feature, we aim to enhance the user experience during identity verification, which is now simplified into four easy steps.
When a payment is put into review, a pop-up will be displayed, asking you to provide your identity. An email will also be sent to inform you that you need to verify your identity.
To confirm your identity, you'll need to complete the following steps:
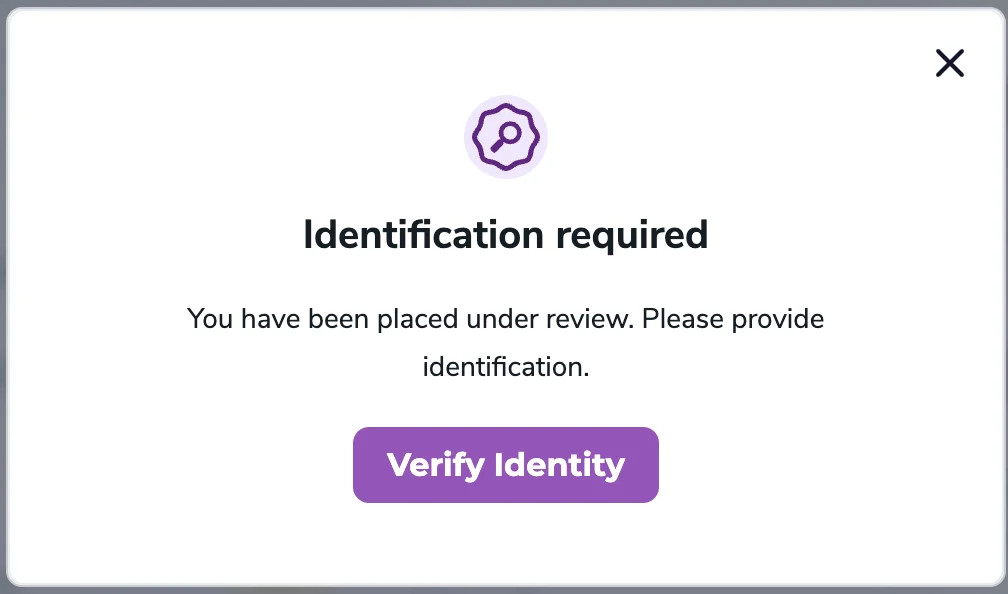
Step 1. Once you click on the 'Verify Identity' button, you'll receive a prompt from Stripe asking you to upload the required documents.
Step 2. After successfully uploading the required documents, your identity verification process begins.
- A pop-up will be displayed notifying you that your identity verification is in progress.
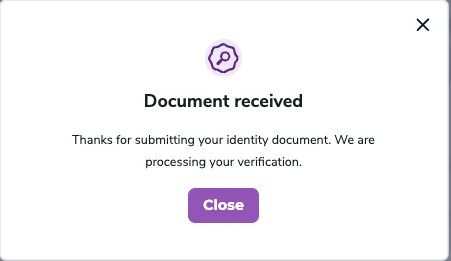
- An email is also sent in confirmation.
Note:
If the uploaded documents are valid, the process can take anywhere from a few minutes to a few hours.
Step 3. If the submitted documents are valid and your identity verification is successful, we'll approve your payment, and you'll receive the associated benefits.
Step 3a. If the identity verification process fails, you'll need to try again (repeat Step 2).
- A pop-up appears asking you to verify your identity again.
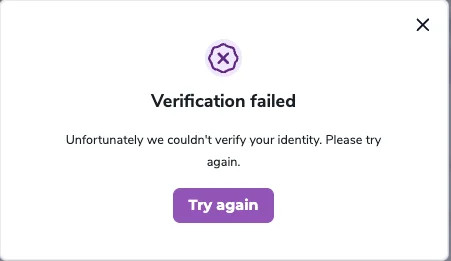
- An email will also confirm that the process failed, and you'll need to try again using the previous process.
Step 4. If your identity verification process fails for the second time, you'll receive a prompt to contact support for further assistance.
- A pop-up appears notifying you that your identity verification failed, along with a notice to contact support.
- An email is also sent to inform you that your identity verification process has failed, along with a notice to contact our support team.