
Docs
Docs
ZeroBounce's new Integration with Amazon Simple Storage Service (Amazon S3) allows you to validate or score files located in any of your S3 buckets, in a similar manner to what can be currently done via our Email List Validation service. In addition, the result can be both manually and automatically exported back to Amazon S3, in any Bucket you choose.
In order to authorize ZeroBounce to have access to your Buckets, an Access Key and a Secret Access Key are required; the Secret Access Key will be stored encrypted on our side. Although it is not mandatory, we recommend you to create a dedicated user account, that has limited access to Amazon S3, or even to certain Buckets. In order to generate the credentials, perform the steps 1 (optional) and 2.
Prerequisites
Step 1 (optional) - Create a dedicated user account
1. Sign in to AWS Console
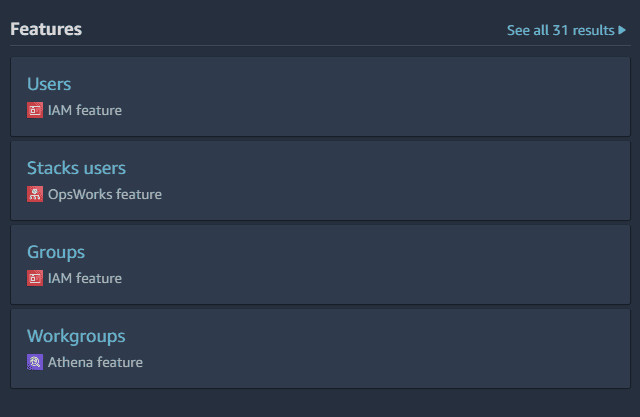
2. Go to the search bar, type in user and select Users
3. Click on Add users in the top-right corner
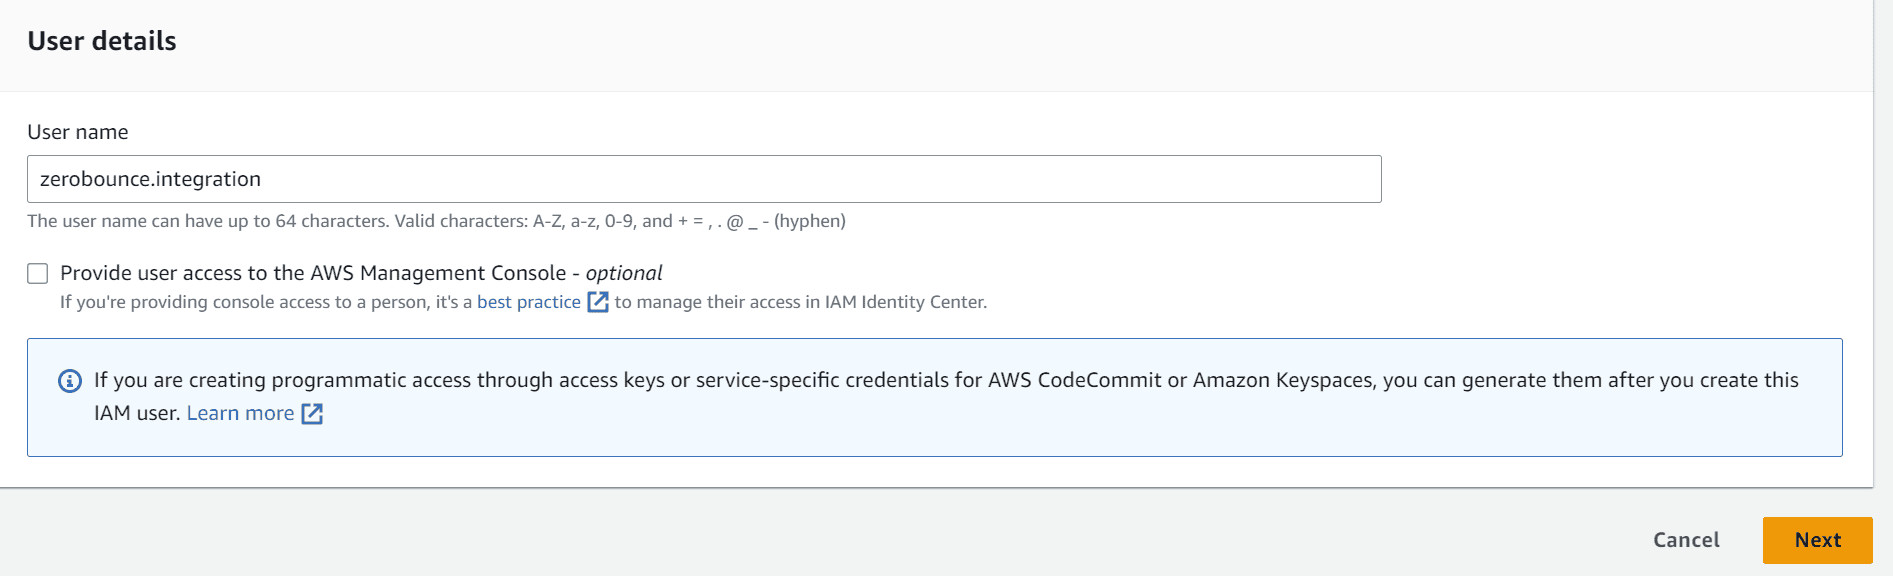
4. Choose a username (e.g. zerobounce.integration) and hit Next
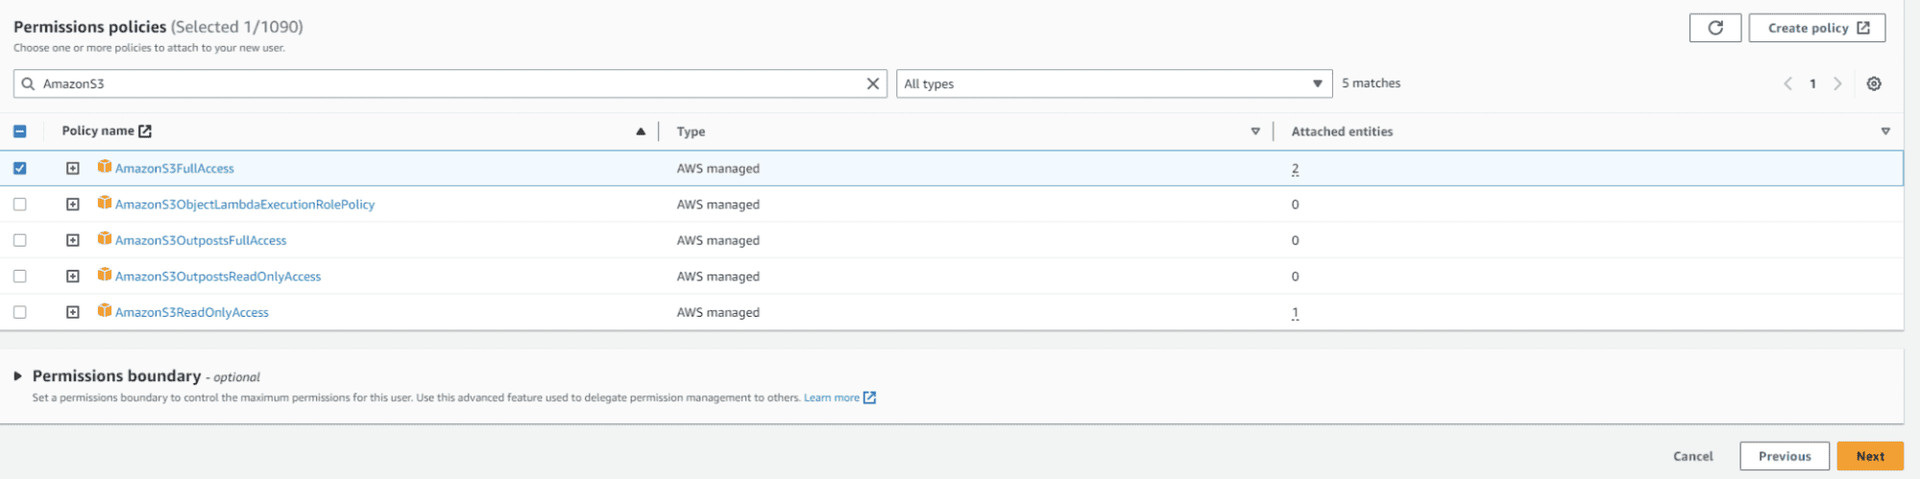
5. On this page, you can either choose to attach the policy directly or add the user to a group (we’ll go with Attach policies directly). Here, you can choose one of the following:
For a more granular approach (e.g. access to only specific Buckets), you can always create a dedicated policy using Create policy.
6. Hit Next and then Create user
Step 2 - Generate the Keys
1. As before, go to the search bar, type in user and select Users
2. If you followed Step 1, click on the user you just created. Otherwise, just select the user for whom you want to create the Keys
3. Go to Security Credentials
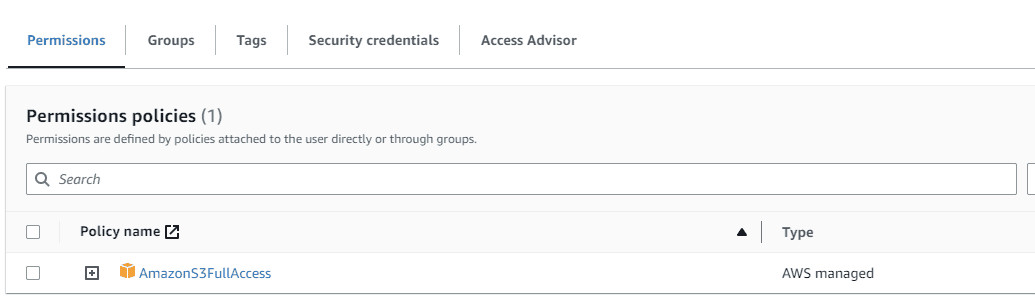
4. Under Access keys, select Create access key
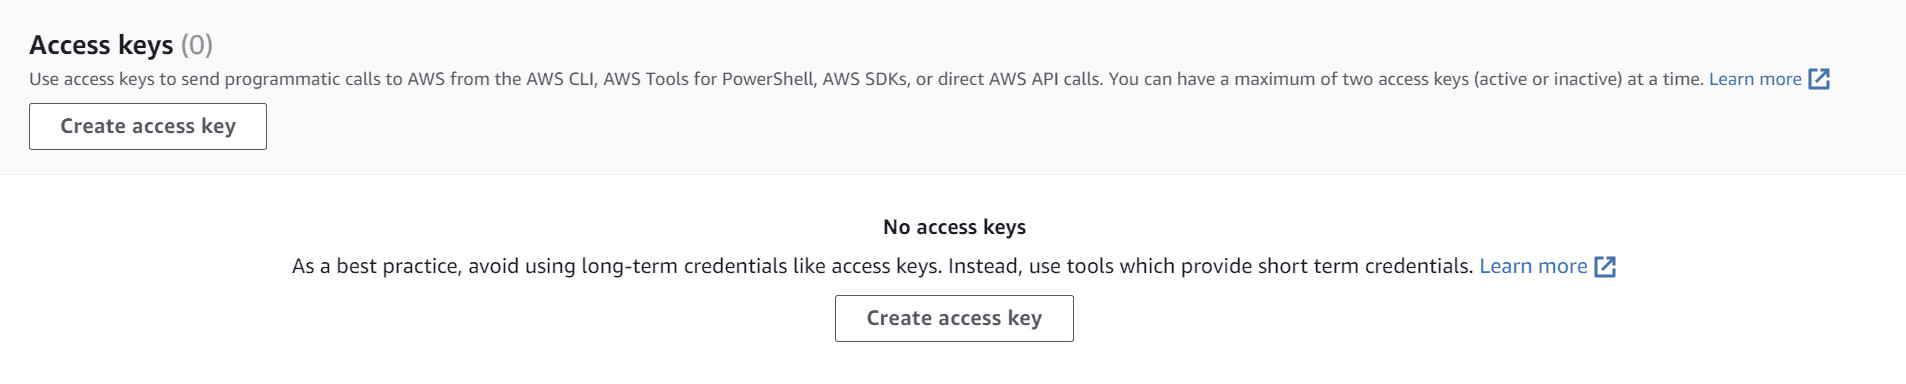
5. On the following page, select Command Line Interface (CLI), check I understand the above recommendation and want to proceed to create an access key. checkbox and hit Next
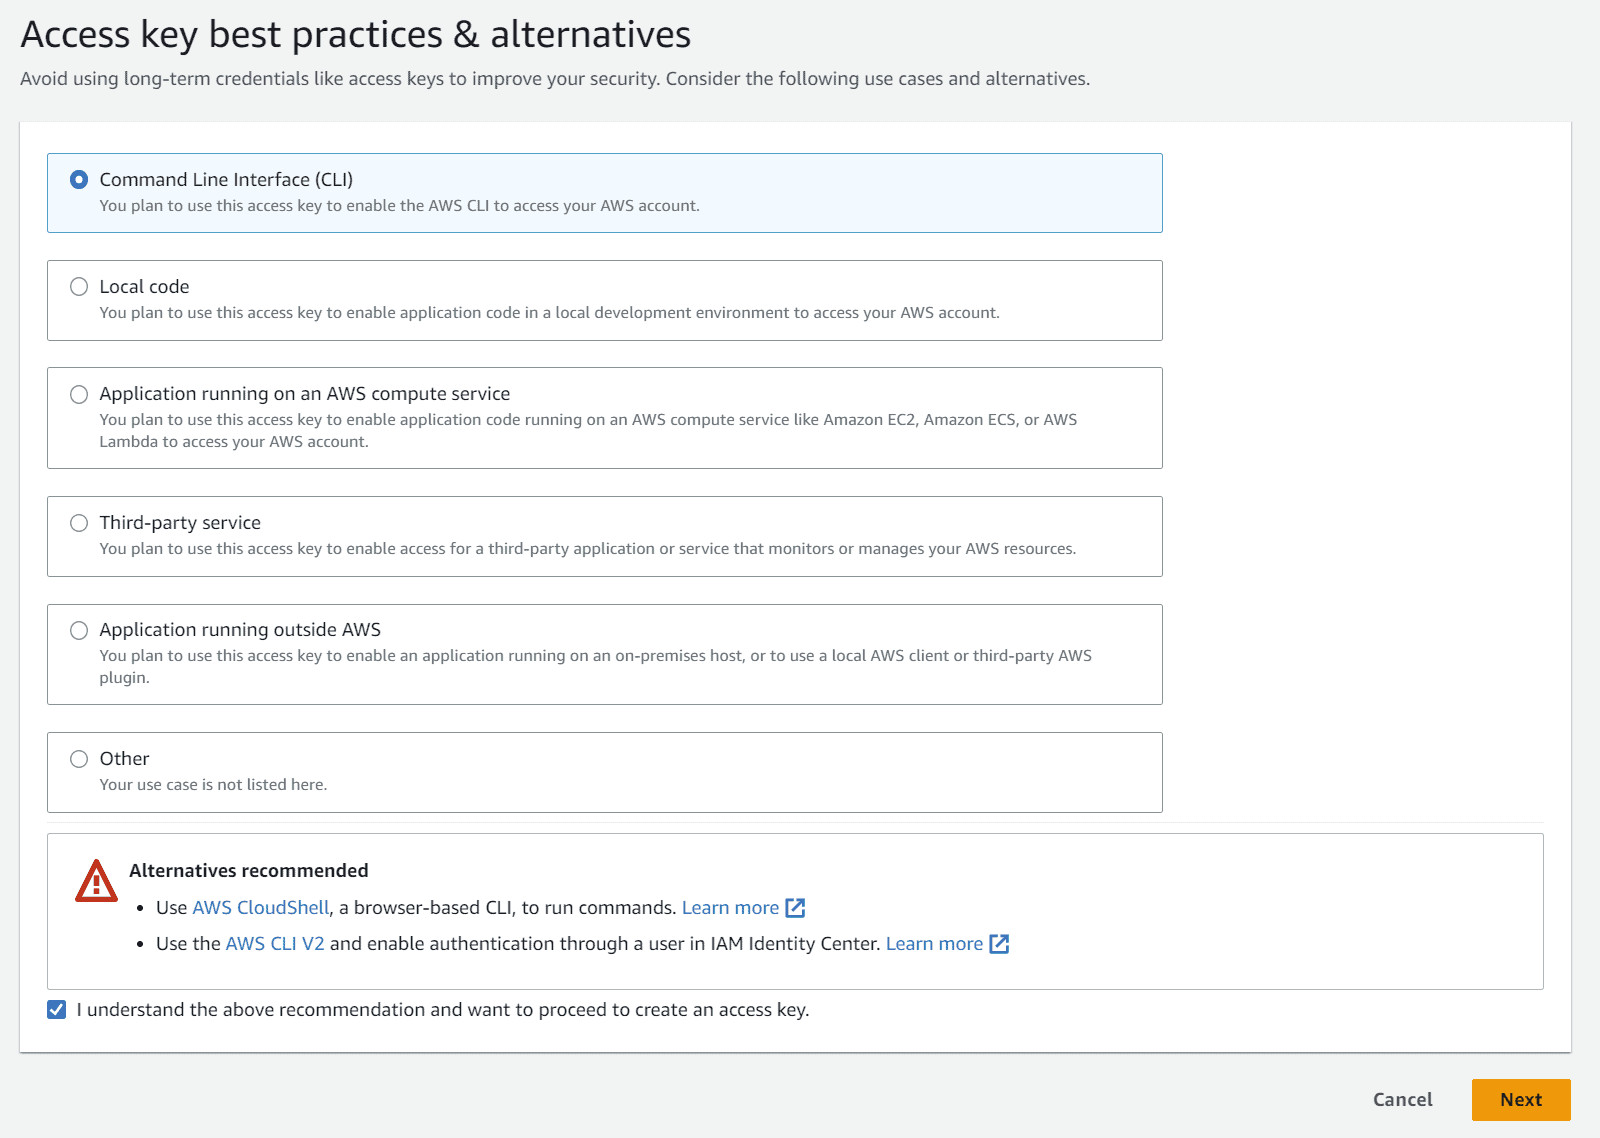
6. (Optional) Add a Description tag
7. Hit Create access key
8. Optionally, you can download the Keys by hitting the Download .csv file; just remember, the secret key will no longer be obtainable after you close this window.
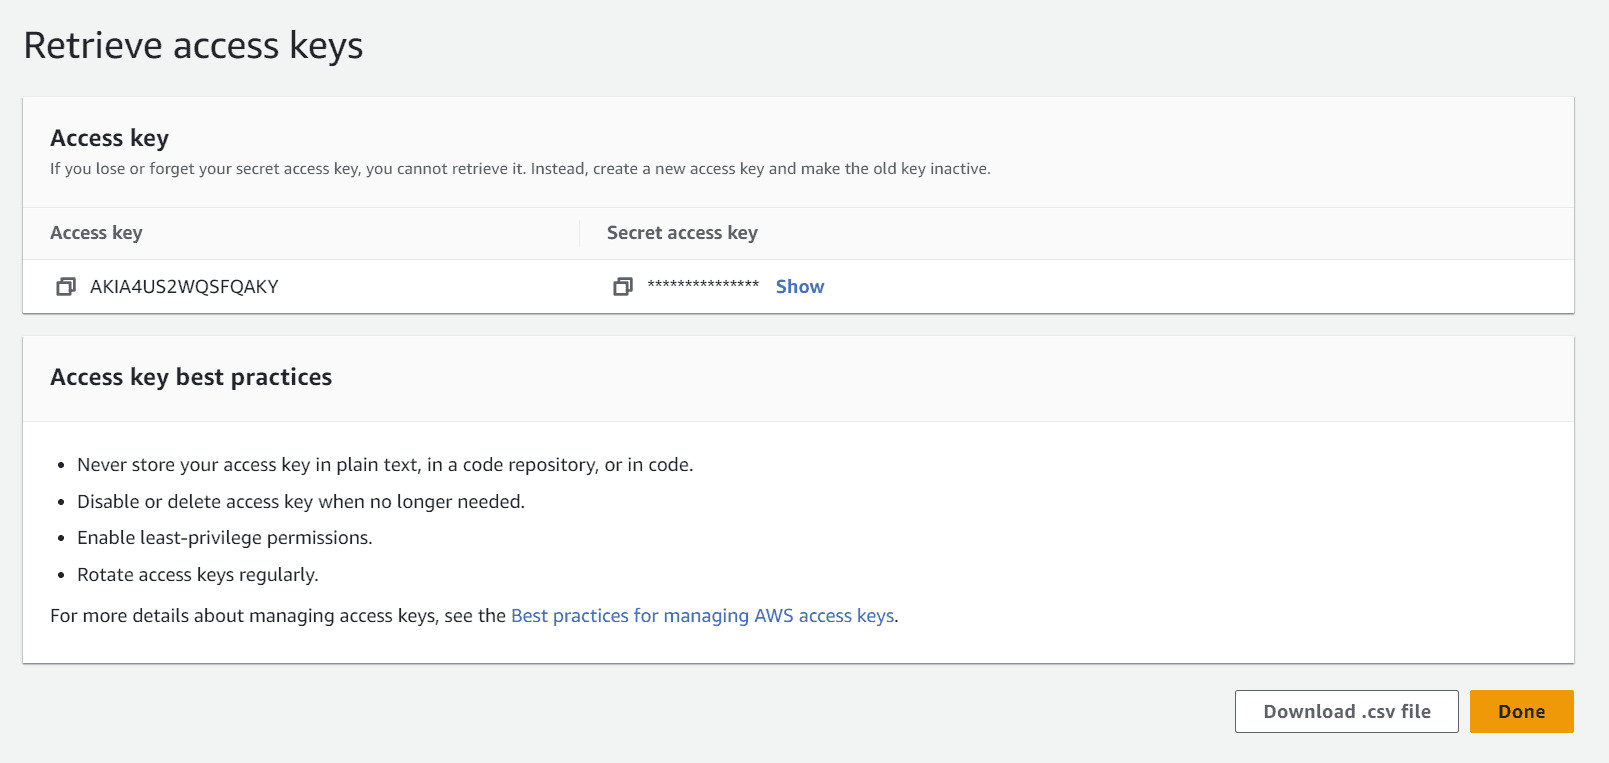
9. Save the Access Key and Secret Access Key, and hit Done
Step 3 - Load the Keys in ZeroBounce
1. Sign in to your ZeroBounce account
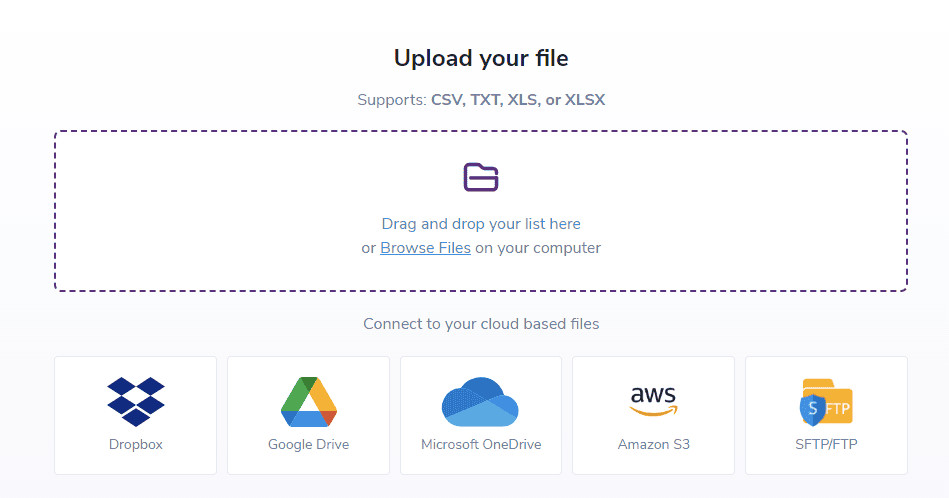
2. Go to Validate or Score, and select Amazon S3
3. In this window, you should:
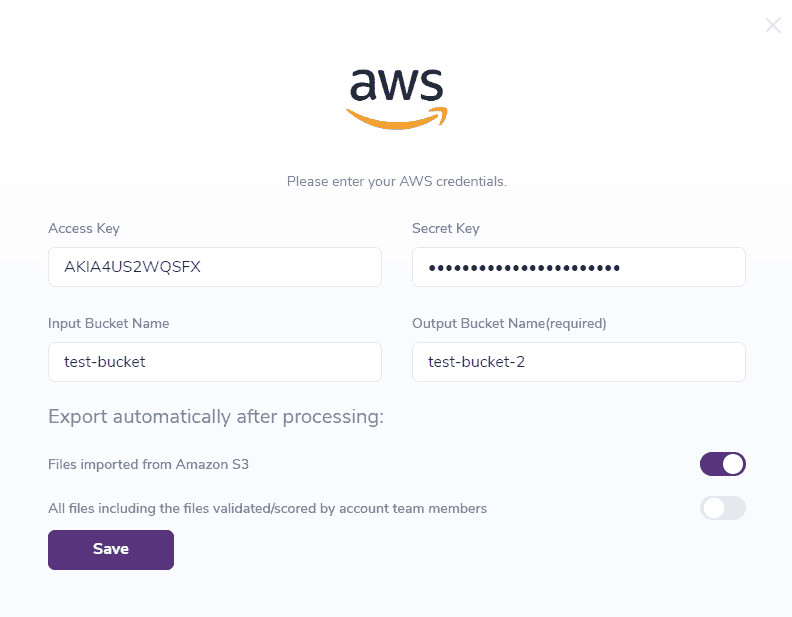
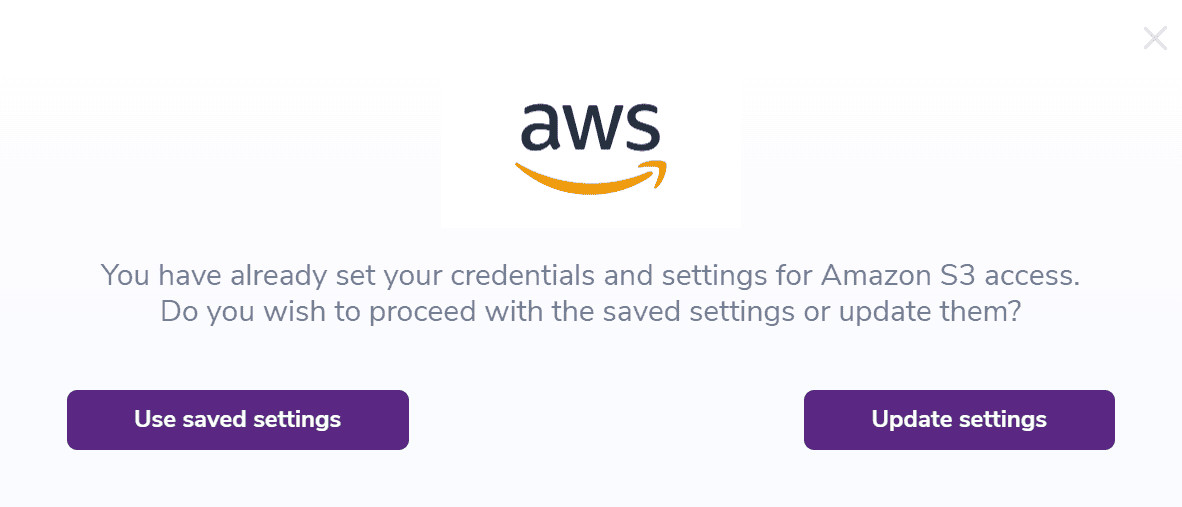
Note: The next time Amazon S3 will be chosen from the Integrations page, there will be two options:
Step 4 - Validate files
1. Go to the Validate page, select Validate New List and choose Amazon S3

2. Select Use saved settings
3. In the next window, you can choose which file you’d like to be validated. To be noted that only TXT, CSV, XLS and XLSX files will be listed
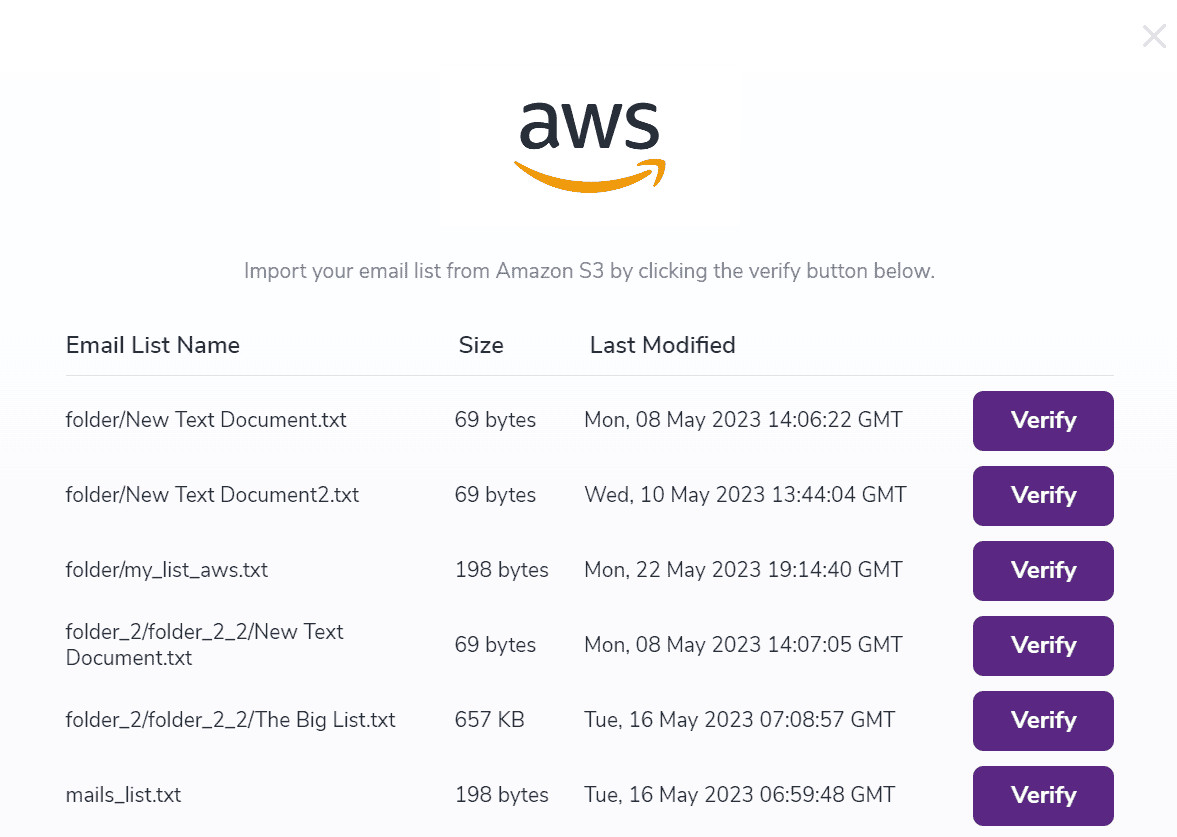
4. Hit Verify
5. The file should now be listed on the Validate page
Step 5 - Score files
1. Go to the Score page, select Score New List and choose Amazon S3

2. Select Use saved settings
3. In the next window, you can choose which file you’d like to be scored. To be noted that only TXT, CSV, XLS and XLSX files will be listed
4. Hit Verify
5. The file should now be listed on the Score page
Step 6 - Export the file manually
1. Go to Validate or Score page
2. From the list, select a file that has been validated or scored through S3
3. Hit the download button
4. Select Export to Amazon S3
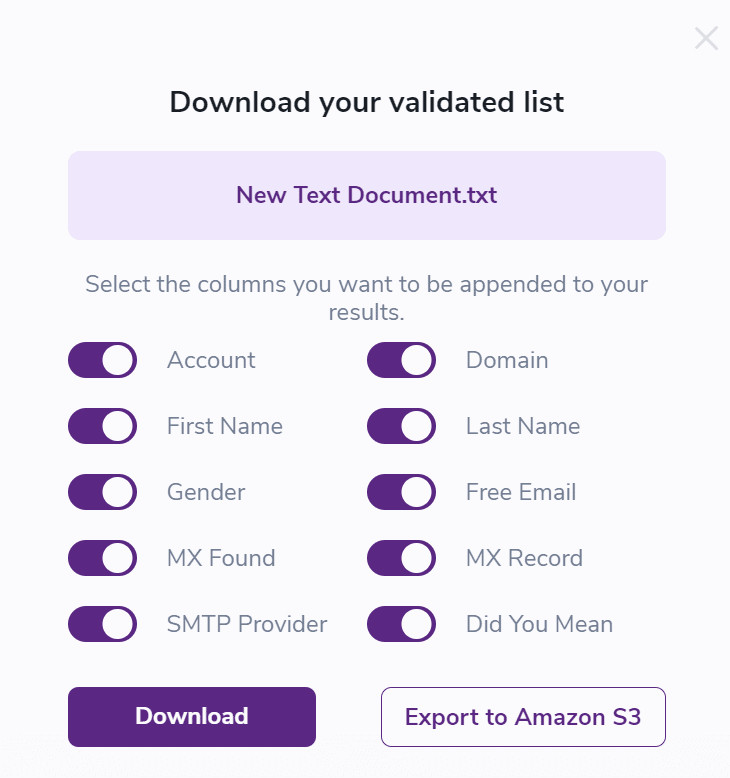
Note: Whenever a file will be exported, either manually or automatically, it will be saved in a directory named ZeroBounce_Results, located in the Bucket’s root. Also, files located in this folder will not be populated when listing all files for verification or scoring.

In case two or more files with the same name will be validated or scored, the resulted files will be versioned in S3.

